Hack The Box - Mirai
Mirai: Retired 10 Feb 2018
If you are interested in learning more about penetration testing, Hack the Box is a great way to get your feet wet in a legal and well built environment. Head over to hackthebox.eu to get started.
Mirai was certainly one of the easier boxes and the name really was a great hint on its own. This box was also a lesson in cull enumeration and not letting yourself get sucked into a rabbit hole.
Enumeration
Sparta
This was the first challenge that I had used Sparta on. Sparta is basically a tool that wraps a bunch of other enumeration and penetration testing tools into one platform. The general flow is that you kick off a staged NMAP scan through Sparta that starts with the most common ports and goes through five stages to scan all 65,535 ports. This is nice because you generally get at least some results quickly while you wait for the rest of the scan to finish. On top of that, Sparta can be configured to automatically start follow on scans based on ports and services discovered. For example, by default Sparta starts a Nikto scan and takes a screen shot any time HTTP/HTTPS is discovered.
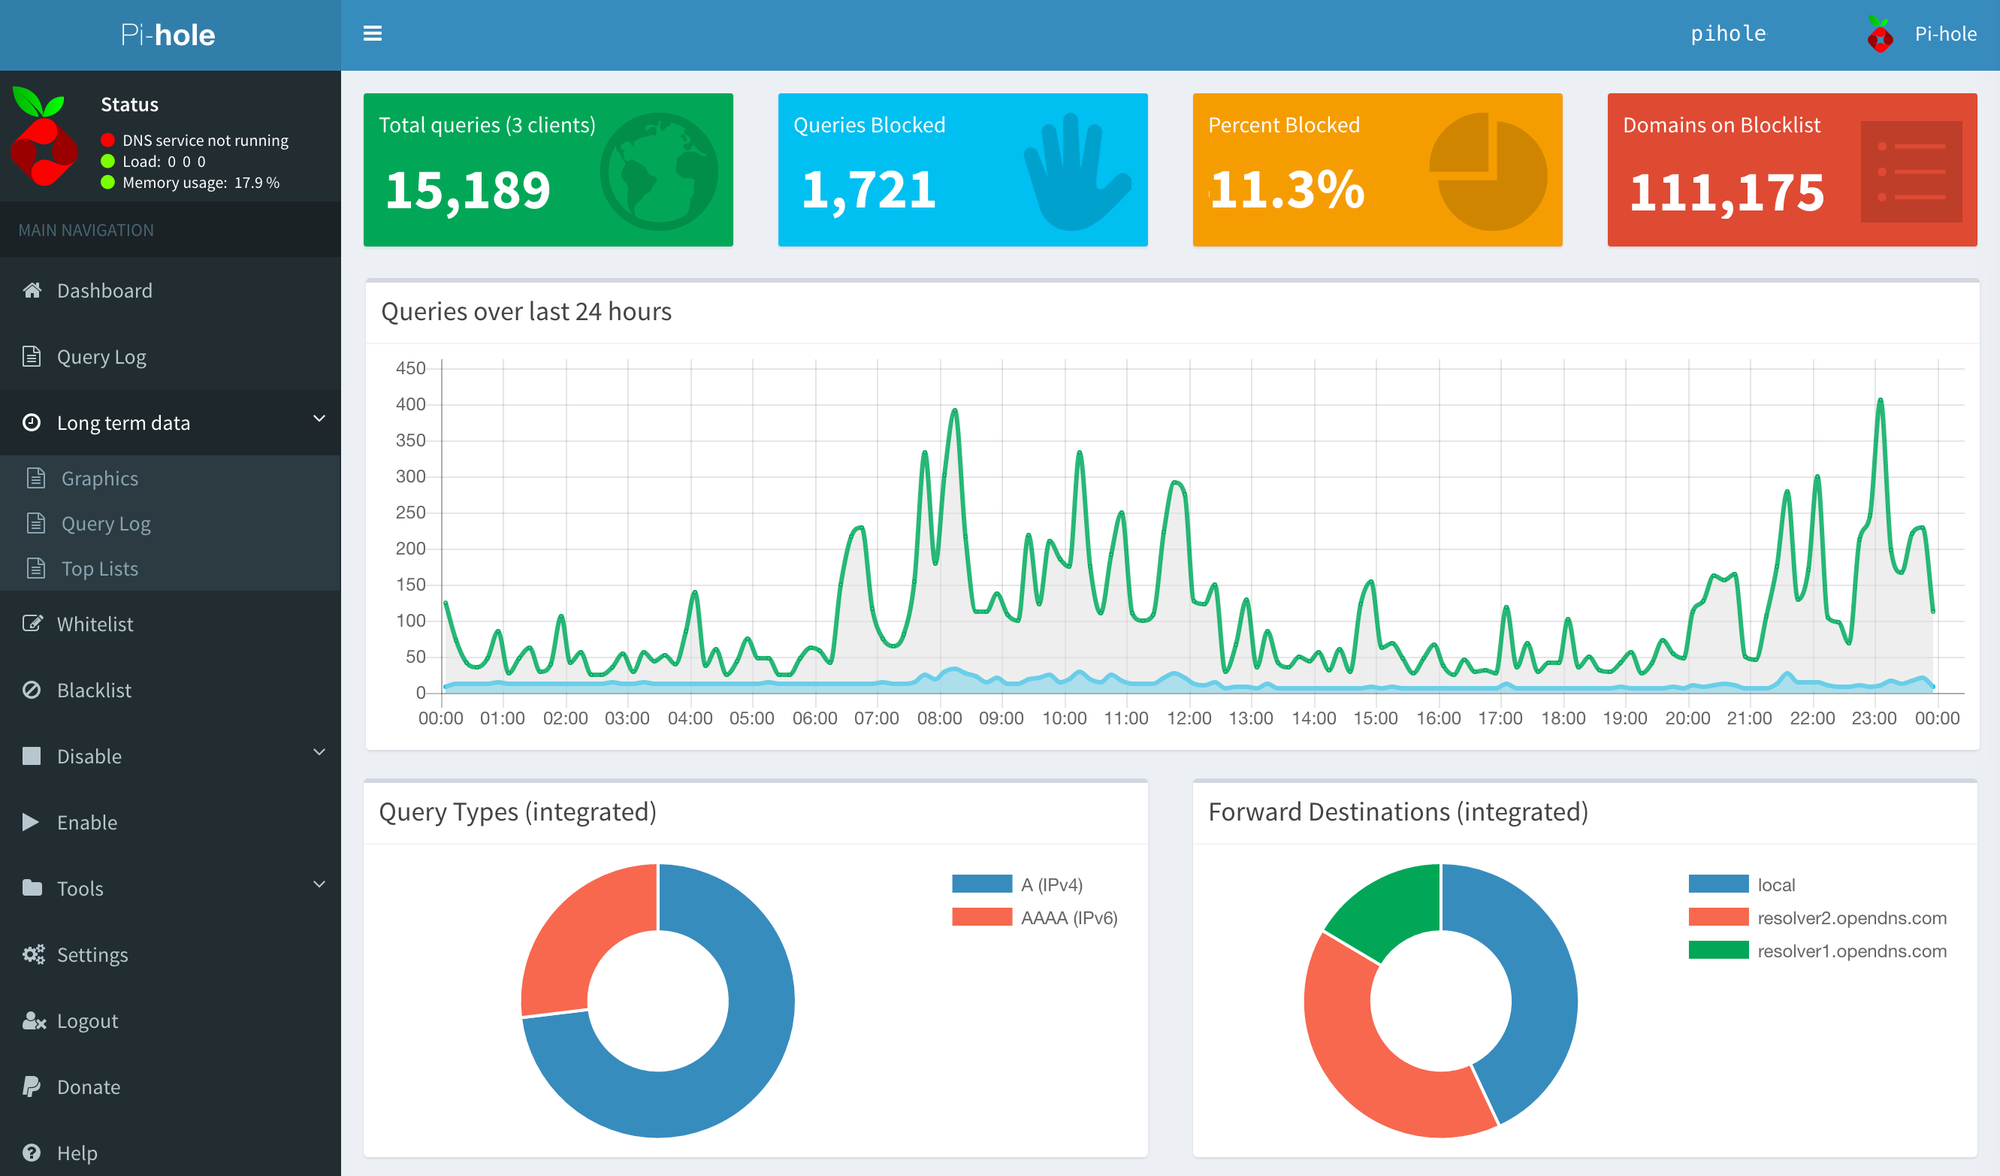
From the scans with Sparta, only three ports showed as accessible; Port 80 (lighttpd 1.4.35), Port 53 (dnsmasq 2.76), and the normal SSH on port 22. A quick Google search reveals a vulneraiblity in dnsmasq version 2.76, which is associated with the Pi-Hole application. Exploring the web service on Port 80 reveals that this host is indeed running Pi-Hole. Browsing to the admin shows the Pi-Hole admin panel.
Initial Access
After copious amounts of trying exploit dnsmasq and Pi-Hole, I finally gave up. A little while later the name 'Mirai' finally hit me. Mirai is/was the name of a botnet that was built by compromising Internet of Things (IoT) devices that were configured with unchanged default credentials. Based on the use of the Pi-Hole application I figured I would try to default Raspberry Pi SSH login of pi:raspberry. To my great surprise, I was logged in as the Pi user and was able to get the user flag.

Privilege Escalation
I thought this was going to be easy when I discovered that the pi user also had sudo privileges and could execute any command as root. Immediately going to the /root/root.txt file, my greed was rewarded with a hint:
I lost my original root.txt! I think I may have a backup on my USB stick...
Thinking that the USB stick might just be mounted as an external drive I explored the /mnt directory and found another hint.

Further exploring where the USB might be located I ran df -T to see what file systems were mounted. The command revealed that a device /dev/usb was mounted at /media/usbstick. Unfortunately, as the hints indicated, the files on the USB stick had been deleted. Some Googling led me to the Testdisk too. Installing and running the tool was fairly straightforward.
wget https://www.cgsecurity.org/testdisk-7.1-WIP.linux26.tar.bz2
scp testdisk-7.1-WIP.linux26.tar.bz2  [email protected]:/tmp

# Extract File On Target
tar -xjvf testdisk-7.1-WIP.linux26.tar.bz2

# Run Tool
testdisk-7.1-WIP/testdisk_static /dev/sdb
Testdisk is a menu driven tool so after some poking around and trial/error (trying to extract the file directly just resulting in an empty file), I finally figured out this workflow:
- Select device (only one)
- None
- Analyze
- Image Creation
Finally, I ran strings on the created image file to get the Root hash.
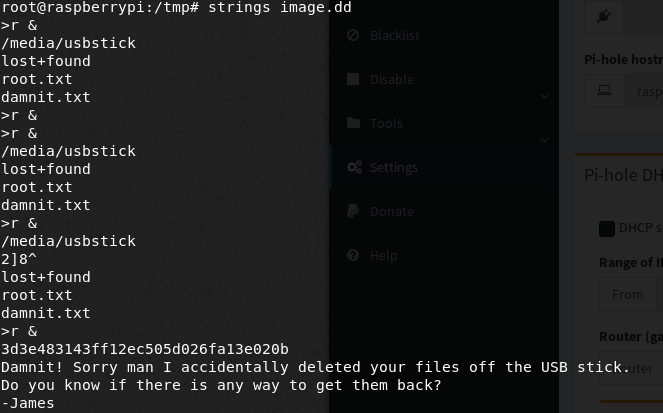
Alternatively, you could have just ran strings on the entire mounted directory.
Things I Learned
- Never discount the simple things. Do not over-complicate something unless you need to.
- The obvious route is not always the right route. Pi-Hole and
dnsmasqwere both rabbit holes that seemed designed to draw you in. - Always document thoroughly. While writing this post, the HTB VPN seemed to be down and my notes did not provide all the screenshots I would have liked to have.