Log Viewing Environment Setup

I just discovered Hack The Box Sherlocks; defensive challenges that generally involve some sort of log analysis. To get ready to tackle these challenges, I needed an environment to parse and view the logs.
For the easiest process, I decided to go with Security Onion. I have not used SO in years so this seemed like a good time to dive back in.
Install
I decided to install this as an Import instance since that matched my use case the closest. This process was not straightforward in VirtualBox but this comment was the key to getting everything working. For posterity:
I had the same issue with installing SecurityOnion on Oracle VirtualBox 7.0. I found the solution in this VirtualBox Documentation (https://www.virtualbox.org/manual/ch06.html). SecurityOnion has a great Tutorial on installation (https://www.youtube.com/watch?v=KMH7cII3mpA), unfortunately configuring the network for Oracle VirtualBox does not work the same as shown in the video.
I did the following to get internet access in SecurityOnion with NAT Network.
Create a new NAT Network: File -> Tools -> Network Manager (CTRL + H)
Now you should see a new NAT Network called NatNetwork. Keep note of the IPv4 address (in my case it is 10.0.2.0/24) and disable DHCP. We want to keep everything static.
Klick Apply
Klick on the Security Onion VirtualBox and go to Settings.
Set the first Adapter to NAT Network (not NAT), now in the Name dropdown your NatNetwork should be available. Pick this one.
During the SecurityOnion installation when asked for an IPv4 address you must pick an IPv4 adress in the range of 10.0.2.2-254. I picked 10.0.2.10/24.
When asked for a gateway, you must pick one that matches your NatNetwork. In my case the gateway is 10.0.2.1
For allowed IP addresses I choose 10.0.2.0/24, since I want to access the SecurityOnion Dashboard from the host machine.
Hopefully now you have internet access in SecurityOnion.
Overall steps:
- Download ISO from above
- Create VM using that ISO with 8192 RAM, 4 CPUs, and 200 GB storage
- I think 4096 GB of RAM and 2 CPUs would have been sufficient but I have the resources to spare.
- Boot and follow prompts, it will eventually ask you to reboot. Do this and follow prompts again, selecting the Desktop install option.
- During the network setup portion, use the comment linked above to determine what to put. For DNS I put my local gateway as the Cloudflare DNS servers because I already had firewall rules for them.
- For me I used:
- IP = 10.0.2.10
- Gateway = 10.0.2.1
- DNS = 192.168.1.1,1.1.1.3,1.0.0.3
- Hostname = Default
- Select the option to access SecurityOnion by hostname NOT by IP
- This is necessary because of how SecurityOnion does redirects and how we want to access the NAT'd VM from our Host machine.
- Allow reboot when prompted.
- On the NATNetwork configuration in VirtualBox set a port forward from 127.0.0.1:443 to your SO machine's IP:443.
- This won't work if you have another service running on that port on
localhost - Then shutdown the VM and restart VirtualBox
- This won't work if you have another service running on that port on
- Edit your Windows
/etc/hostsfile by opening Notepad as Admin and then openingC:\Windows\System32\drivers\etc\hostsand add the line:127.0.0.1 securityonion- Save
- Wait for the system to fully boot up, probably 2 minutes or so.
- It takes a while for all the services to come online.
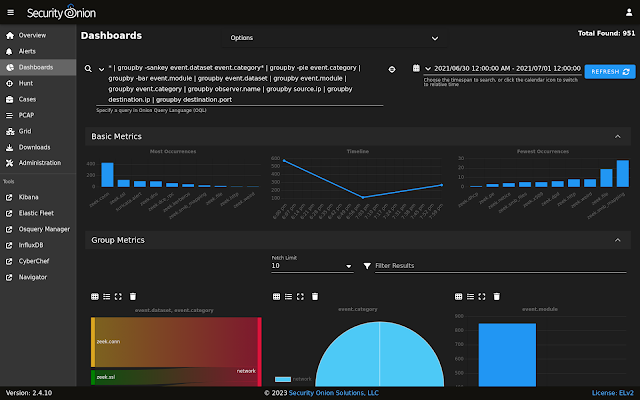
- Access the management interface from you HOST machine at https://securityonion
Now you are all set to start using an Import installation of SecurityOnion.
For HTB Sherlocks
Once logged in, under Grid, click the dropdown for this node. On the lower left corner you will see an upload icon that will allow you to upload log files.