Home Built Weather and Air Traffic Reciever (Stratux)
I was finally able to get out and fly this weekend to test out my newest toy...an ADS-B IN receiver built from a Raspberry Pi. Now that I have tested it and have a nice screenshot of the info is provides (proof or it didn't happen right?), I wanted to do a quick write-up on the build and use.
The Project
Stratux is an open source project originally designed by cyoung and is written in Go, Google's programming language. The software runs on a Raspberry Pi, which is essentially a bare bones Linux computer. Attached to the Pi are two antennas that together with the software create a Software Defined Radio (SDR). The Stratux connects via Wi-Fi to your Electronic Flight Bag (EFB) of choice and provides weather and air traffic data.
For more information checkout the project website and the GitHub repo.
The Build
Cyoung was nice enough to have the parts list right at the top of his website with links to where to get all of the parts. In my case, this was a birthday gift and my non-aviator family who had zero clue as to what contraption I was building was able to get all the parts easily. I went with the Dual Band (most common) version for about $130. There are other versions available including pre-built and cheaper versions with fewer options. As the price is already cheaper than the commercial version at $900, I opted for the most functional of the Stratux builds.
Parts List
- Raspberry Pi 3 Motherboard
- Pre-programmed SD card with Stratux software
- Stratux 1090ES & UAT - Radios and High Gain Antennas
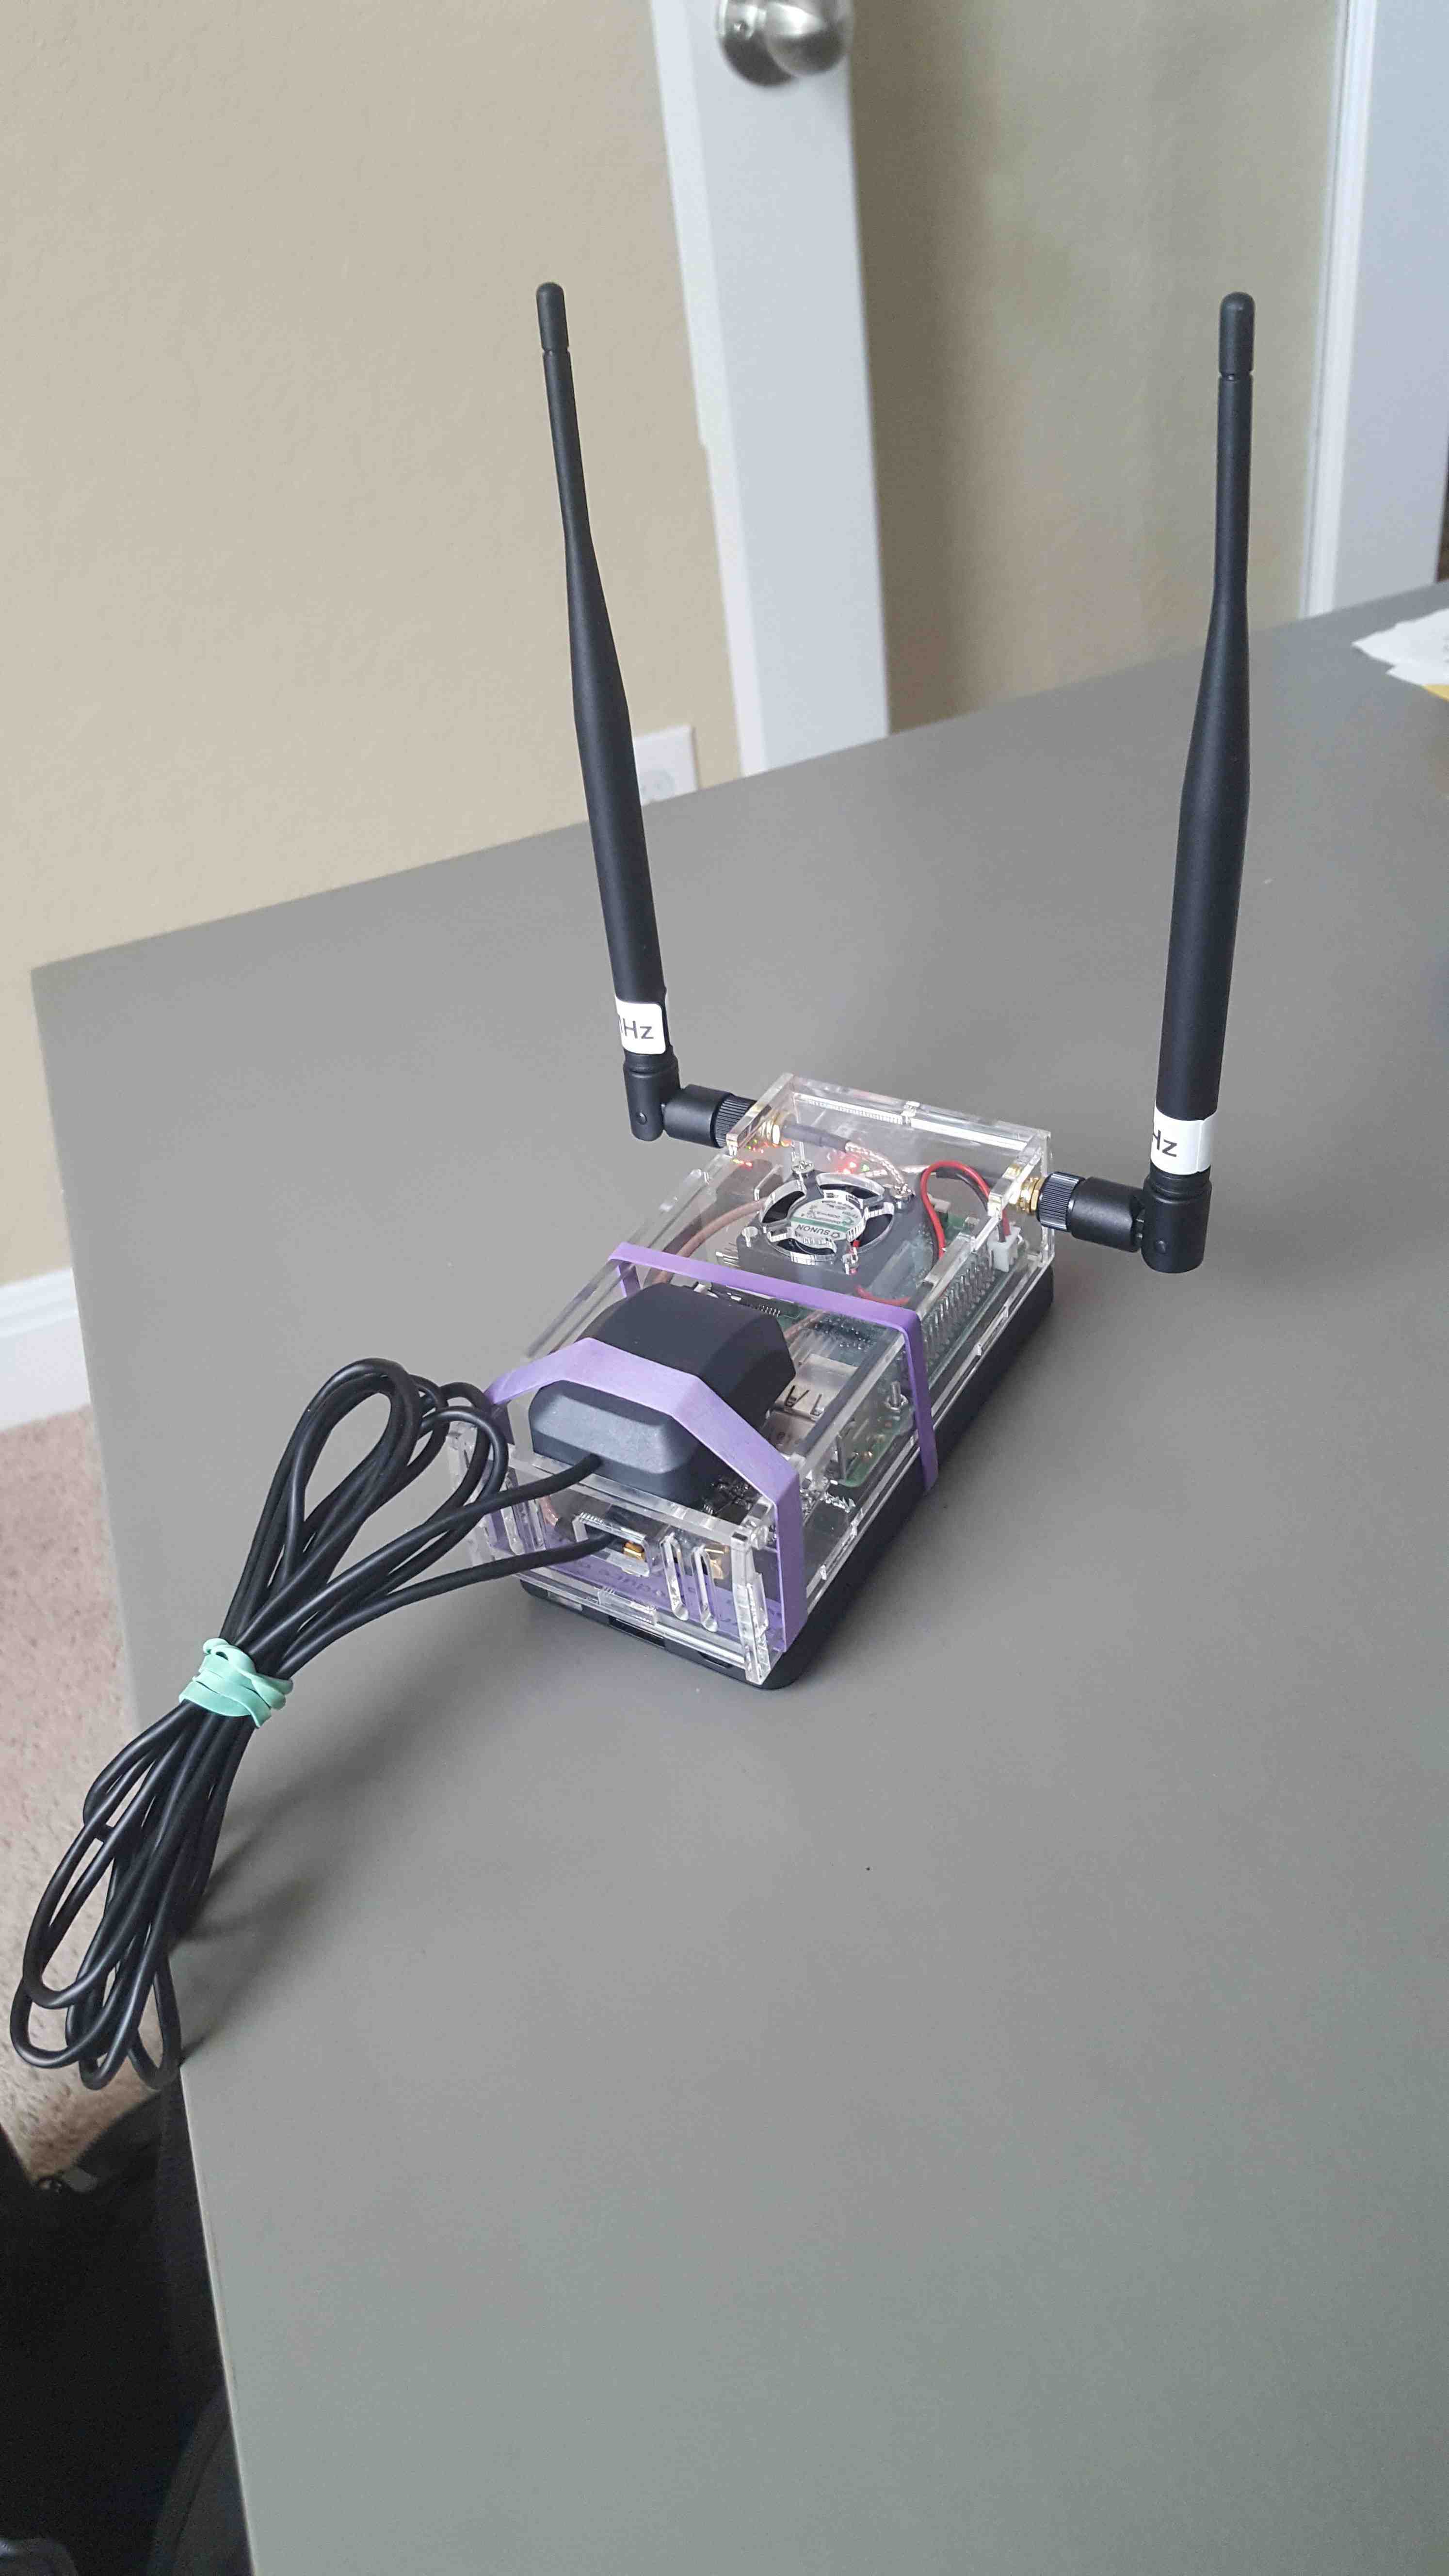
- Stratux Case with Fan, Clear Acrylic
- Pass-through charging battery pack with cable
- GPS (optional): Vk-162 (remote mount, better signal)
If I were starting over I probably would have modified this parts list slightly. I would not have bought the pre-programmed SD card as I already had some micro-SD cards laying around the house and a new one is about half the price of the pre-programmed one. Loading the software is easy since this is an open source project; just download the ZIP file from the homepage and extract it onto the micro-SD and you have the SD card ready to go.
I may have also passed on the battery pack. If you have some sort of portable phone charger (like a Mophie) that has a micro-USB connection and/or your aircraft has a 12V charging port that you can use a mini-USB car charger with, then that would satisfy your power requirements as well. That being said, the linked charging pack from the project fits the case very nicely for a simple, compact, unit. I'm not into 3D printing but I have also seen plans to print a case for this project if you are looking to reduce cost even further.
Lastly, I had plans to use the Pi for other things (a quick swap of the SD card makes it basically a new machine) but the case is very purpose built and blocks access to the HDMI port. I will probably end up cutting a hole there but just keep that in mind if you have similar plans. Might be easier to drill the antenna holes than cutting a slot for the HDMI port.
Putting It Together
In my typical fashion, my initial build was off the cuff and I didn't really have a plan. I bolted the board into the case, threw away the USB antenna adapters that were in the envelope with the antennas, and then had to coax each piece into place due to the limited space in the case. After digging through the trash to recover my lost USB-antenna adapters, I started over with a plan.
- Affix the heat sinks to the board (they only fit the two chips they are intended to cool) and set the mounting hardware aside for now.
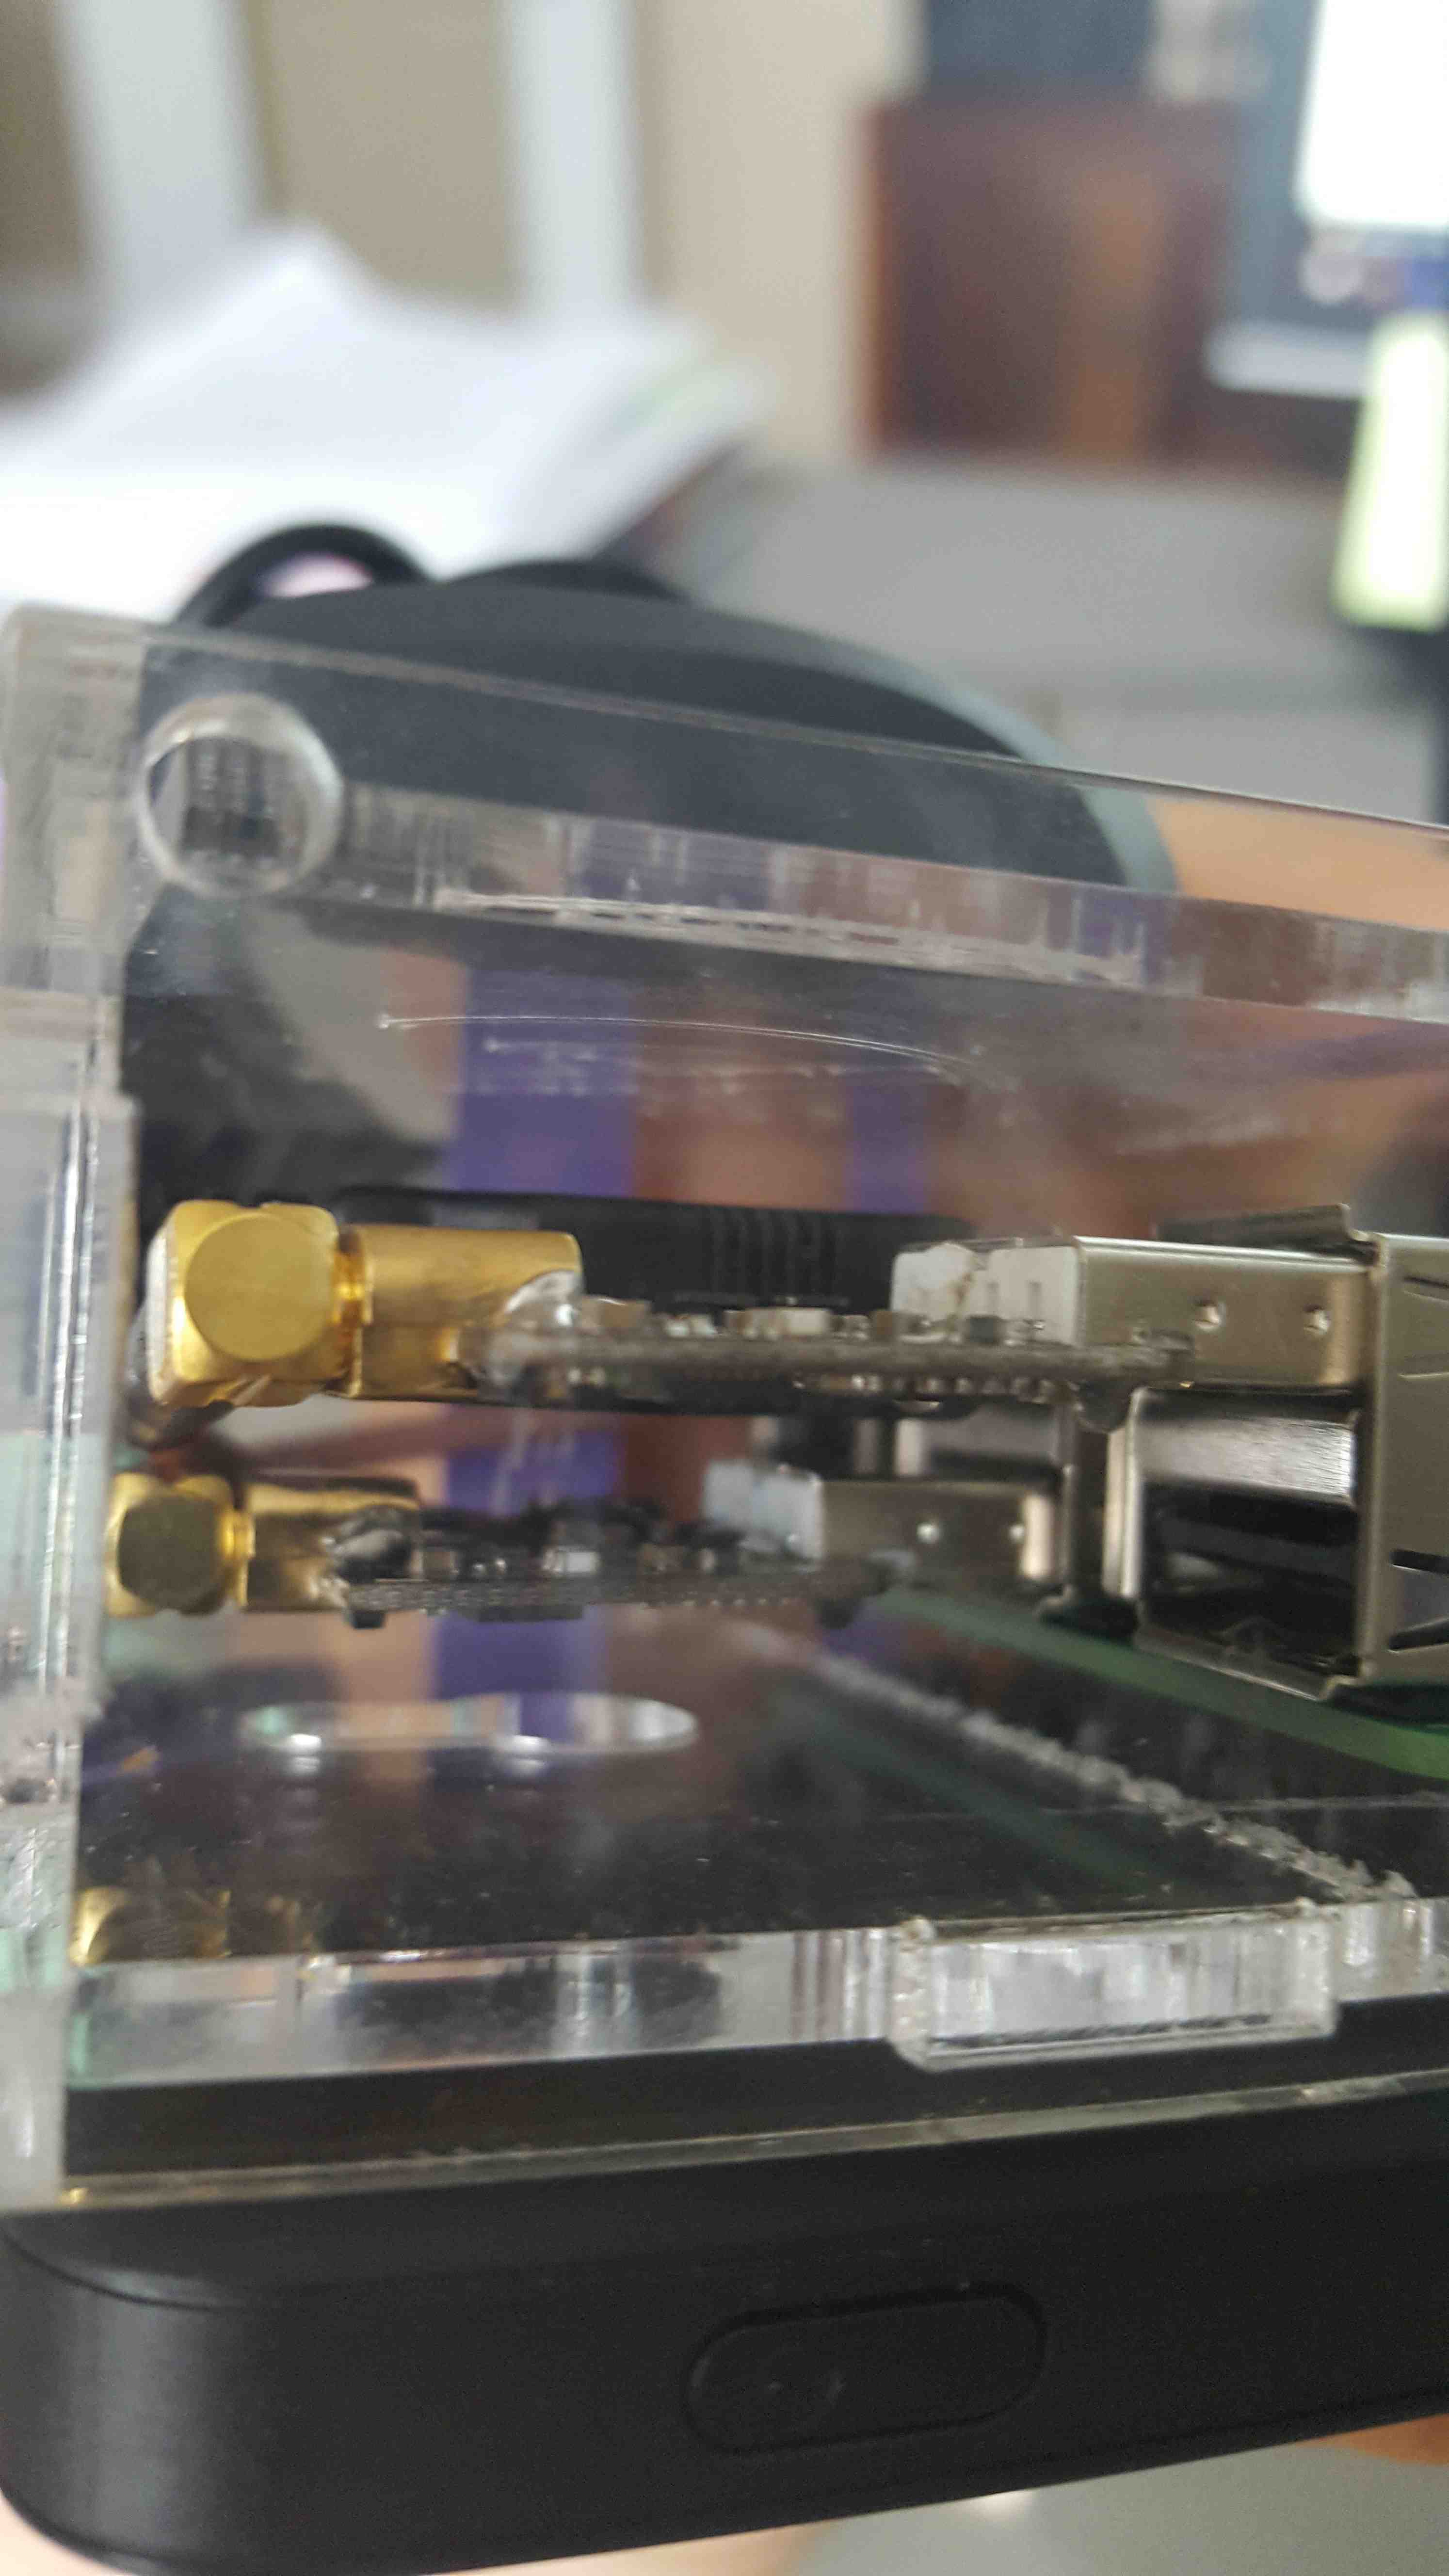
- Affix the two cables included with the antennas to the USB-antenna adapters.
- Plug in the two USB-antenna adapters to two of the Pi's USB slots. Be sure to leave the top middle USB port (the top one next to the Ethernet port) open if you plan to use the recommended USB GPS antenna. In my setup, I used the middle bottom and the top right USB ports (as you look at them) but if it works better for you, you can probably use both bottom ports. NOTE: The USB-antenna adapters should be marked on top with the frequency they operate on, but just in case they are marked on the bottom, take note of which port is for which frequency.
- Now mount the board. Perhaps the easiest way to do this would be to use some sort of clamp or vice to mount the case in a way that the bottom is off of your working surface. The screws will go through the case, a white nylon washer will go on the screw, then the board, and finally the nut. Trying to do this one screw at a time will be extremely frustrating (experience). If you can, get all four screws and the nylon washers in place, then put the board on. The board really should only mount one direction, but just for clarity, the board should be mounted with the Ethernet and USB ports oriented towards the side of the case with the vent holes. NOTE: Printed circuit boards are somewhat fragile, when tightening the nuts, they don't need to be overly tight.
- With the board in place, the next step is to mount the antenna end of the antenna cables to the circular holes in the sides of the case on the opposite end from the vent holes. All the hardware you need in on the antenna cable, just make sure that one washer is on each side of the case. The cables are fairly stiff so route them in such a way that they are not pinched or bent.
- The last part of the internal work on the case will be to install the fan. The screws that come with the fan are pretty short and I was only able to get two of the nuts to actually catch on the screws. This should be sufficient for normal use. The fan power plug goes on the 2nd and 3rd pins on the outer row with the first pin being the one on the opposite side of the board from the USB and Ethernet ports.
- If everything looks in place the antennas are the next part of the build. Using either the labels on the USB-antenna adapters or the note you took earlier about which one is which, affix the applicable antenna to the corresponding cable. Tighten the antenna onto the cable end, once tightened, the antennas should be able to rotate on their own so that you can adjust them as necessary.
- Plug the USB GPS antenna into the open USB port that lines up with the hole in the case.
- If you did not get the pre-loaded micro-SD card, download the latest release from the Stratux homepage and unzip the file onto the SD card. Insert the SD card into the SD card slot on the bottom of the Pi on the opposite end from the other ports. The text in the card should face you.
- Now we are ready to test!
It's Alive!!!
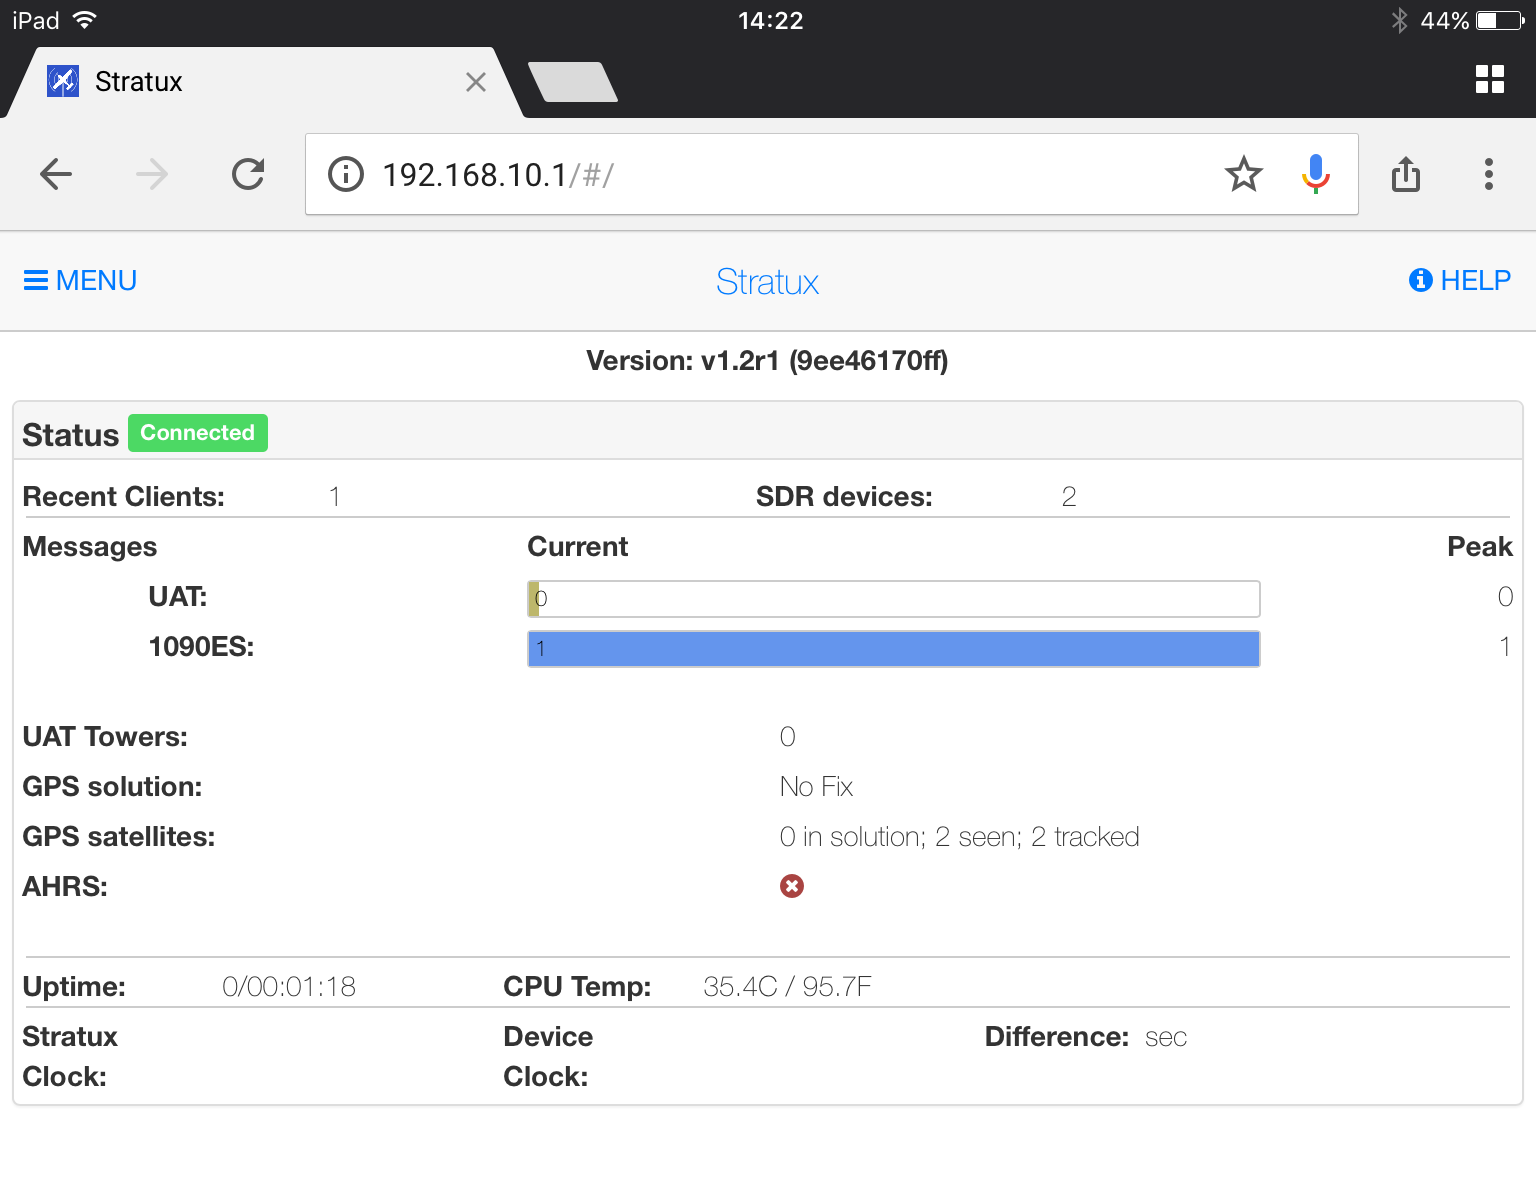
Connecting the power source (a regular phone charger in my case) brought the Stratux to life immediately (ok, it took a few attempts to figure out where the fan power pins were). Following the documentation, I connected my iPad to the stratux network, went to Foreflight, and saw at the top left of my map that was I was receiving 0 ADS-B towers. I was a little sad. You can view the status of your Stratux at http://192.168.10.1 on the iPad and everything looked fine. A little Googling revealed that you will only pick up ADS-B towers at about 1000' AGL in most cases. A flight test was necessary to test full functionality. At this point, set up the box however you want. For now, I am using rubber bands to hole everything together. I wanted to make sure I like the configuration before I develop a more permanent (glue) solution.
Security
Being a IT security guy, I did not like that the Wi-Fi network was not secure so I found recommendations on how to remedy that situation. The first step is to get SSH access to your Pi. This is simple enough, power off your Stratux (either by removing power or from the web interface). Remove the SD card and open it on a computer. Add an empty file called ssh to the root. In Linux touch ssh in the directory where the SD card is mounted, in Windows Powershell echo $null > D:\ssh (replace D with the applicable drive letter). Re-insert the SD card in your Pi and power it back on. While connected to the stratux Wi-Fi network SSH to [email protected] (if using Windows, use Putty and login in using password raspberry. Default passwords suck, so change the default pi account password to something only you know using passwd pi. I want to do more research to find out if removing the pi account altogether is possible without messing up the software. Further details are located on the Stratux Wiki
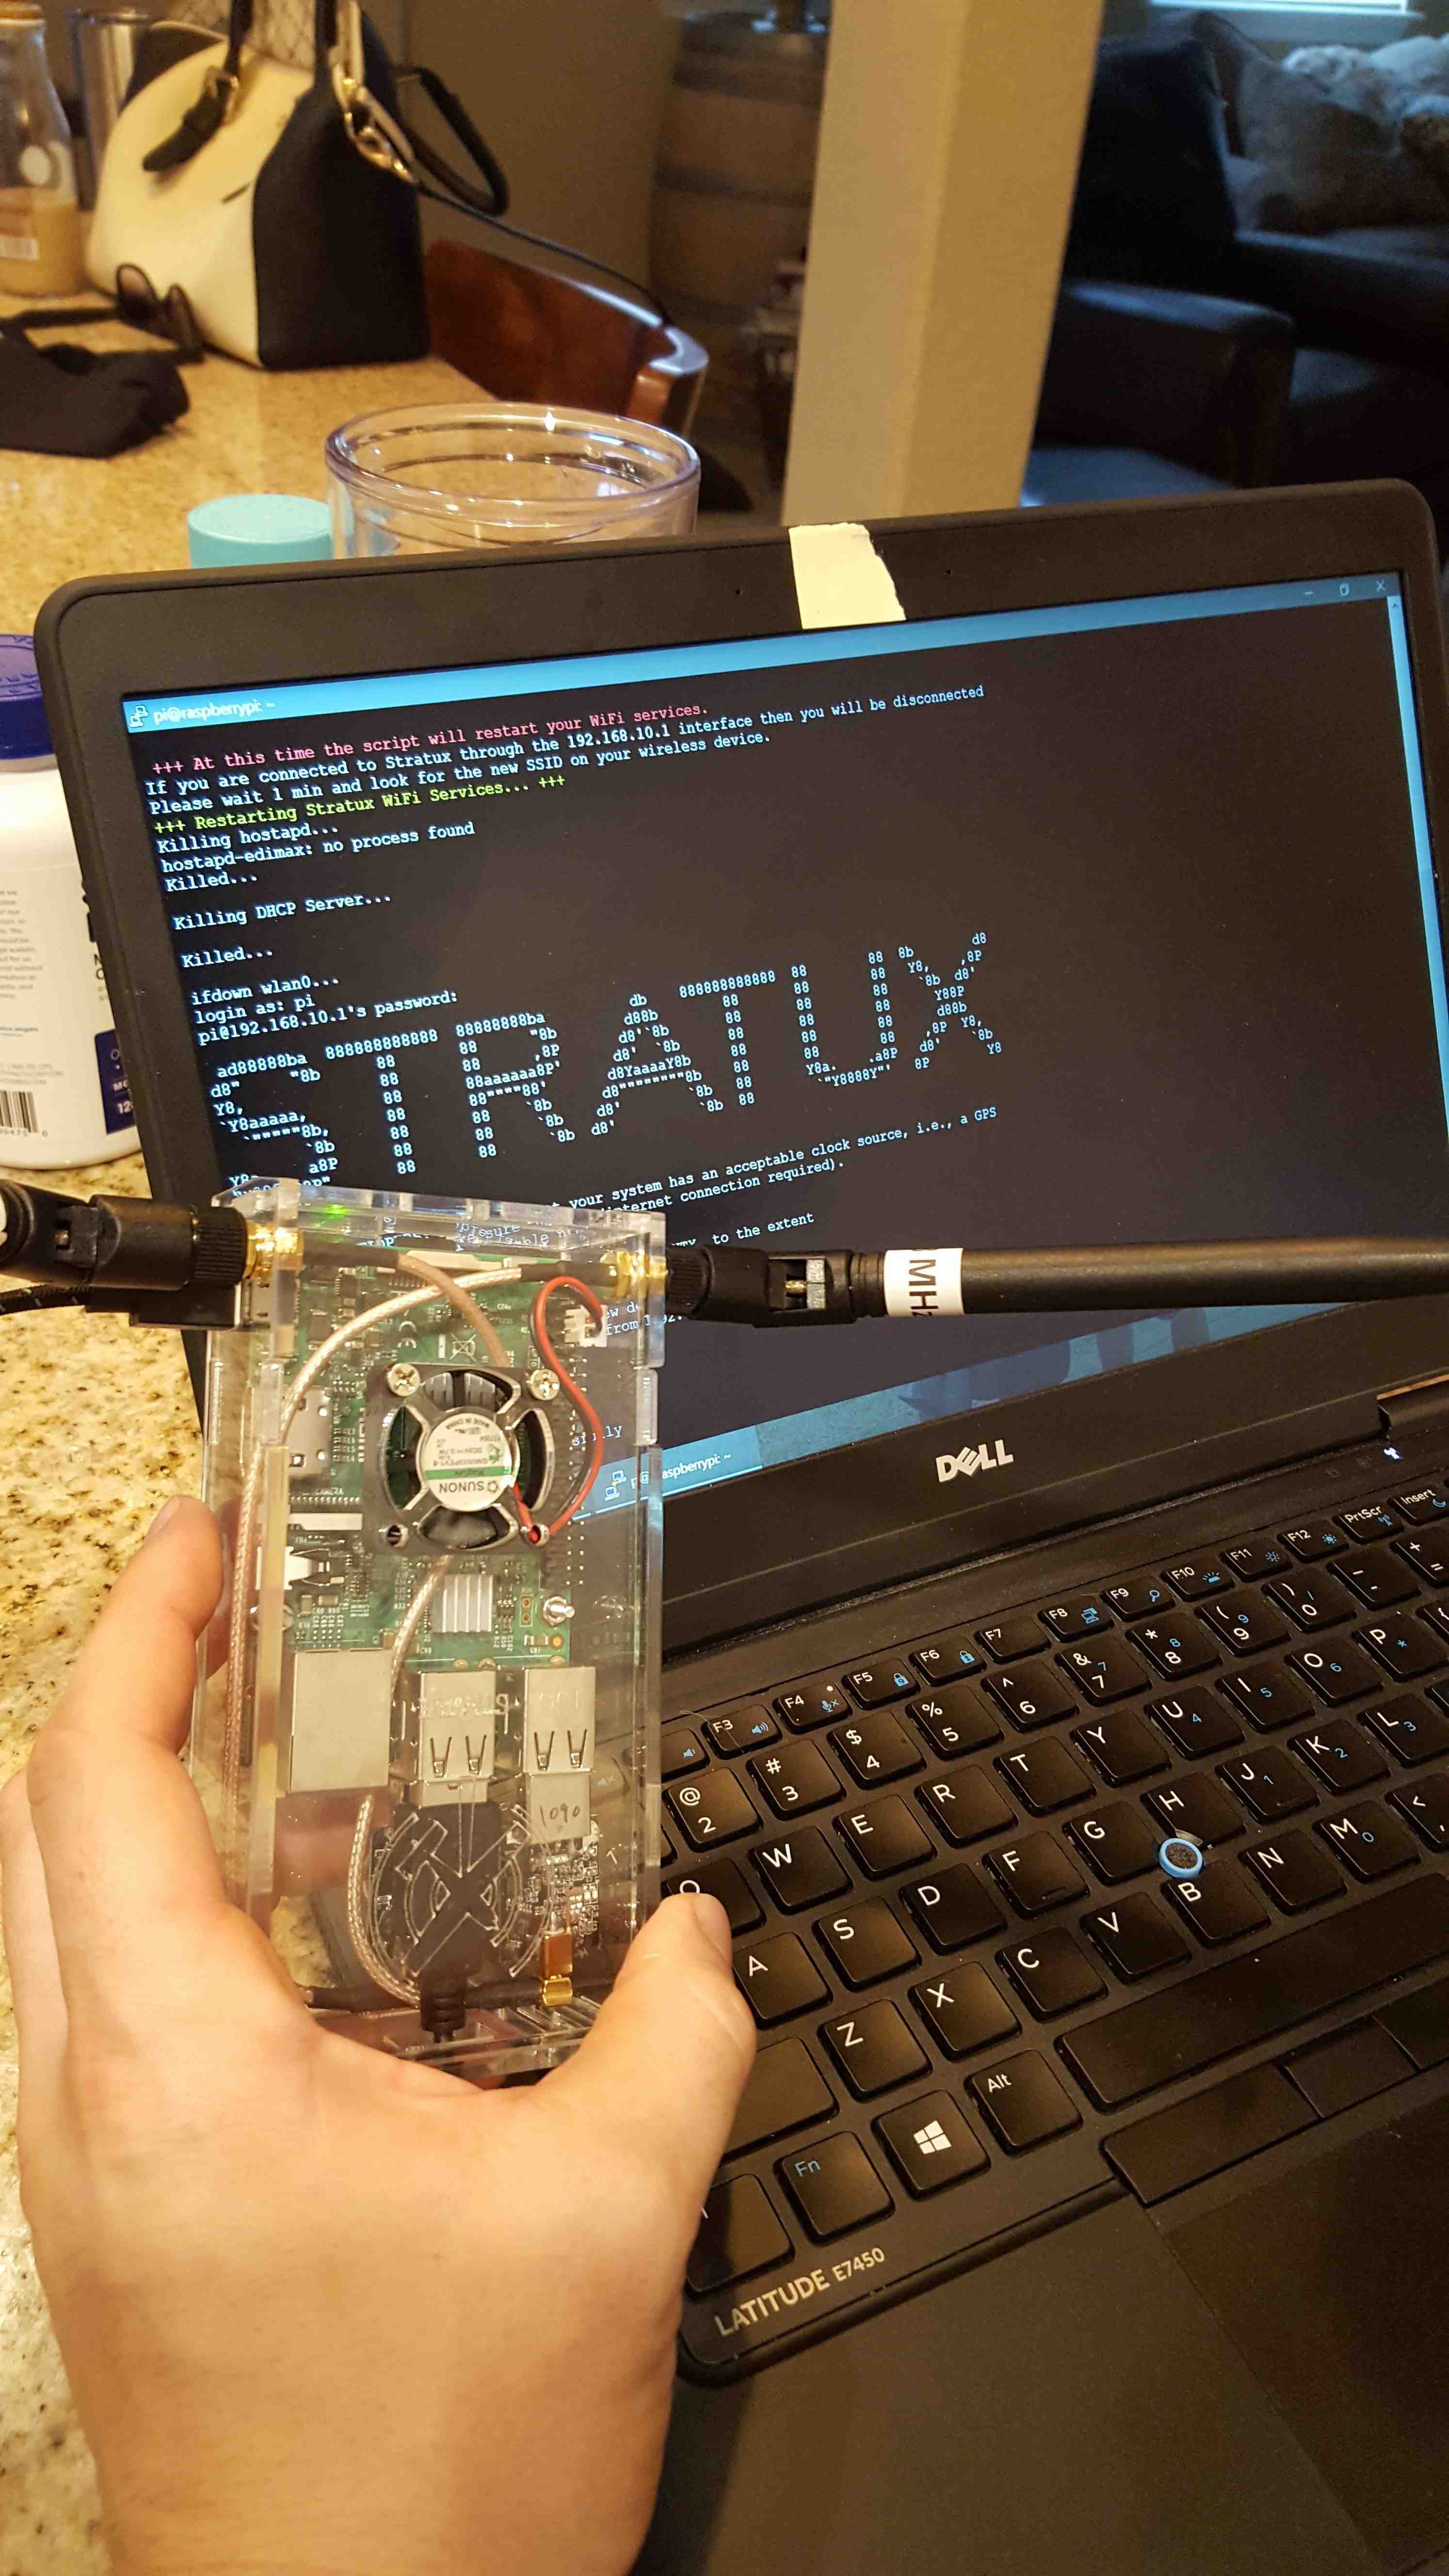
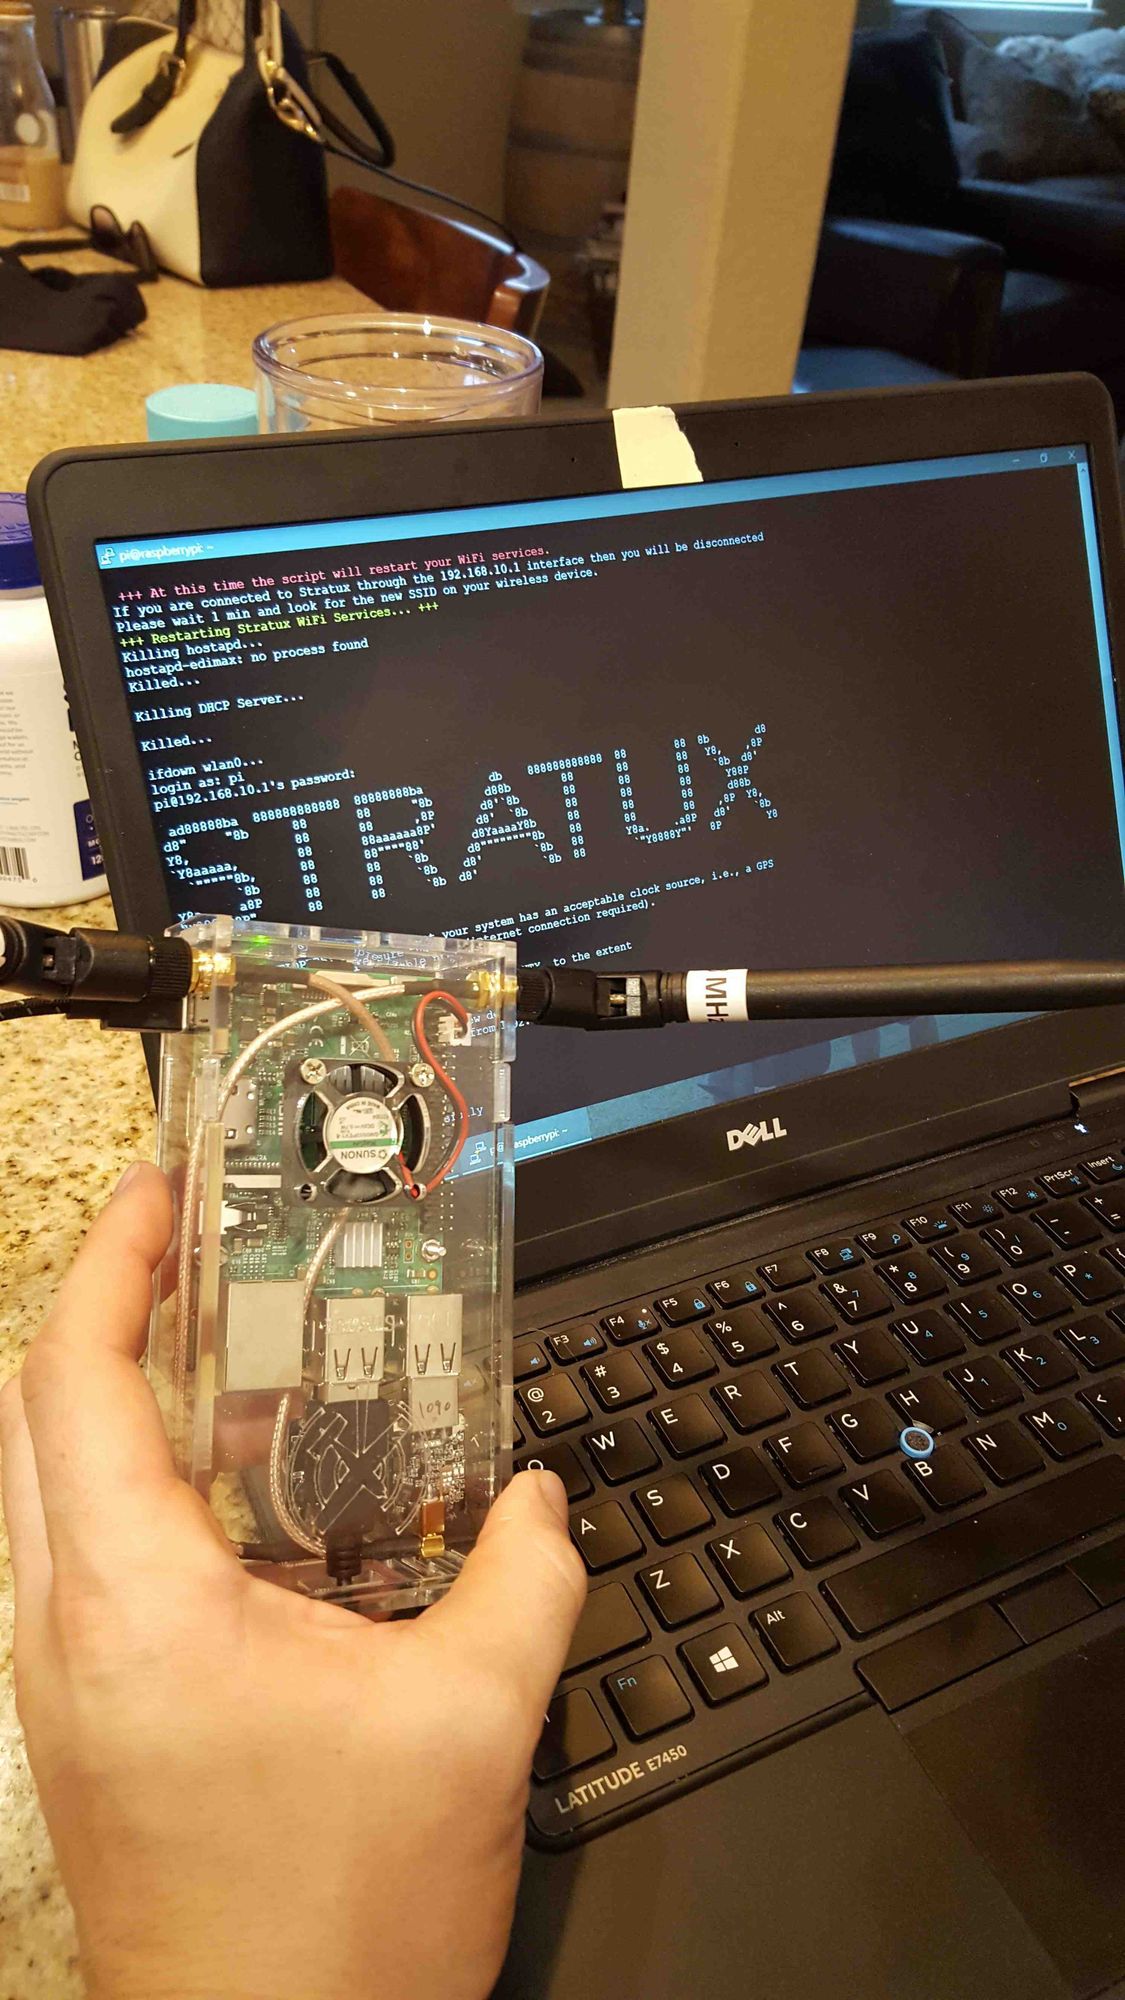
Now that we finally have SSH access to our Stratux, the next step is to configure the WiFi. If you have the most up-to-date software, the file you need (hostapd_manager.sh) is located in /root/stratux/image. You will not be able to acces this file without elevated privileges. To get an elevated shell, run sudo su -. Then to run the script simply type the full path to the script /root/stratux/image/hostapd_manager.sh. Running the script without any options will print the usage. In my case I ran this command to change the SSID (I hate defaults) and set the Wi-Fi passphrase: /root/stratux/image/hostapd_manager.sh -s airplane-stratux -e somepassword. Further details are located on the Stratux Wiki
At this point I was ready to use this thing in the air!
Flight Test
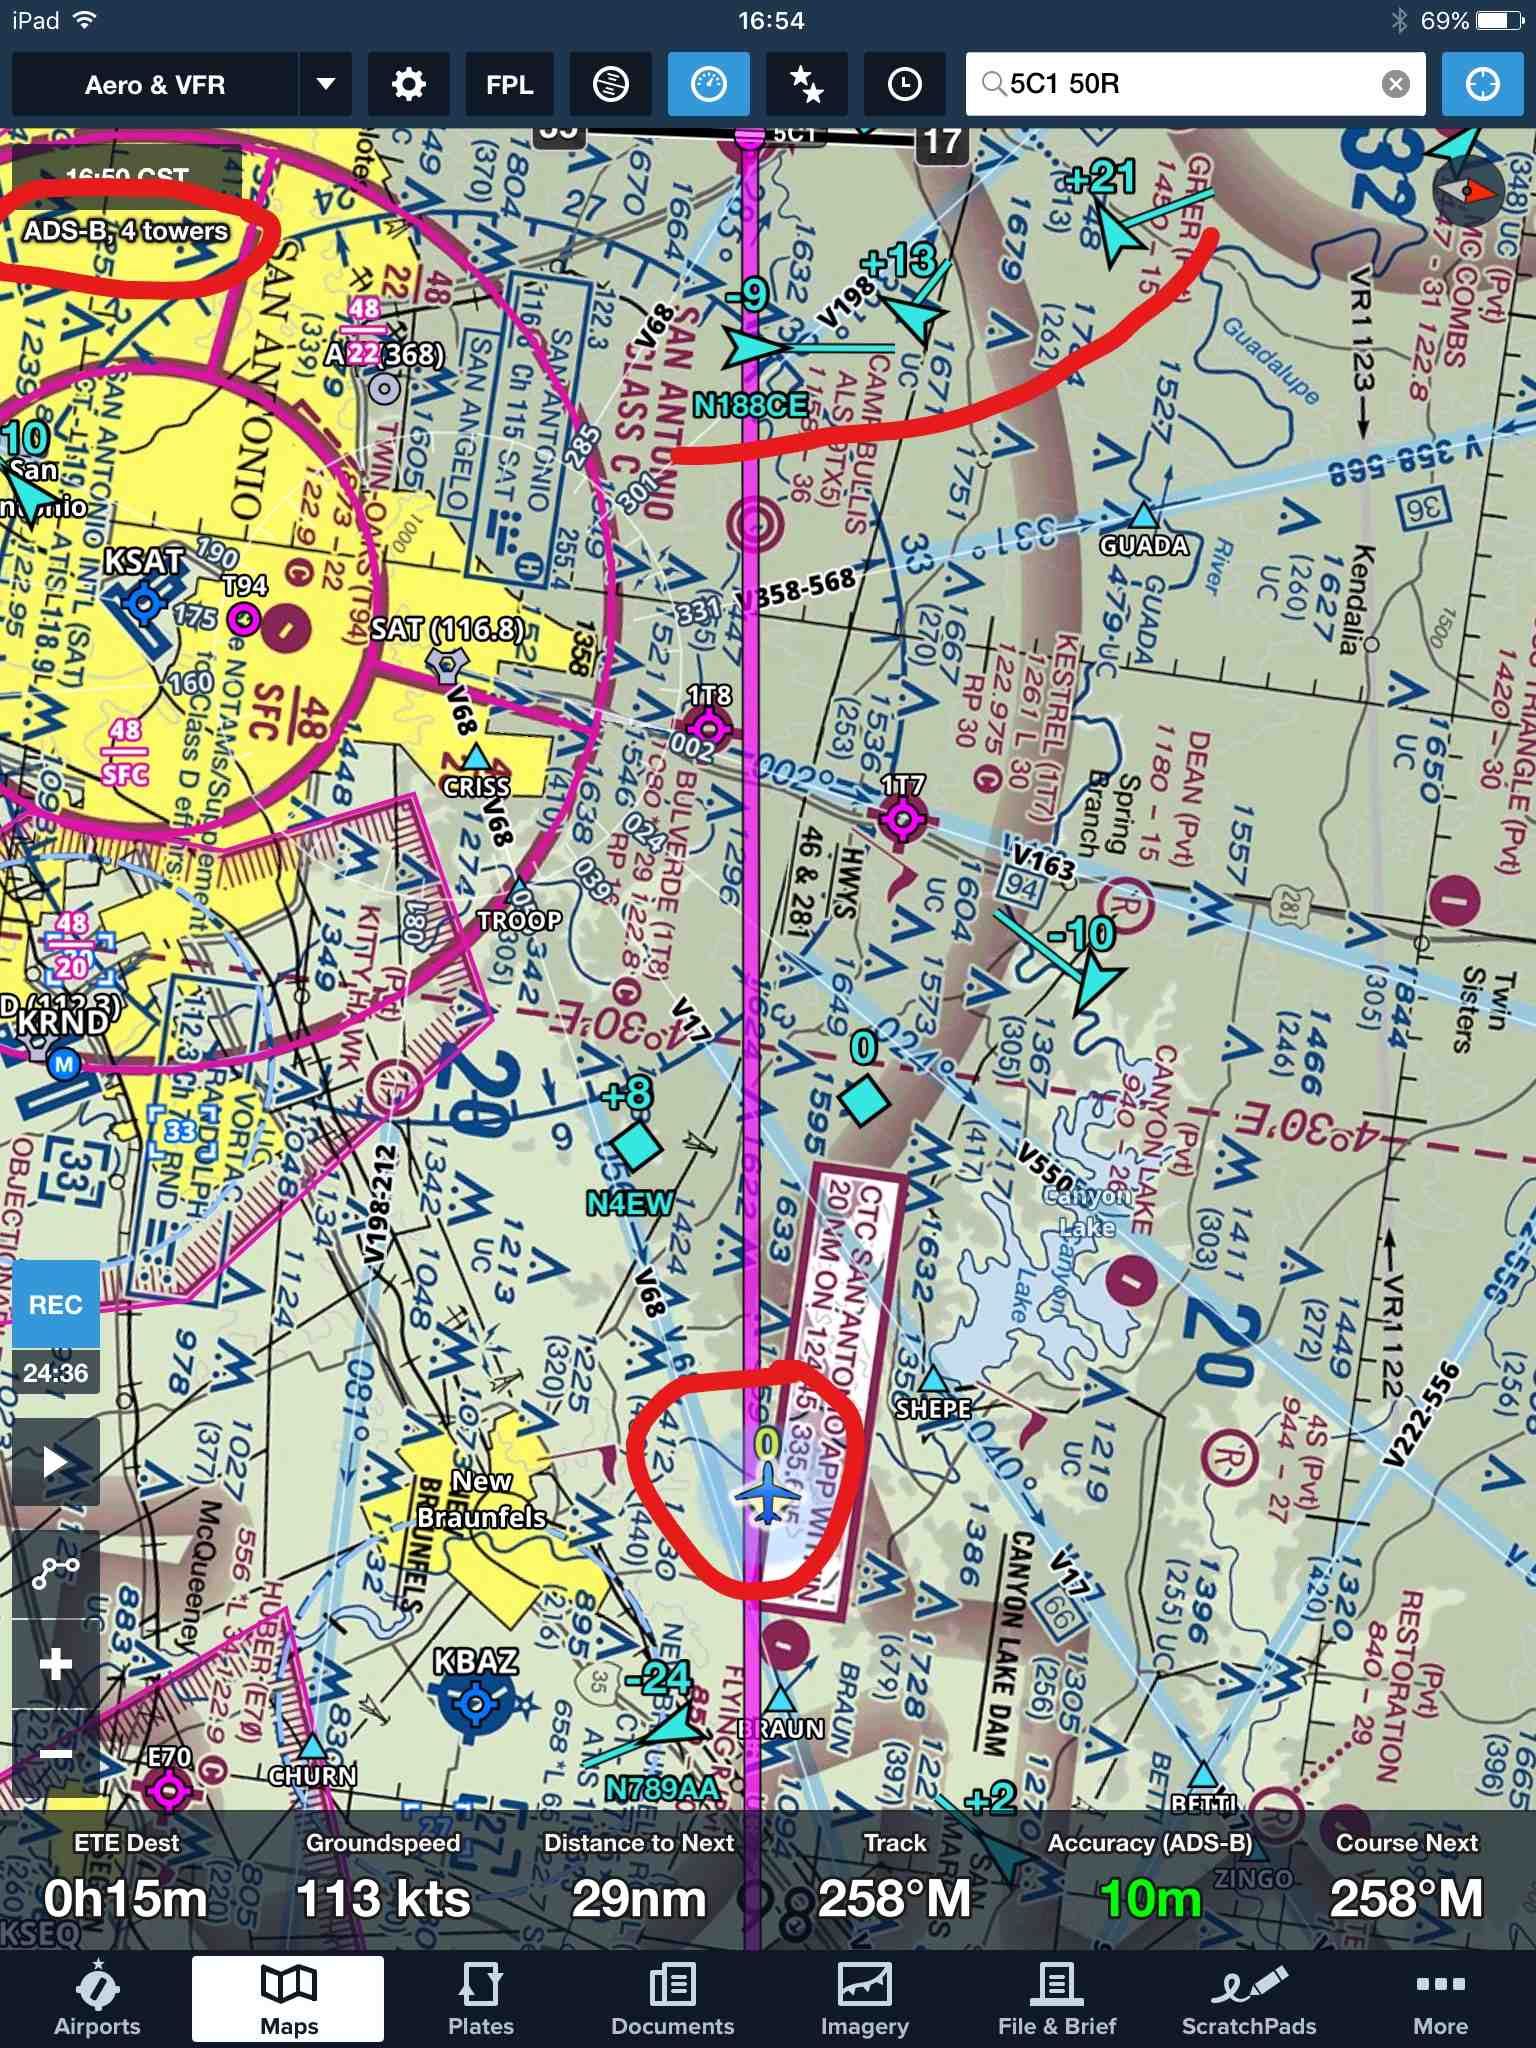
A few weeks after getting my whole Stratux built and put together, I was finally able to test the capabilities in the air. A few of us made plans to fly 54mi to Lockhart, TX(50R) from Boerne Stage Field (5C1) for some of the world's best BBQ. Before takeoff, the Stratux connected to Foreflight just fine and once we were in the air, the ADS-B Tower count started to go up (we had 4 towers receiving at one point). All of a sudden, other aircraft in the area started showing up on the Foreflight map. We could tap any aircraft and get tail number, altitude, and speed. We correlated this data with traffic advisories we were getting from San Antonio Approach while on Flight Following and found the Stratux data to be surprisingly accurate. The only thing we did notice was the sometimes the Stratux would pick up our own track and produce and in-app advisory for our own airplane. This really freaked us out the first time when we were getting an alert that an aircraft was within .25 miles and at the same altitude, but eventually we figured it out. Knowing that Foreflight produces those traffic advisories for nearby aircraft is extremely nice though.
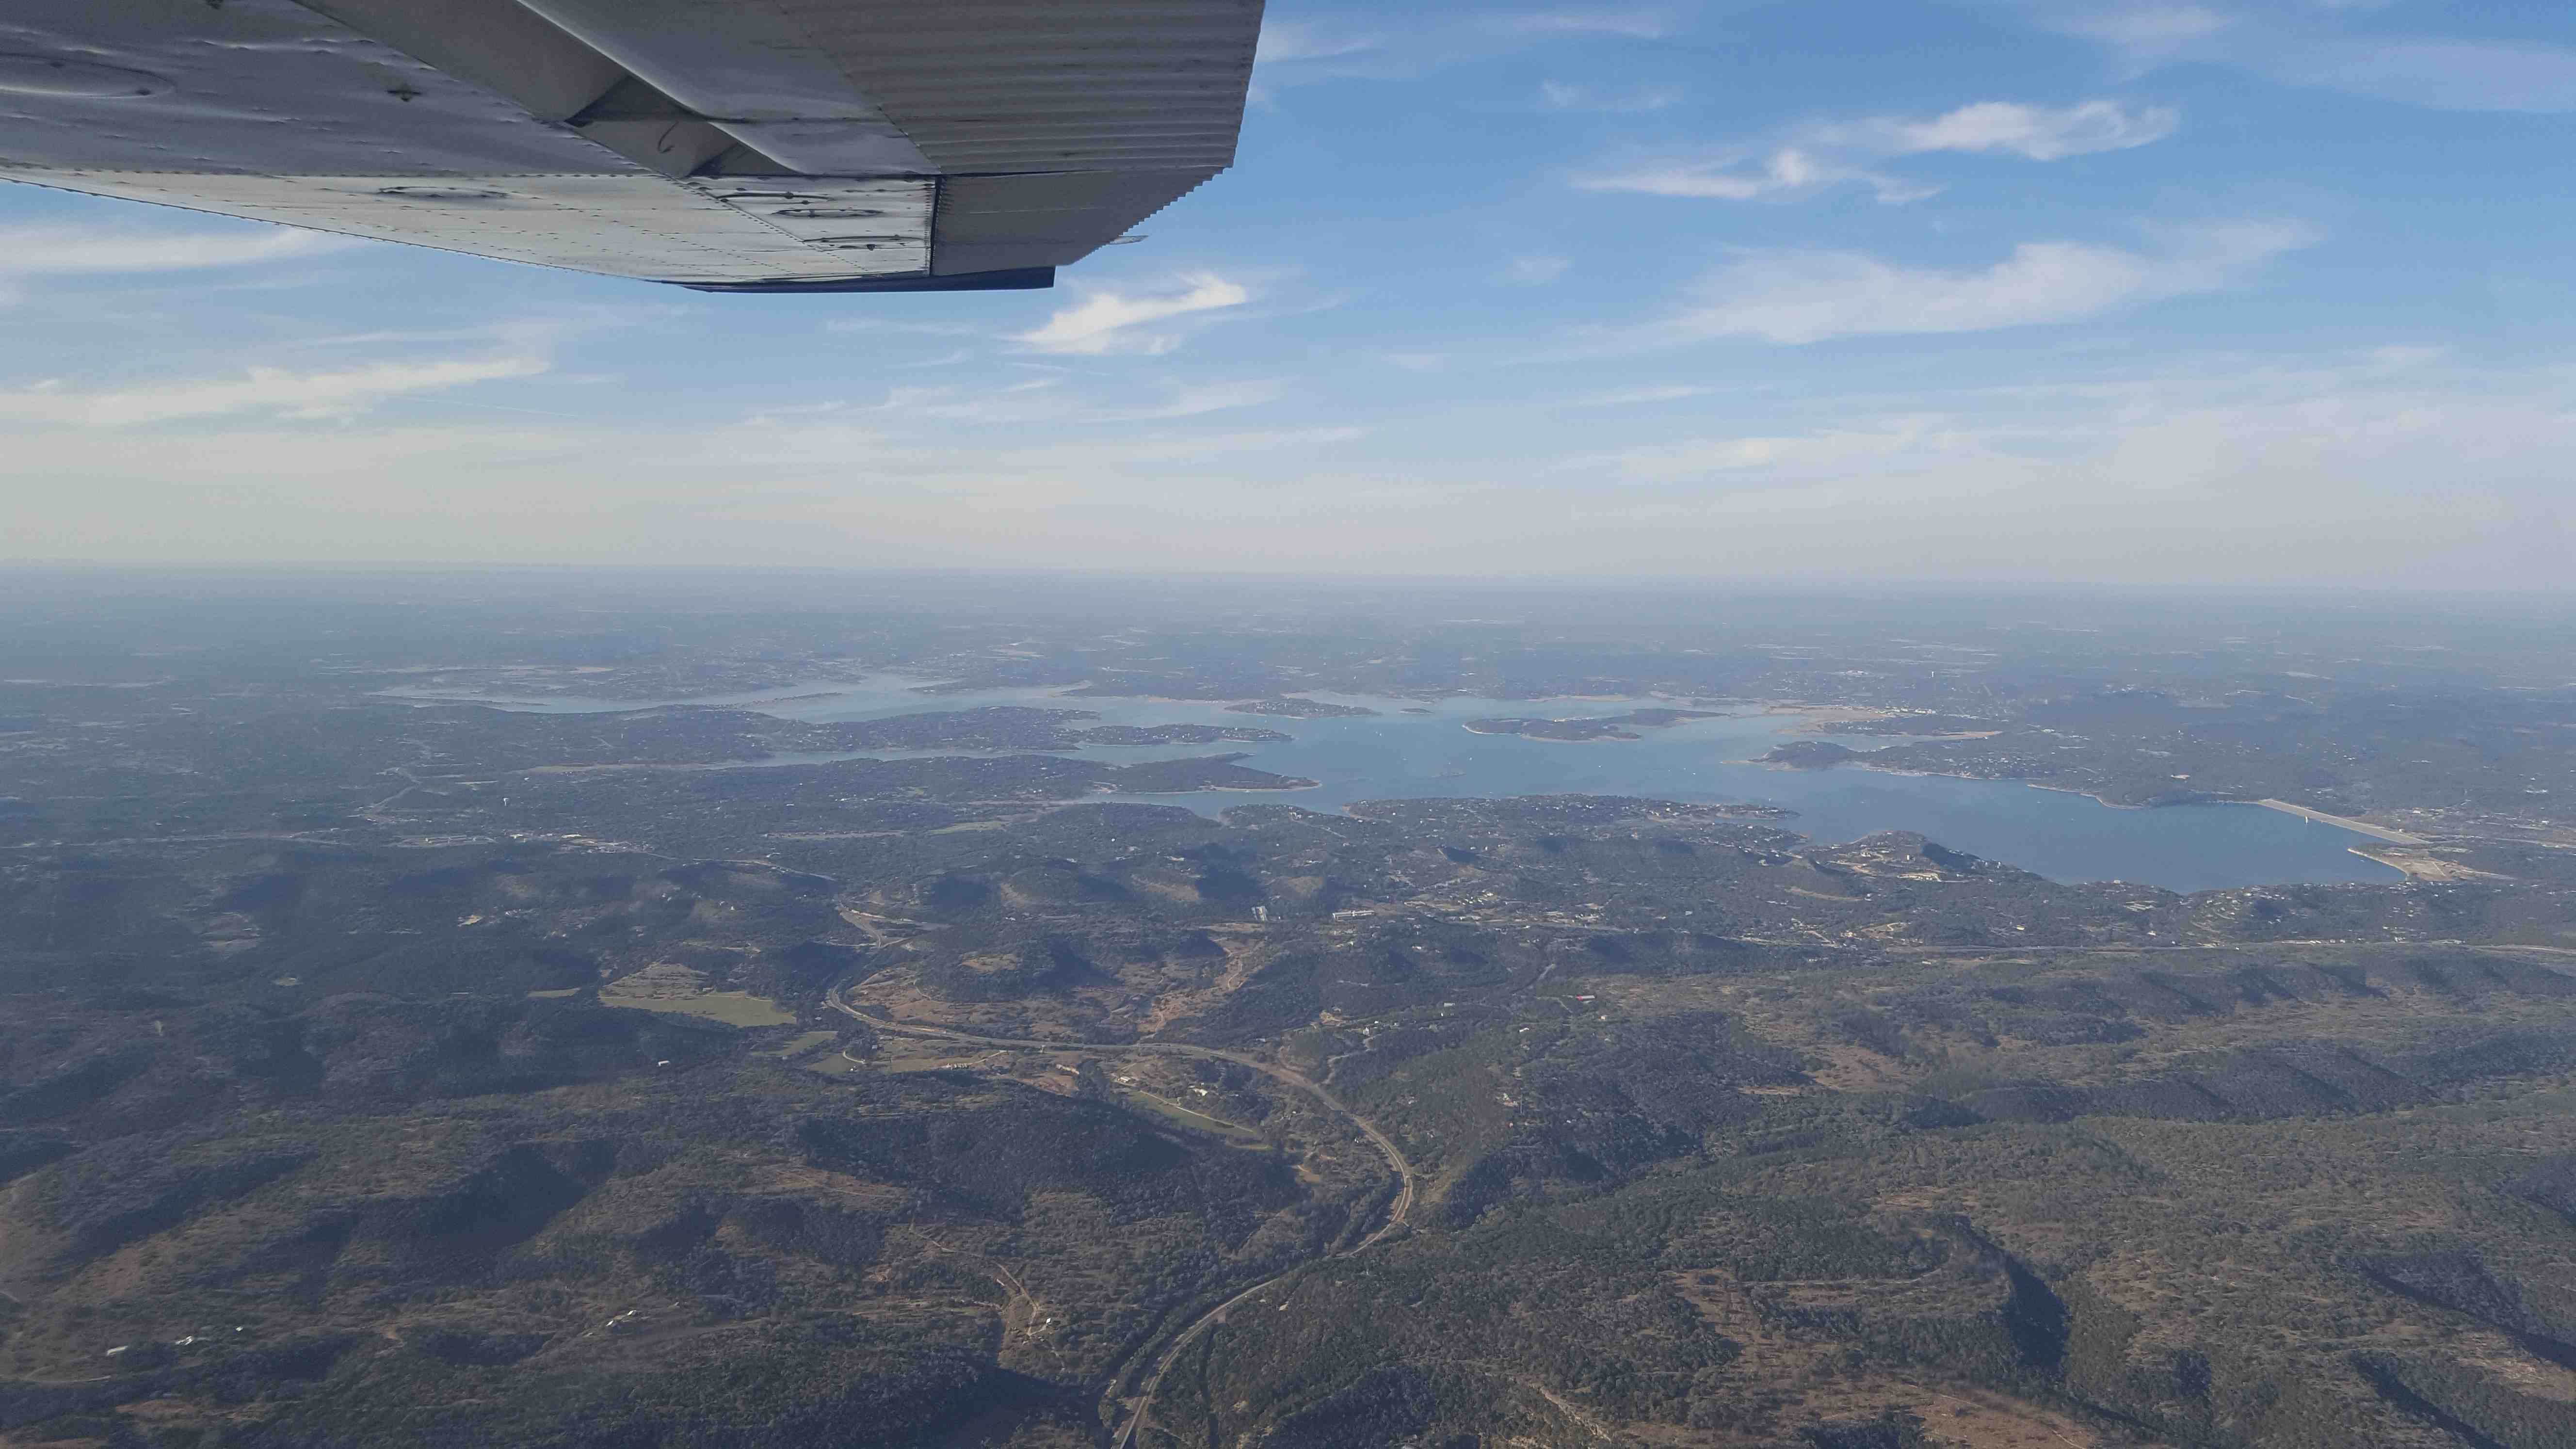
The BBQ in Lockhart was great and I ended up more than happy with my decision to build and use the Stratux. We also got some great views of nearby Canyon Lake. My goal now is to get involved a bit with the development of future versions.
Thanks to Cyoung for his work on this and making is open source for the community to use.