My Brewing Process
A friend at work and I got on the topic of brewing and though I brew on a somewhat regular basis, that conversation really re-invigorated my passion for this hobby. As such I though it appropriate to detail my process for two purposes: 1) So that some new brewer somewhere might possibly read this and 2) to get feedback from the community on where I should go next and what I could be doing differently.
Step 1: Decide To Brew
For most folks (maybe) they plan their brew day, go to the local homebrew store (LHBS) a few days ahead of time for ingredients or a kit, and actually prepare a little bit.
Lately I am a little more off-the-cuff style and generally decide to brew the day-of. For the most part this is due to family commitments, but if I'm honest, I am also pretty lazy when it comes to brewing.
My trip to the LHBS involves either picking up a kit with all the ingredients I need or getting the grain, hops, and yeast I need. With a 1-year-old at home, I have favored kits lately just based on time constraints. I also tend to either replace, upgrade, or add one piece of equipment to my arsenal on each trip. Lately I have not known what to invest in next.
On my way home from the LHBS I usually stop to get ice to assist in the cooling process later.
Most folks will have a sanitization step before starting their brewing. I ensure everything is clean but honestly I do not bother sanitizing anything until just before I finish my boil as anything that is used in the boil will be santized that way.
I also prep my yeast at this point. For smack-packs I smash them to start yeast activation. For dry yeast, I prepare a cup of about 80 degree water and pour the yeast in there to rehydrate while I do the rest of the brewing process.
Step 2: Mash In
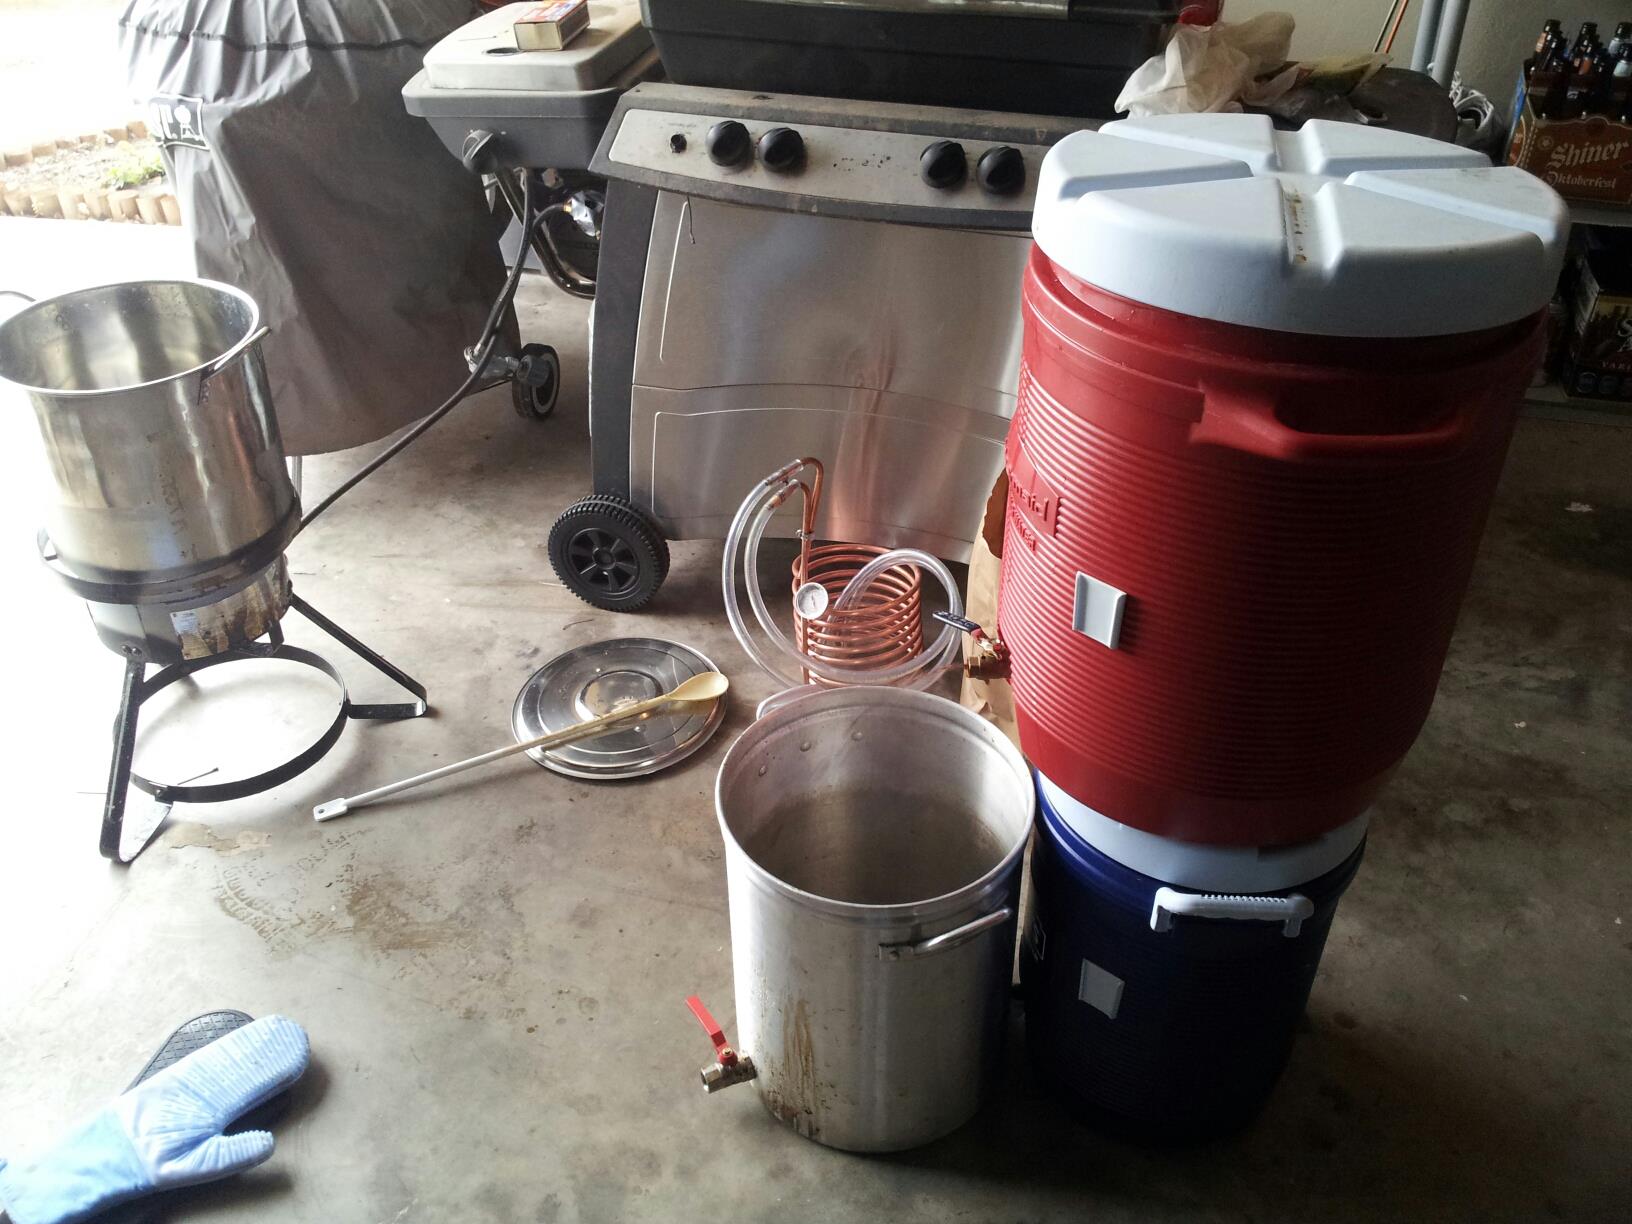
To start my brewing process I first start to heat about 5 gallons of water to my strike temperature (usually between 150 and 160 degrees) for mashing the grain (the process of steeping the grain in hot water to get the enzymes in the grain to start breaking down the complex sugars into simple sugars for the yeast). This temperature should be slightly above the mash temperature to account for heat loss to the mash tun and the grain.
I use a turkey frier for my heat source and a regular aluminum kettle as my hot liquor tank (HLT). Once the water is to the needed temperature I pour that into my mash tun which is built out of a regular Rubbermaid water cooler and let it sit for a minute or two to let the temperature stabilize and bring the vessel to the same temperature. This was more necessary in the colder winters of Oklahoma, not as necessary in the summers of Texas.
With the temperature stabilized, I pour in the grain while stiring to ensure that none of the grain clumps up. Admittedly this is difficult when I am alone so sometimes I pour a little grain in, then stir and repeat until all the grain is in the mash tun.
Now I let the grain steep for 60 minutes (some recipes call for 90 minutes). I check the temperature occasionally but have rarely found it to fluctuate after the first few minutes. If after a couple minutes the temp has dropped, I will heat up additional water to bring up the temp.
Step 3: Sparge
About 15 minutes prior to the end of the hour I heat up an additional 5 gallons of water to my sparge temperature. This is generally 160-170 degrees. This sparge water is used to capture more of the sugars from the grain than just simply running out the water already in the mash tun.
Once the hour is up, I start to transfer the liquid part of the mash to my boil kettle in the process of lautering. The mash tun is fitted with a "false bottom" to keep grain from getting into the boil kettle but the grain also acts as a natural filter and does most of the filtering.
I typically do a vorlauf process where I take the first runnings out of the mash and pour it back through. The ensures that the grain bed settles and creates a strong filter. Those first runnings have a chance of not passing through a compact grain bed and therefore will introduce some undesirable solids. My process is to recirculate a gallon of wort before letting it all run into the boil kettle. After this gallon is back in the mash tun and I just start to see the top of the grain, I start adding the sparge water.
I continue to sparge until I have about 6 gallons in my boil kettle. I always err on the side of less wort in the boil kettle as it is much easier to add distilled water to adjust the gravity of my beer than it is to somehow take water out.
Step 4: Boil
This is probably the simplest part of the process. With the wort in my boil kettle, I heat it to boiling. This the part of the process with highest chance of a mess. As the wort comes to a boil it is likely to foam and boil over. As the wort gets to this point reduce heat (it happens QUICKLY). At this point it is safe to add the first round of hops, which will have the added benefit of stopping the boil over.
From here, keep an eye on the boiling wort while adding the remaining hops at the appropriate times per your recipe. Generally bittering hops are added early, flavor hops midway, and aroma hops towards the end.
About 10 minutes before the end of my boil I put my immersion chiller into the kettle to ensure it is sanitized. I also prepare a large Rubbermaid container with 2-3 bags of ice, water, and my hose coiled in the bottom (to connect to the chiller at the end of the boil).
If I am concerned about the clarity of the beer, I will also add some Irish Moss to the last 10 minutes of the boil.
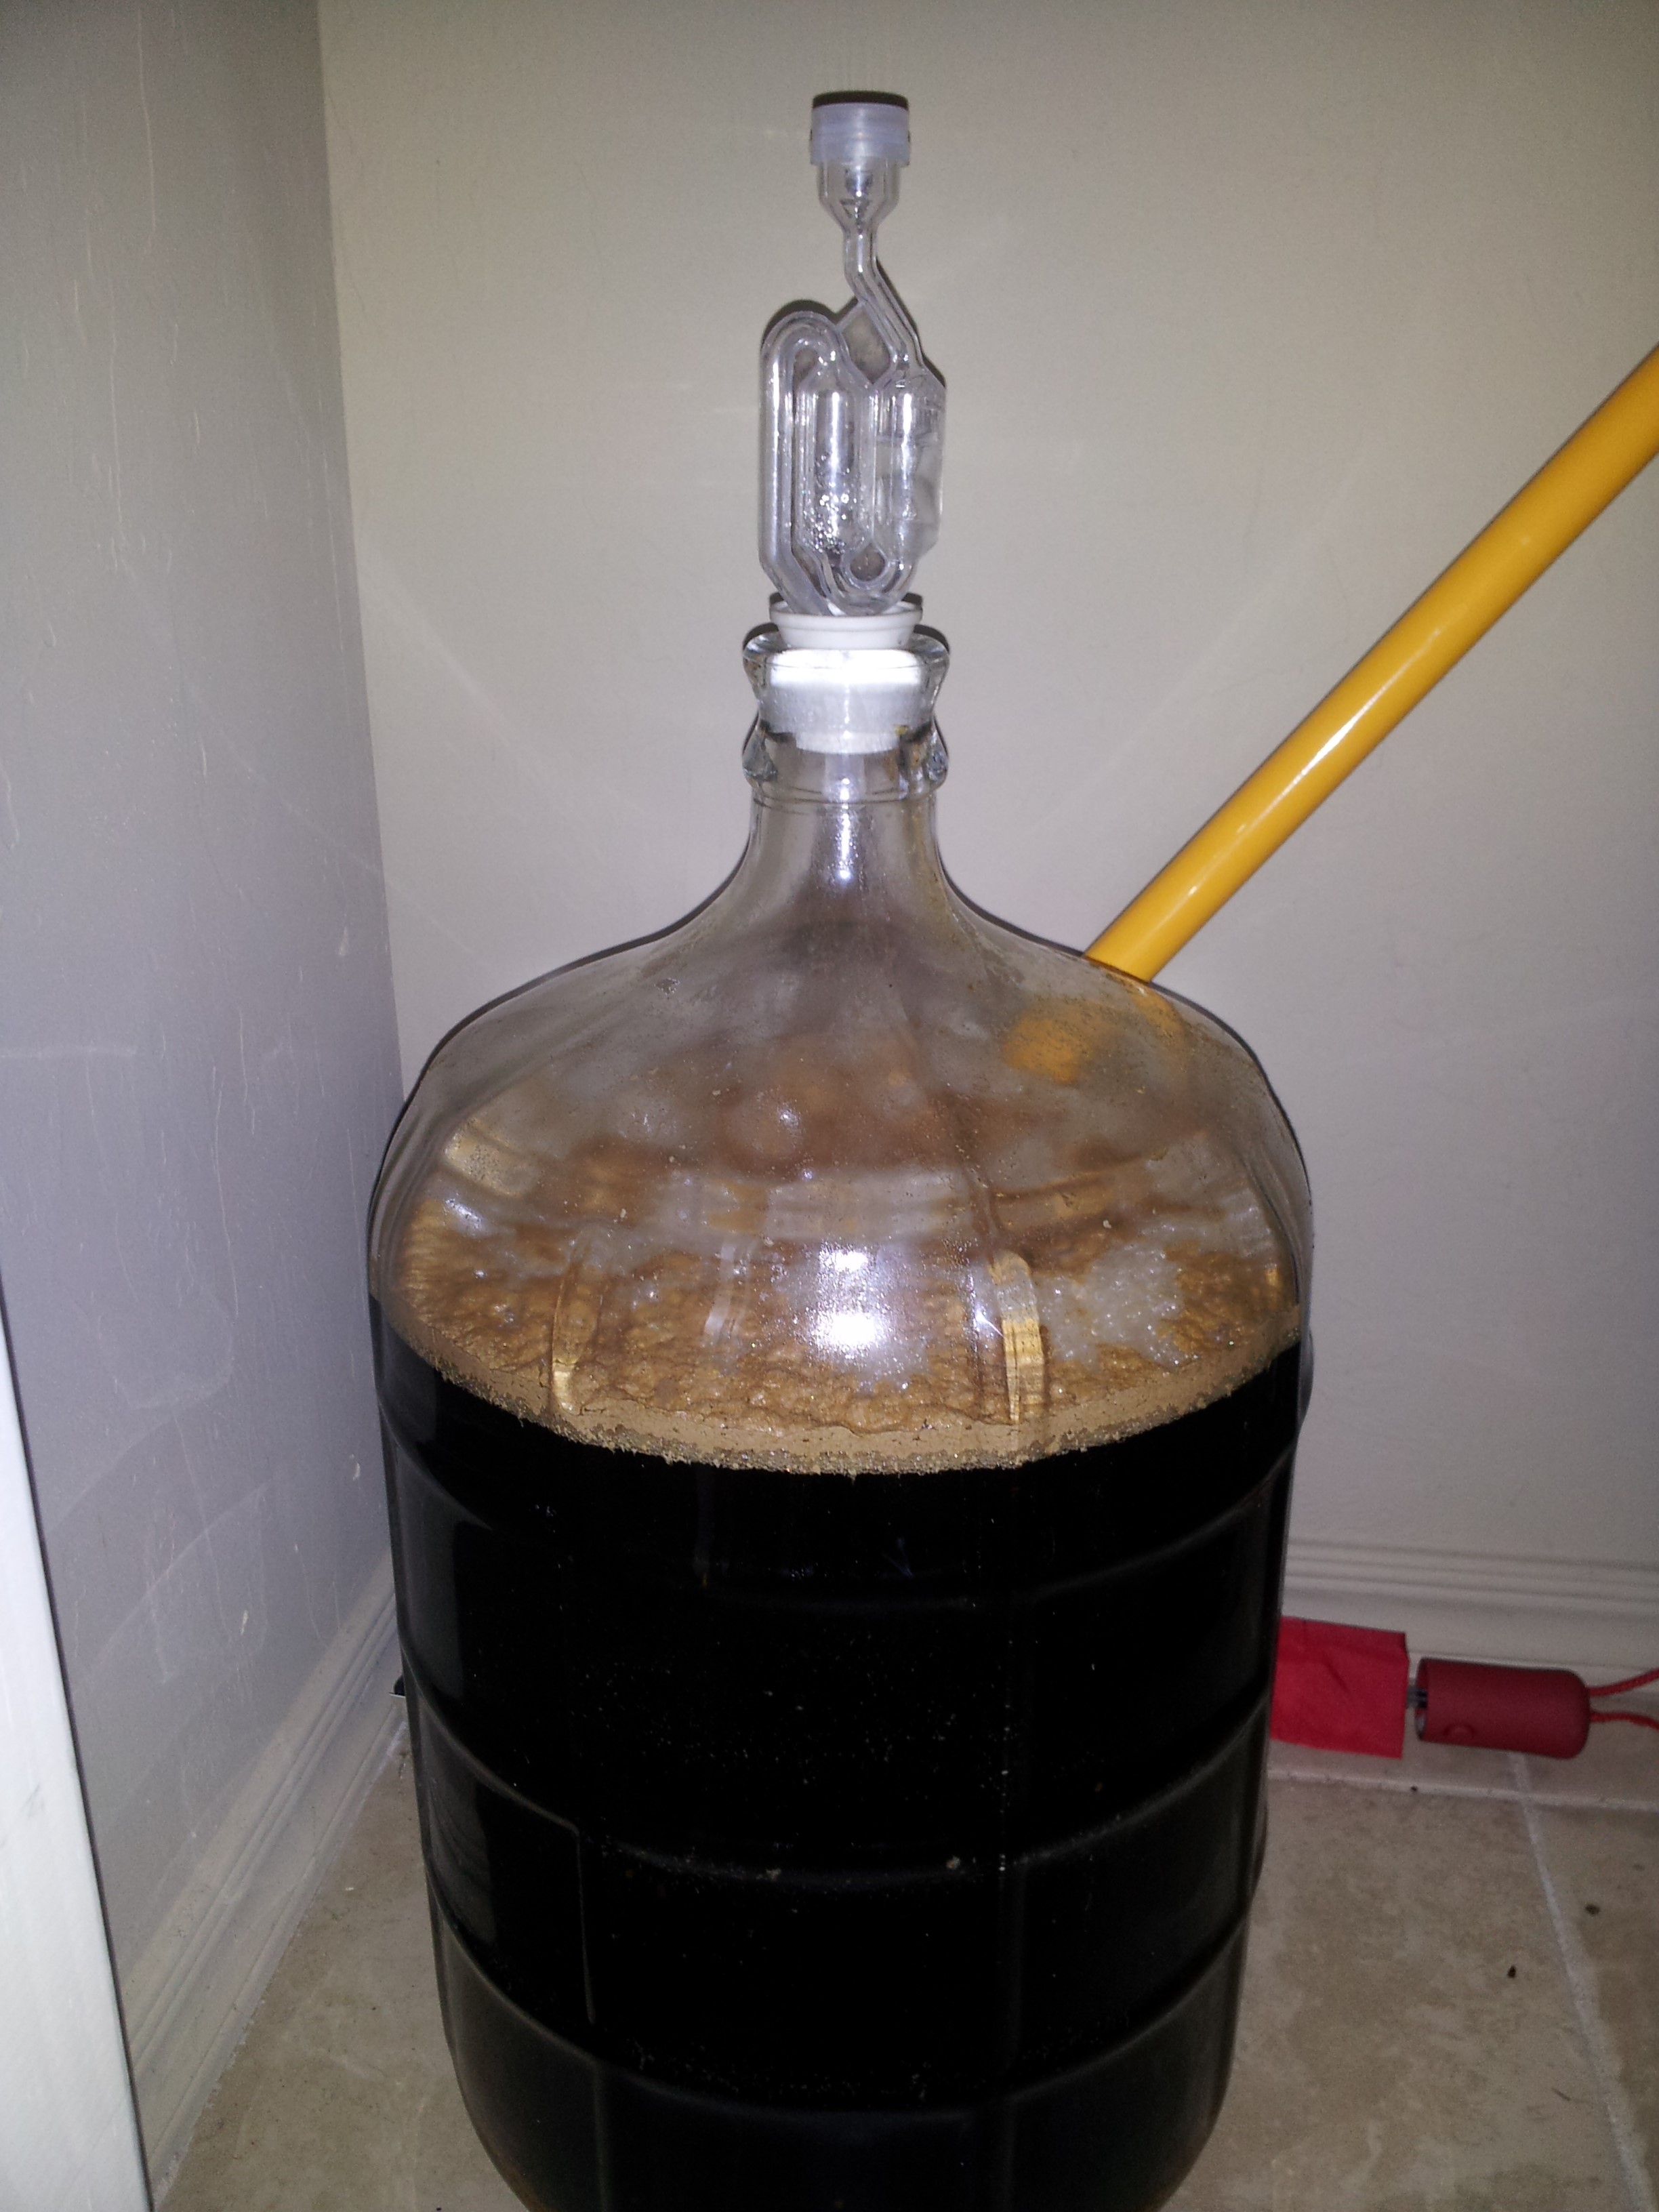
Step 5: Cooling and Fermenting
Once the boil done, I put the boil kettle directly into the above mentioned ice bath, connect the chiller to the hose, and turn the water on.
This is by far the most annoying step of the process. I can never cool my beer fast enough or cold enough it seems. This step usually takes me about 20-30 minutes to get the beer down to 80 degrees (and I would like the wort about 10 degrees cooler). While the cooling is happening, I sanitize my fermentation bucket and all tools I might need to transfer the beer (hydrometer, lid, airlock).
I then pour the beer into the fermentation bucket. I do not do any sort of filtering. I used to stir vigorously for a few minutes to oxygenate the wort but stopped because I came to the conclusion that pouring the beer into the bucket was enough (I am probably wrong).
Now I pitch the yeast, seal the bucket with lid and airlock and let it ferment. I usually ferment for a minimum of 2 weeks. I will transfer to a secondary carboy if I have the time and motivation. Beers are noticeably clearer when I do this.
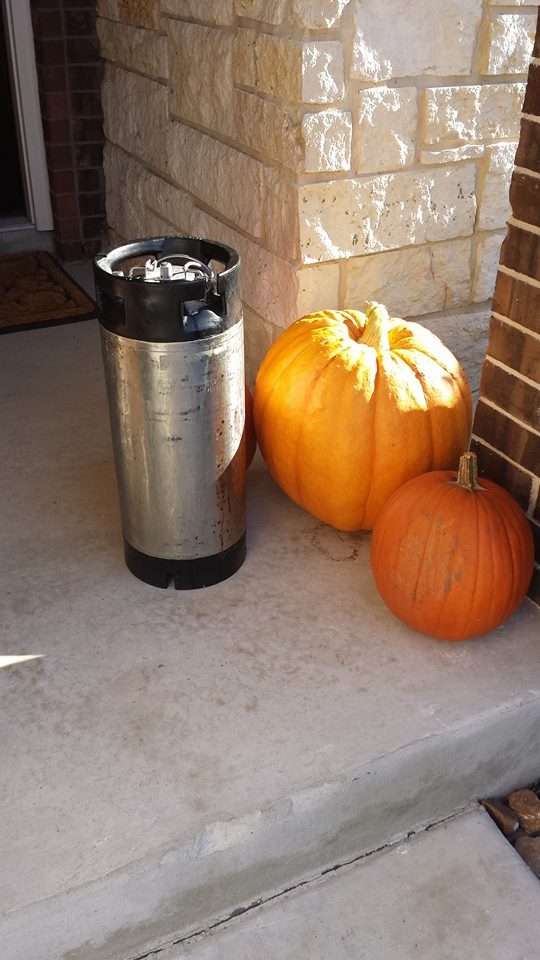
Step 6: Kegging
After about 2 weeks, up to a month, I use an siphon to move the beer into a sanitized keg.
Once kegged, I wait at least a week to try my beer. I have noticed that beers seems to "mature" at about 3 months though. I am not sure if this is from drinking the beer and getting rid of any sediment or if there is a process that takes place in the keg that actually changes the taste.
Step 7: Cleaning
When I kick a keg, I generally rinse the keg out. Then add some cleanser to the keg and shake vigorously. I then connect the keg back to the line it was connected to and run the cleanser through the beer lines and tap. Then the keg gets emptied and I follow that same process with sanitizier. At the end, I leave the sanitizer in the beer line to prevent anything from growing. I empty the keg and keep it in a clean place for use whenever my fermentation is done.
Next Steps
There are a few directions I think I need to go but am undecided on which to do first.
- Get a hop filter so that all the boiled hops can be taken out of the wort before fermentation
- Get a conical fermenter so that I can remove the trub at the end of fermentation without the need for a secondary.
- Save up and buy/build a full brew system with fancy pumps and everything. I could probably do this in stages (build the frame first, then burners, then pump(s), etc.)
- Get a plate chiller for faster cooling
- Start making yeast starters (I did this for a while, seemingly without much success/impact).
- Get more people to drink my beer so I can brew more often.