Sump Pump Replacement
Over the holidays I went over to my mom's house to visit and as I walk in the door, she is pulling everything out of the closet under the stairs and I could hear a high-pitched alarm going off. Her sump alarm was going off. My mom really is not in a place to be paying a plumber to come out and fix this so I decided to take a crack at it. I was not sure we could do it with a sump full of water...turns out to definitely can.
A quick Google search and I was ready to go. We were very lucky that the alarm went off because the batteries had not been changed since the house was built (almost 10 years). From now on, changing those batteries will be a holiday tradition.
First I tested the outlet to ensure this was not just a power issue. Flipped the breaker a couple times, reset the GCFI, tried another electric device...all indicated that power was not the issue. The pump was dead.
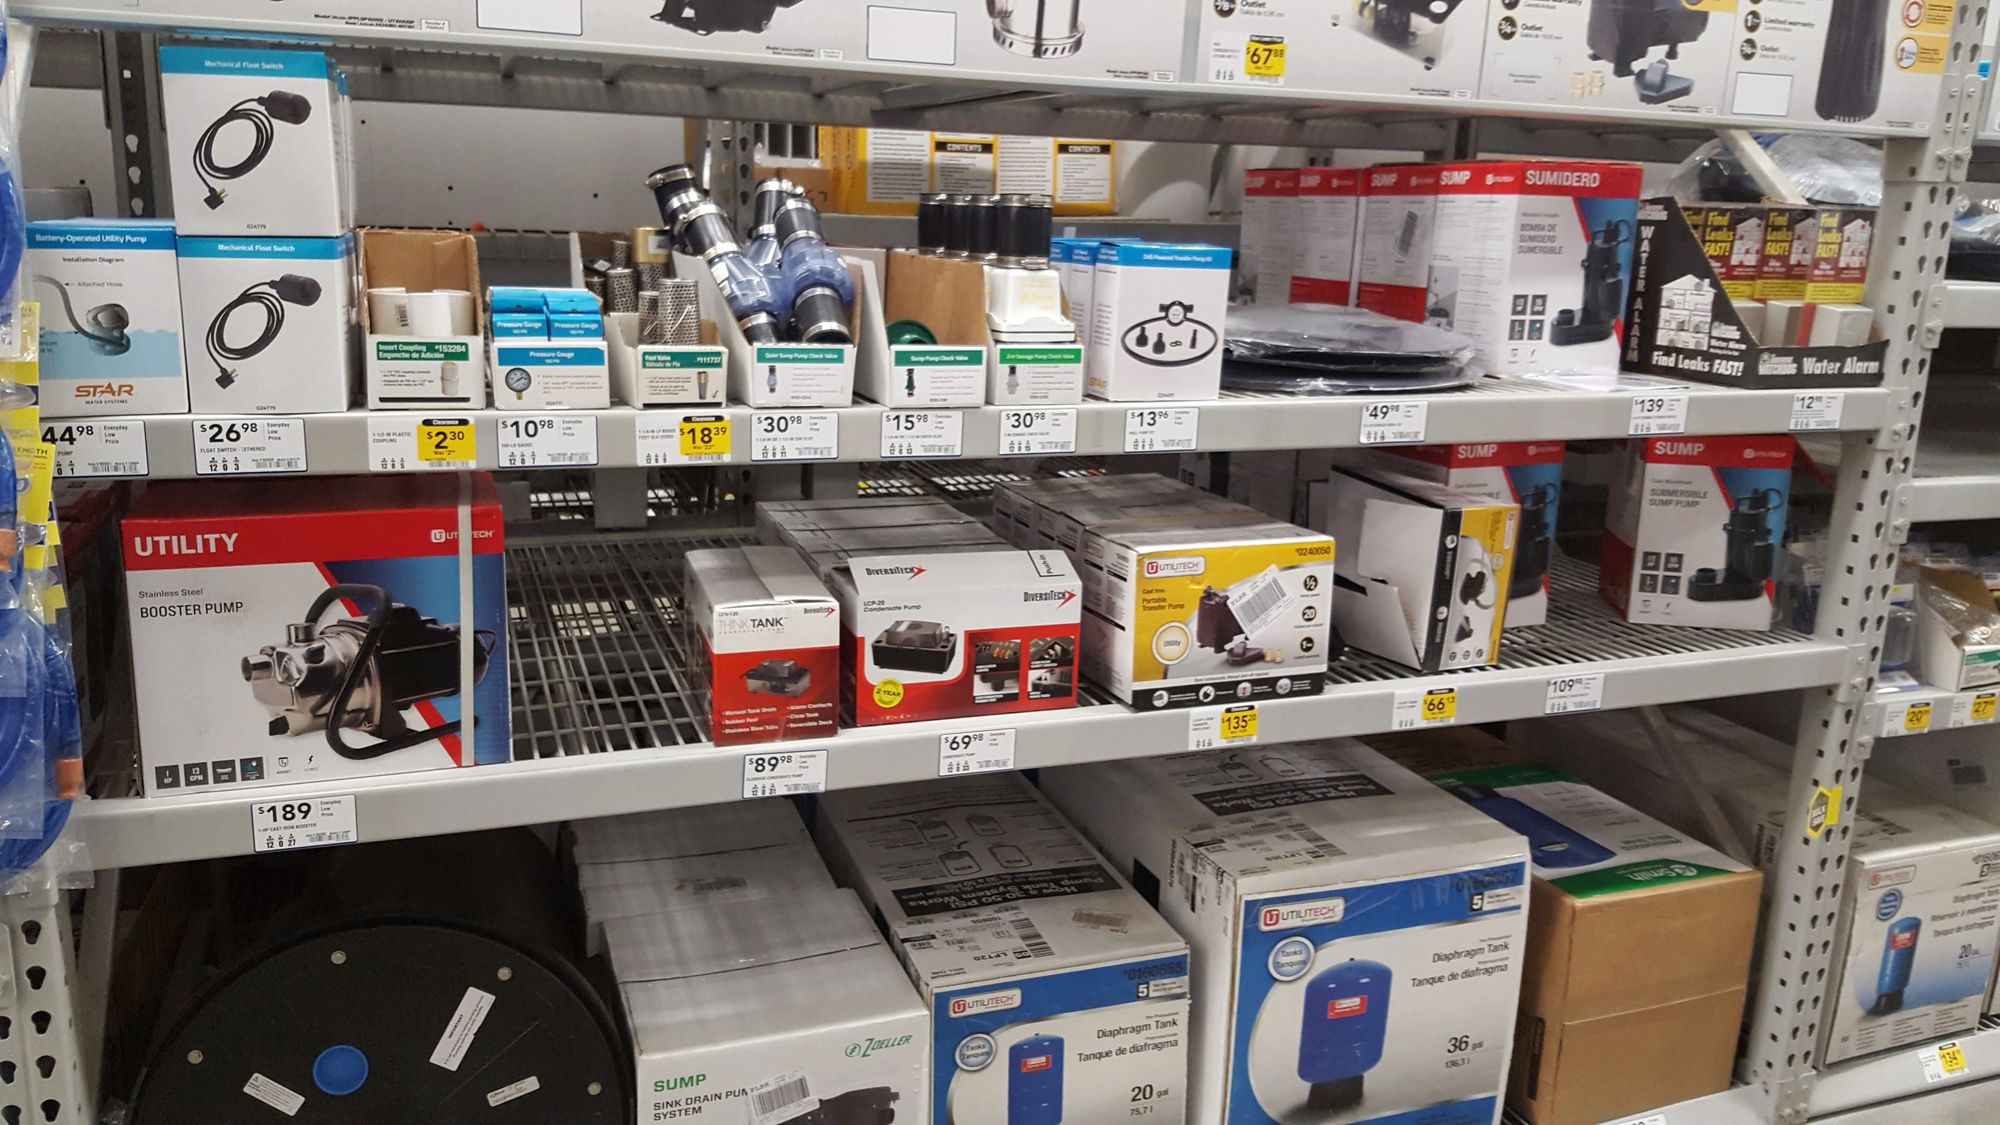
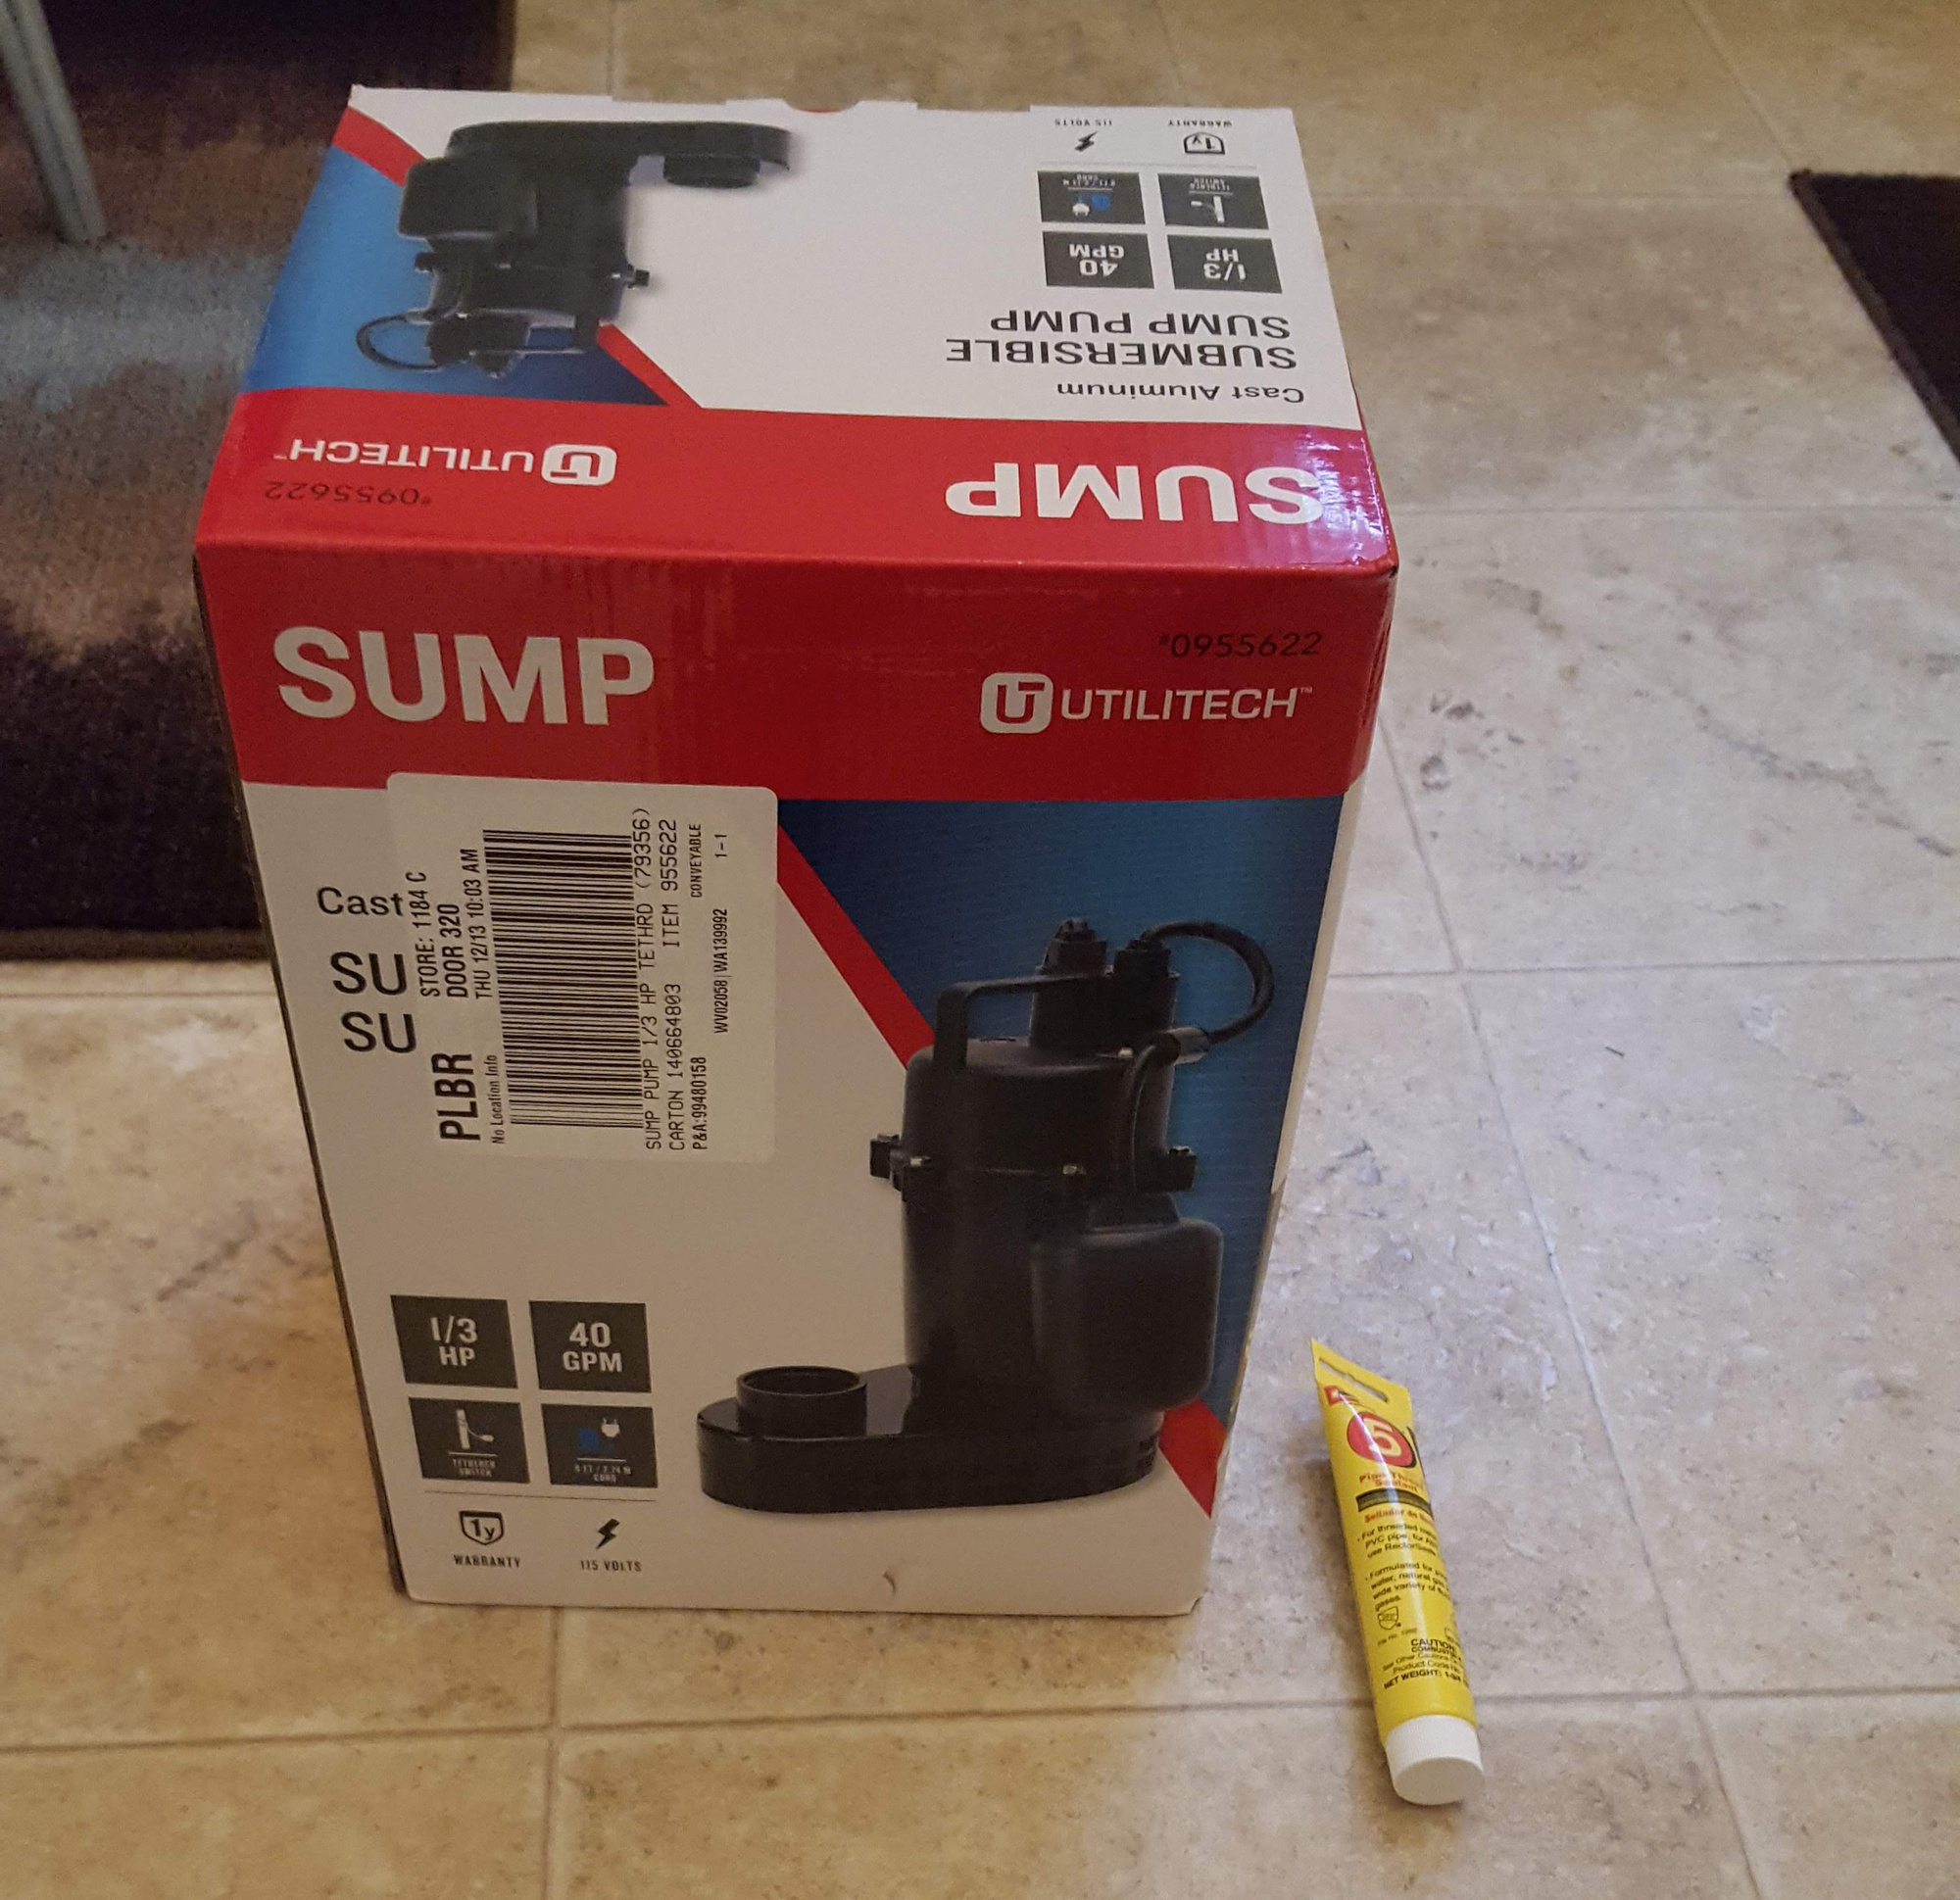
So it was off to Lowe's to get a new pump. I found a tag on the power chord of the old pump so I was able to find out that I needed a .3 horsepower pump without having to take the old one out yet. To do the job I knew I needed:
- A new pump ($109)
- Thread Sealant ($4)
- Screwdriver (on hand)
- Pipe wrench (on hand)
- Drill (or a screw)
- A light (on hand)
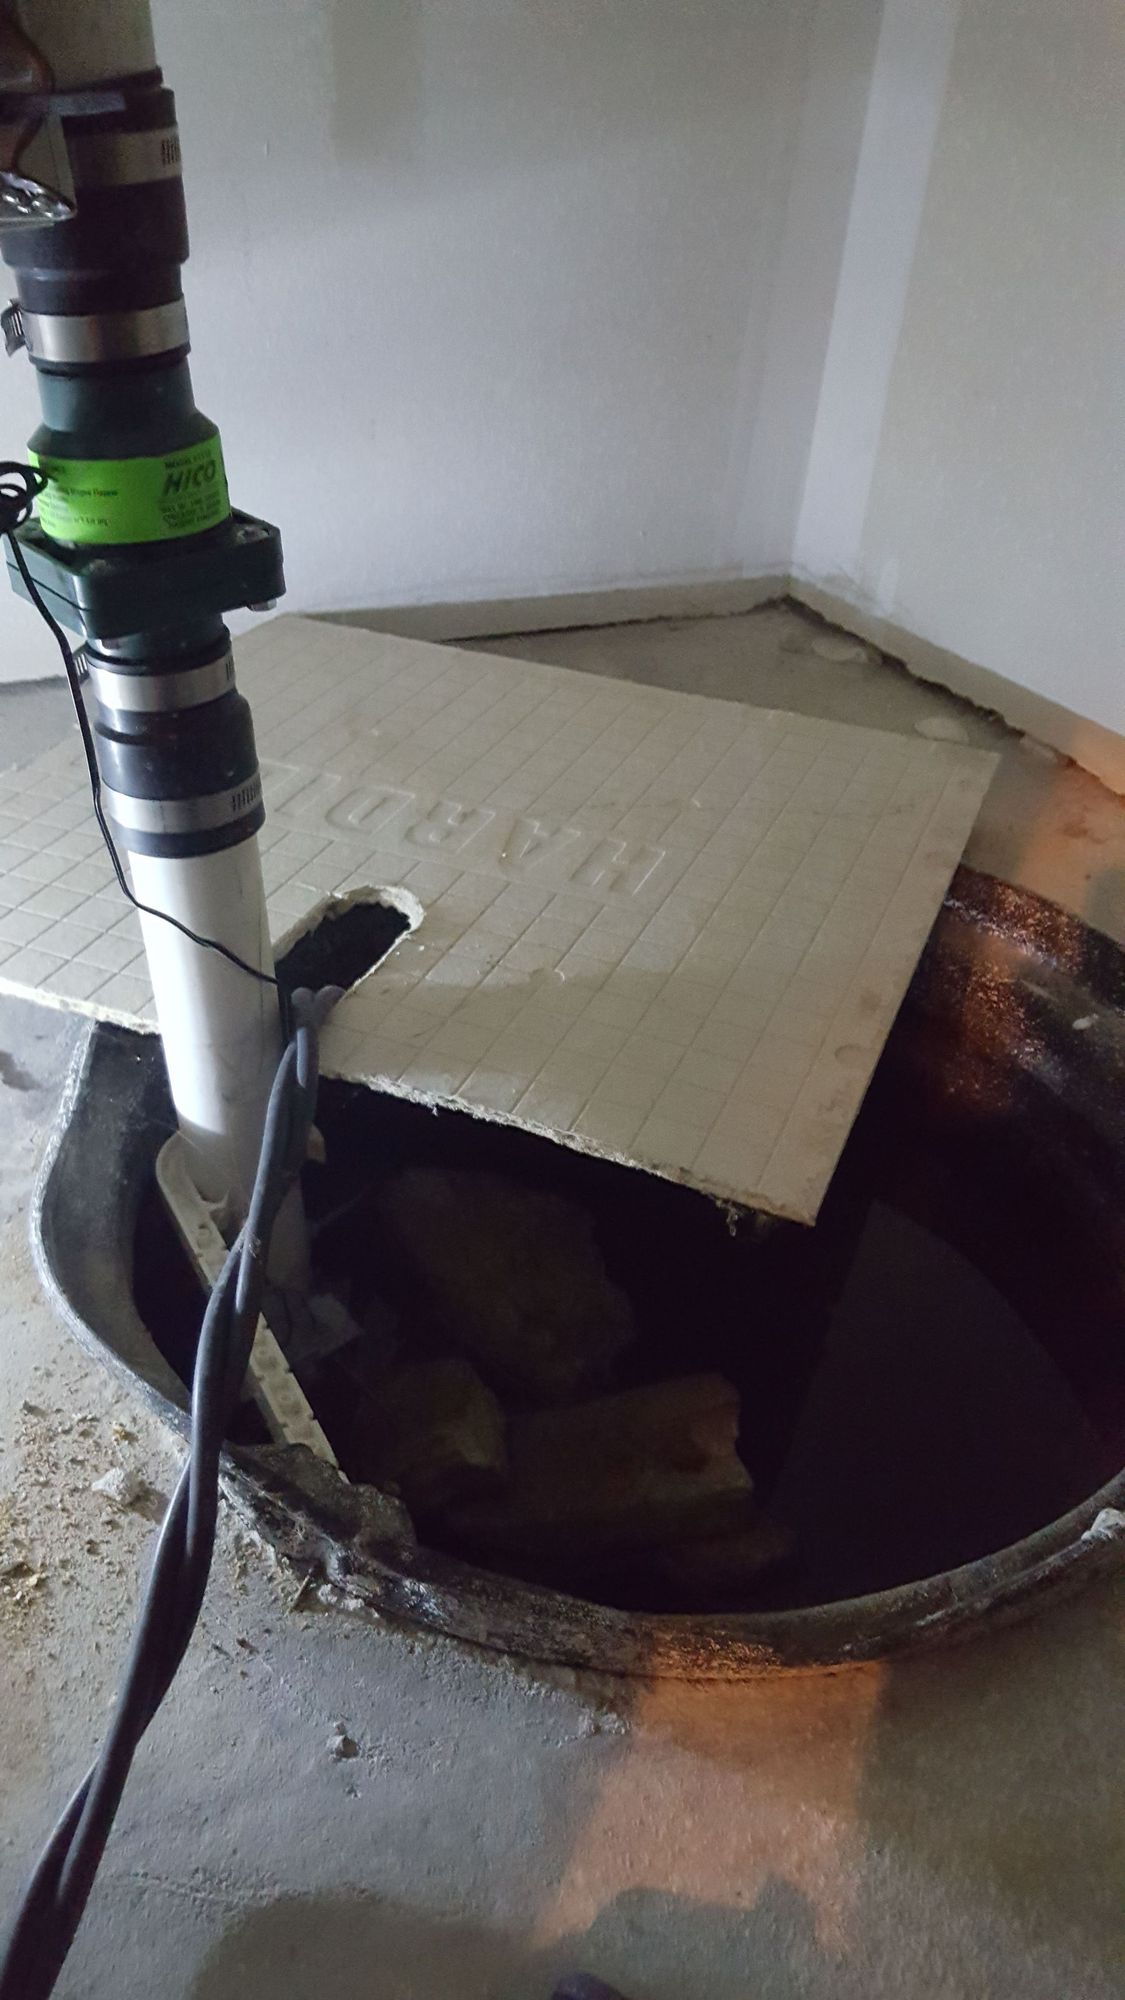
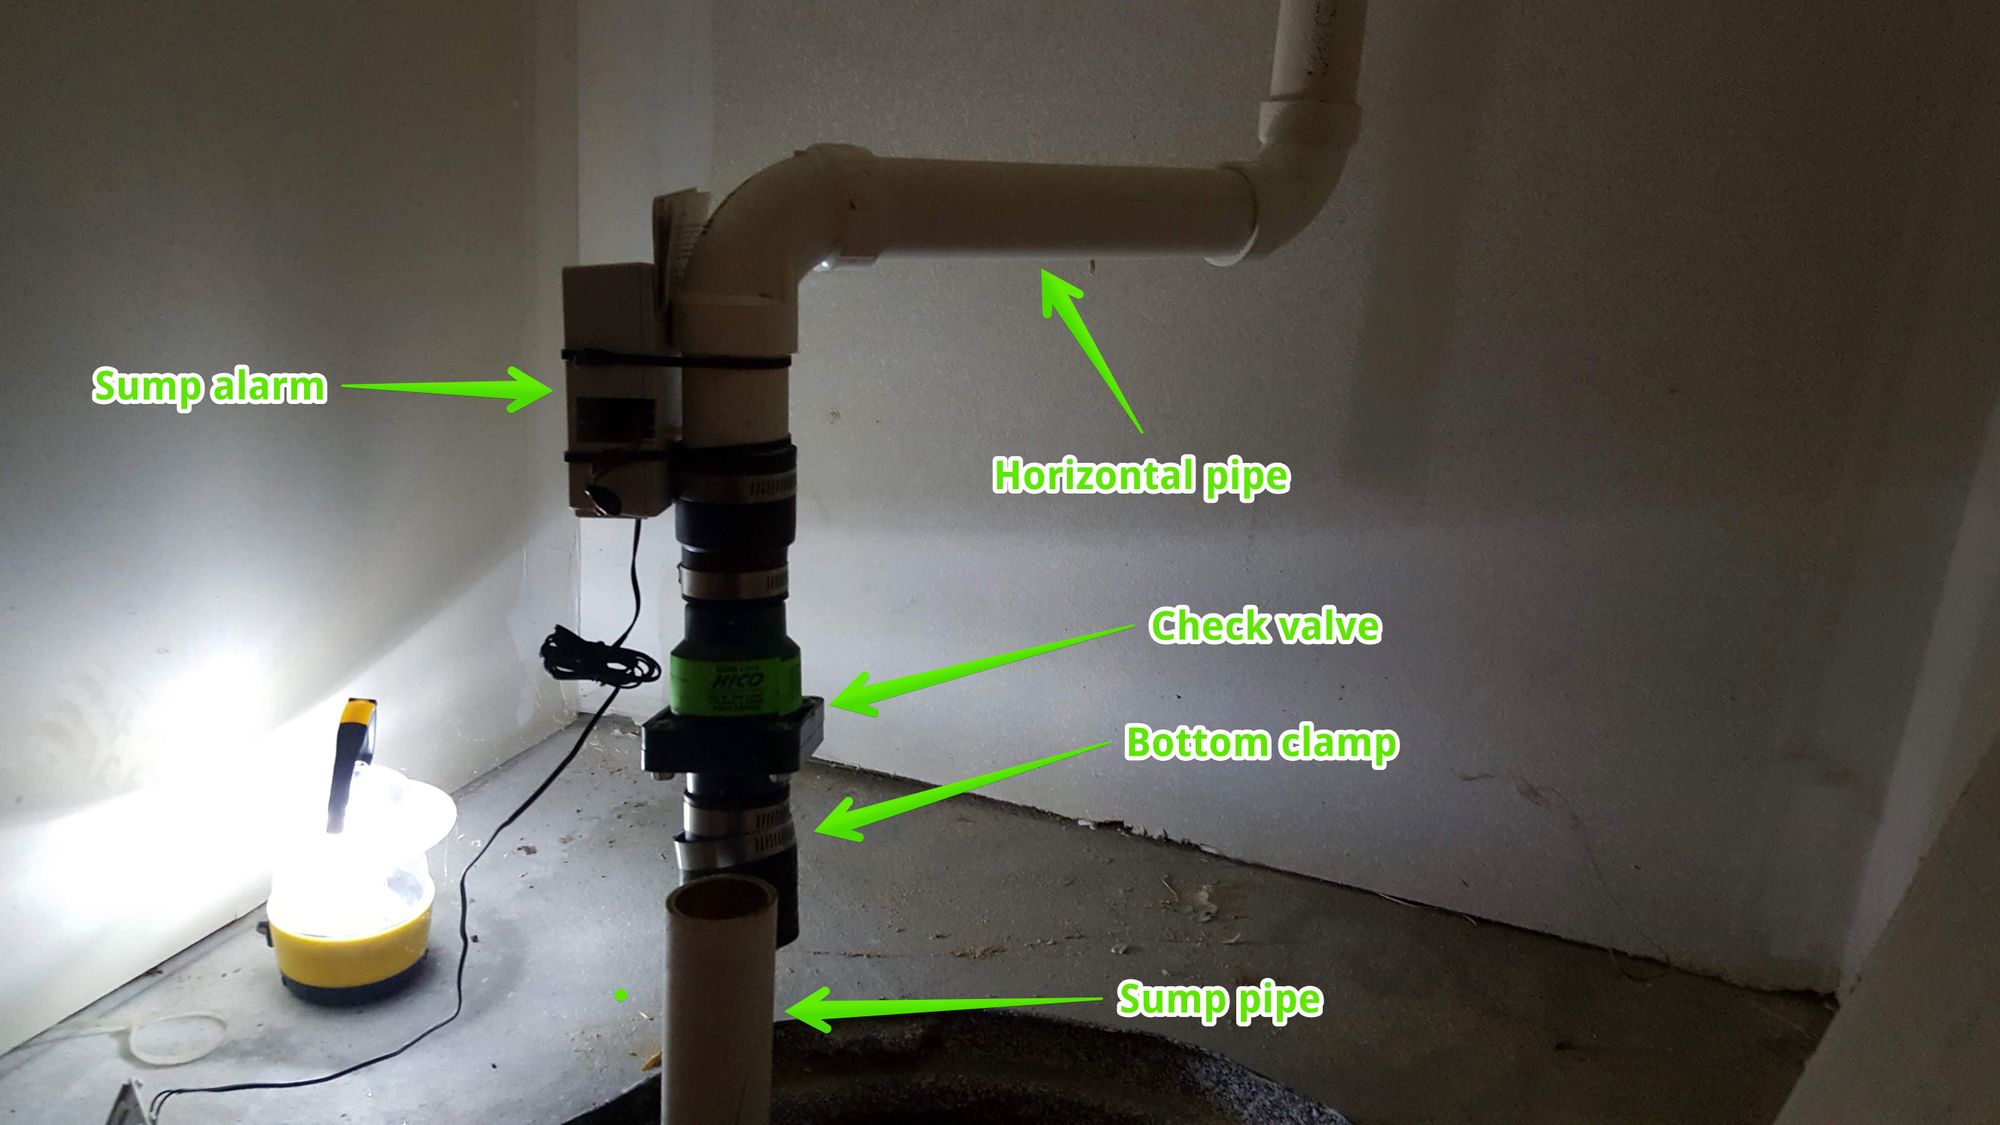
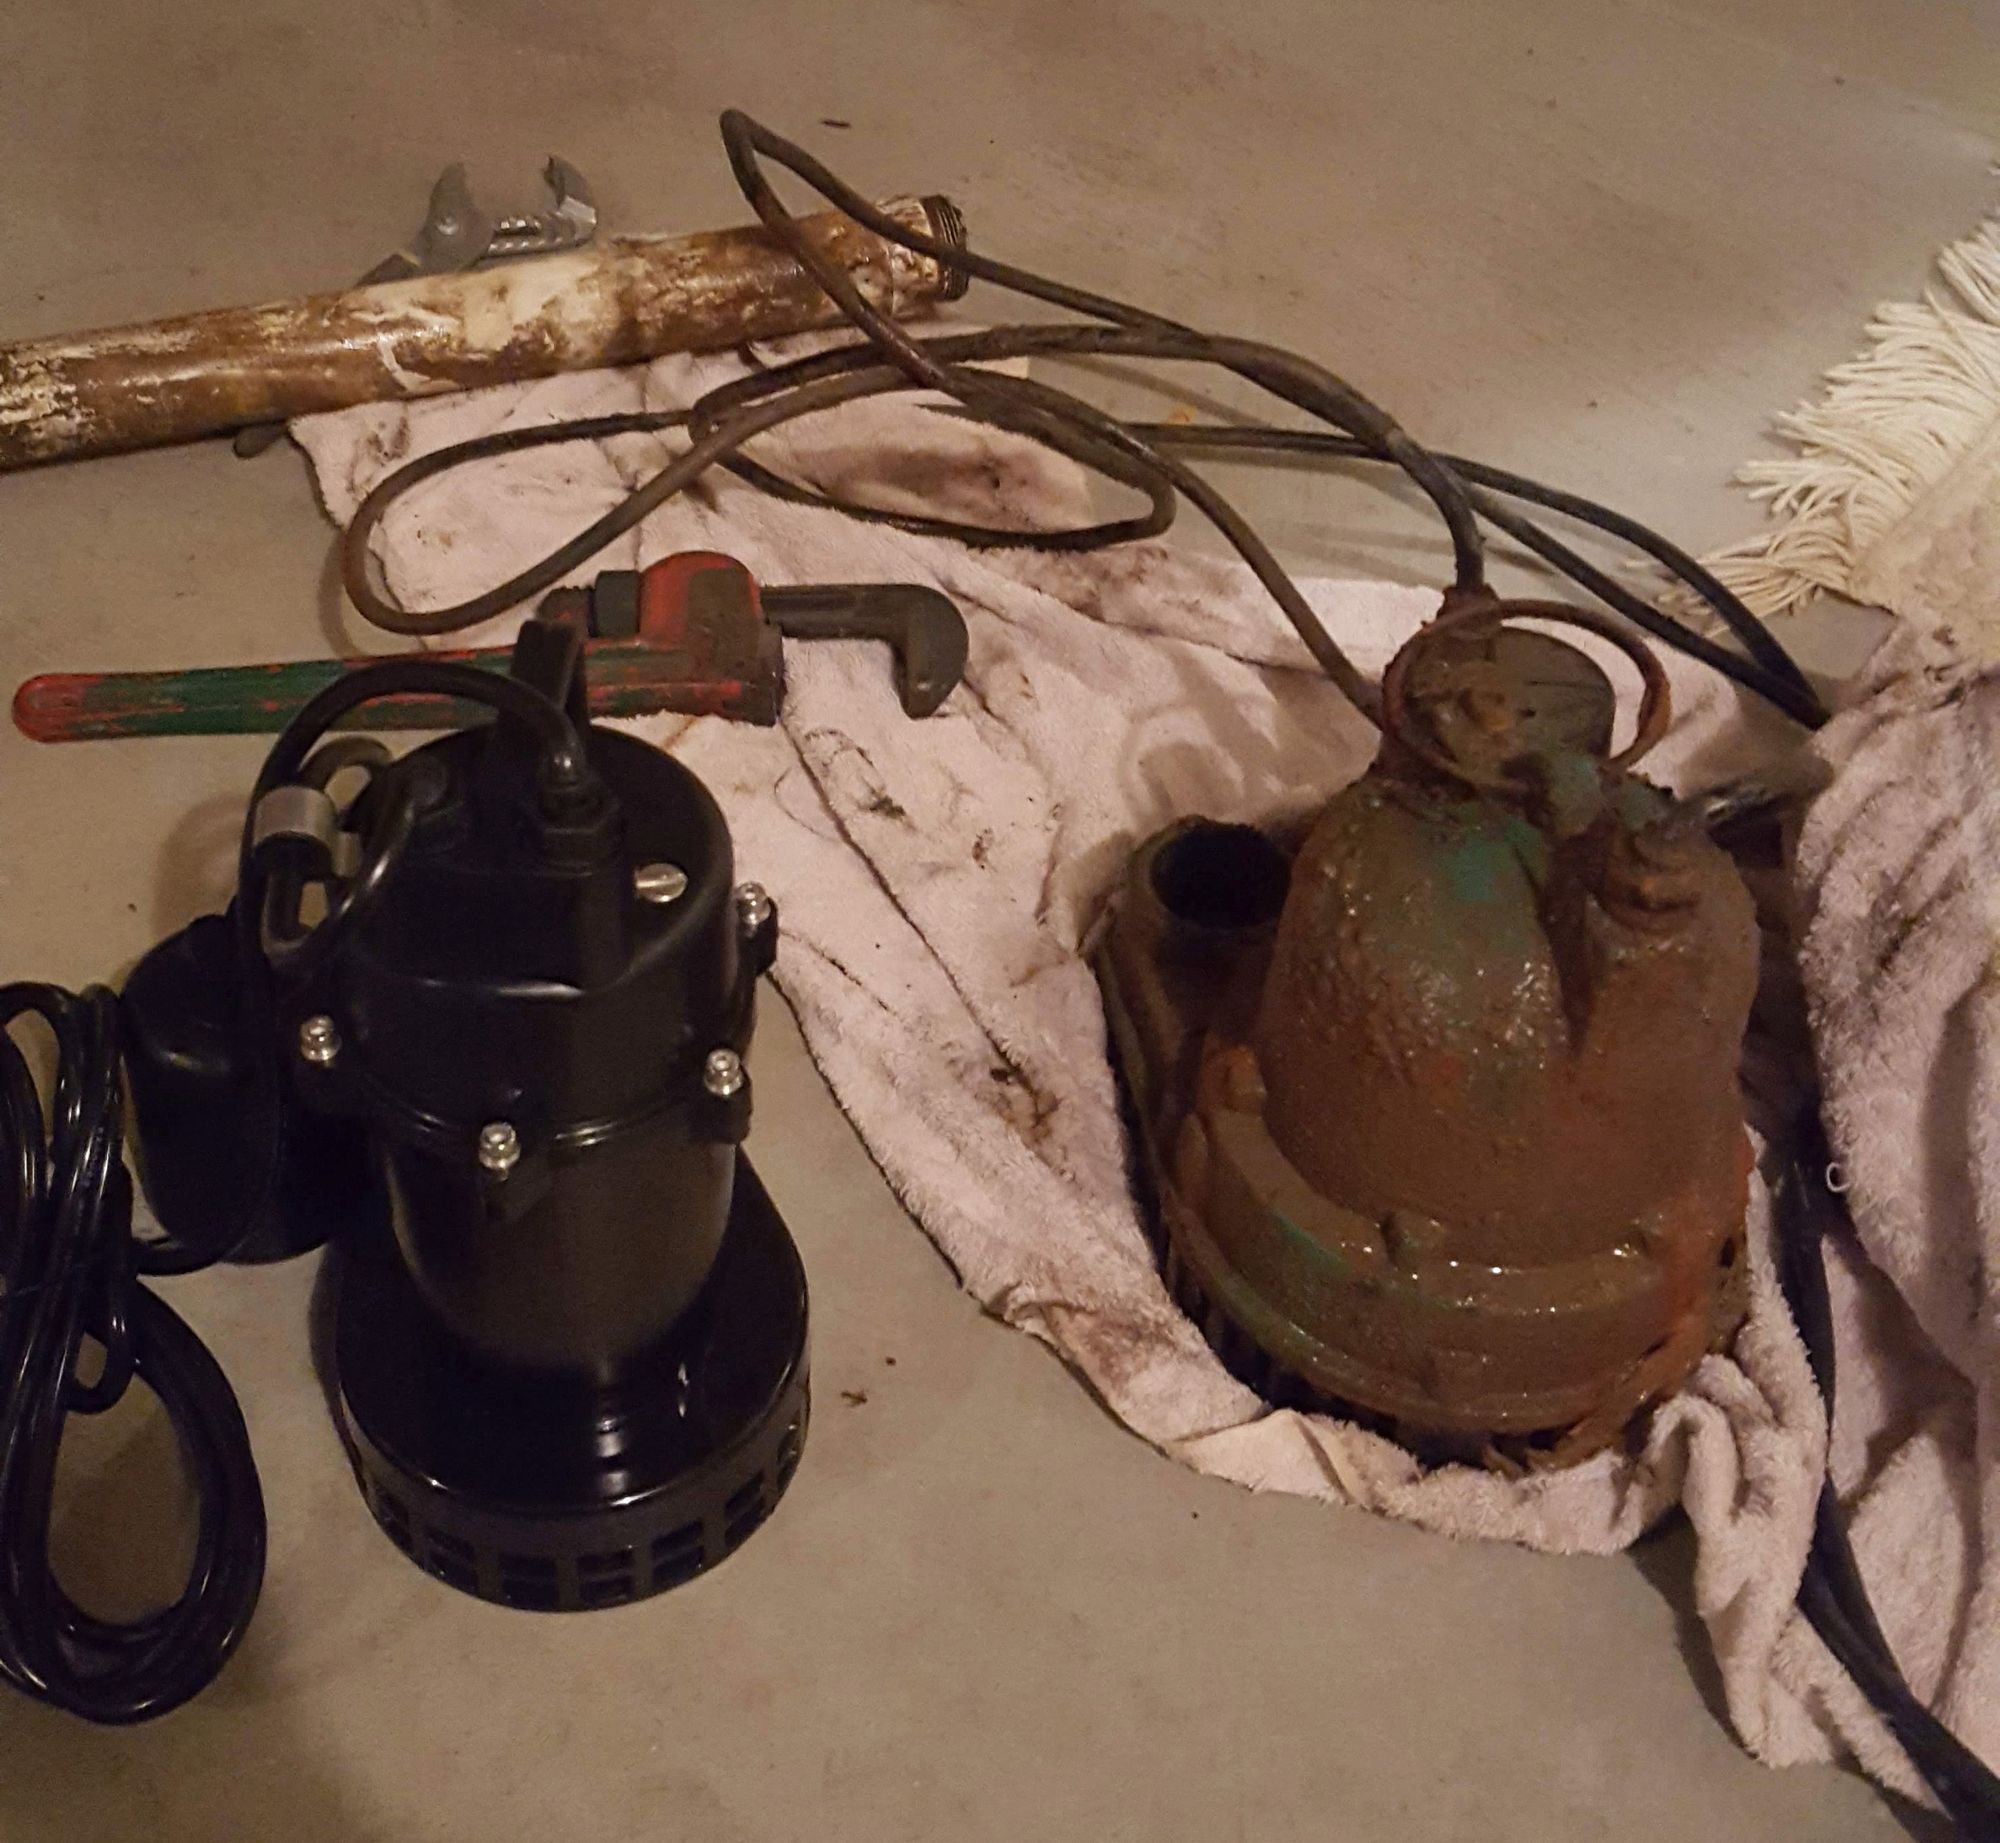
With the parts and tools on hand, the first step was to get the old pump out. Using the screwdriver I loosened the bottom-most clamp that connected the sump pipe to the check valve. With this loosened, I used my fist to pound up on the horizontal pipe to separate the sump pipe from the rest of the piping.
With an old towel standing by, I pulled the old pump out of the hole and got it to the garage. Using the pipe wrench I was able to get the sump pipe off so that we could use it again for the new pump. After cleaning off the threads, I applied a new coat of the thread sealant and screwed it onto the new pump. I did have to be careful about over tightening the pipe as I did not want to damage either the pipe or the new pump.
The new pump also said in the install instructions that a hole had to be drilled in the pipe level to the top of the pump. This was simple enough. Even though my mom did not have a drill, I was able to use a screw to make the hole.
With the pipe installed onto the new pump, it was time to put it back in the hole. If you can, pay attention to the orientation of the pump and the float mechanism. On my first try the float was trapped by the pipe so I had to reposition. Put the pump in at an angle to make it easier to marry up to the check valve connector, pound the pipe back in place, straighten out the pump, and tighten down the clamp.
Now the moment of truth. I plugged in the pump and the water level immediately started going down. Once the water was low enough, that is when I realized that the float was trapped. I loosened the clamp and rotated the pump without having to remove anything else.
Finally, I made sure to reinstall the alarm, as that was the saving grace that allowed us to get this fixed before any damage was done. A quick internet search lists the average cost of sump pump repair as $454, so I saved my mom over $300. The whole task from Lowe's to fixed was 1.5 hours and now I have a new repair skill added to my list.