2010 Acura RDX 'A14' Service (Plus Brakes)

My wife's car just rolled over 100K miles!!! Woohoo! This is the first 'A14' service the car has needed. 'A14' includes:
- Oil change (no filter)
- Replace spark plugs
- Adjust the valves (only if they are noisy)
- Brake fluid flush (3 year interval)
The steps for the oil change are detailed in an earlier post
As the valves did not seem noisy to me (clicking noise when engine is running) I did not do this part of the service. Many online posts recommended not bothering with this job unless you have a good reason to do so. Too many things to go wrong for too little benefit -- unless they really are making noise.
Spark Plugs
The oil change when very quickly as I didn't have to bother with the filter for this service. Next up was the spark plugs. I assumed this would be as easy as changing the plugs on my Kia, but the access to the plugs on the RDX is under the turbo inter-cooler so a little more work was involved. Luckily, I found a great walk through to make the job easy. Unfortunately, for some reason, the pictures in the guide didn't show up, so I took my own. Here was my process.
-
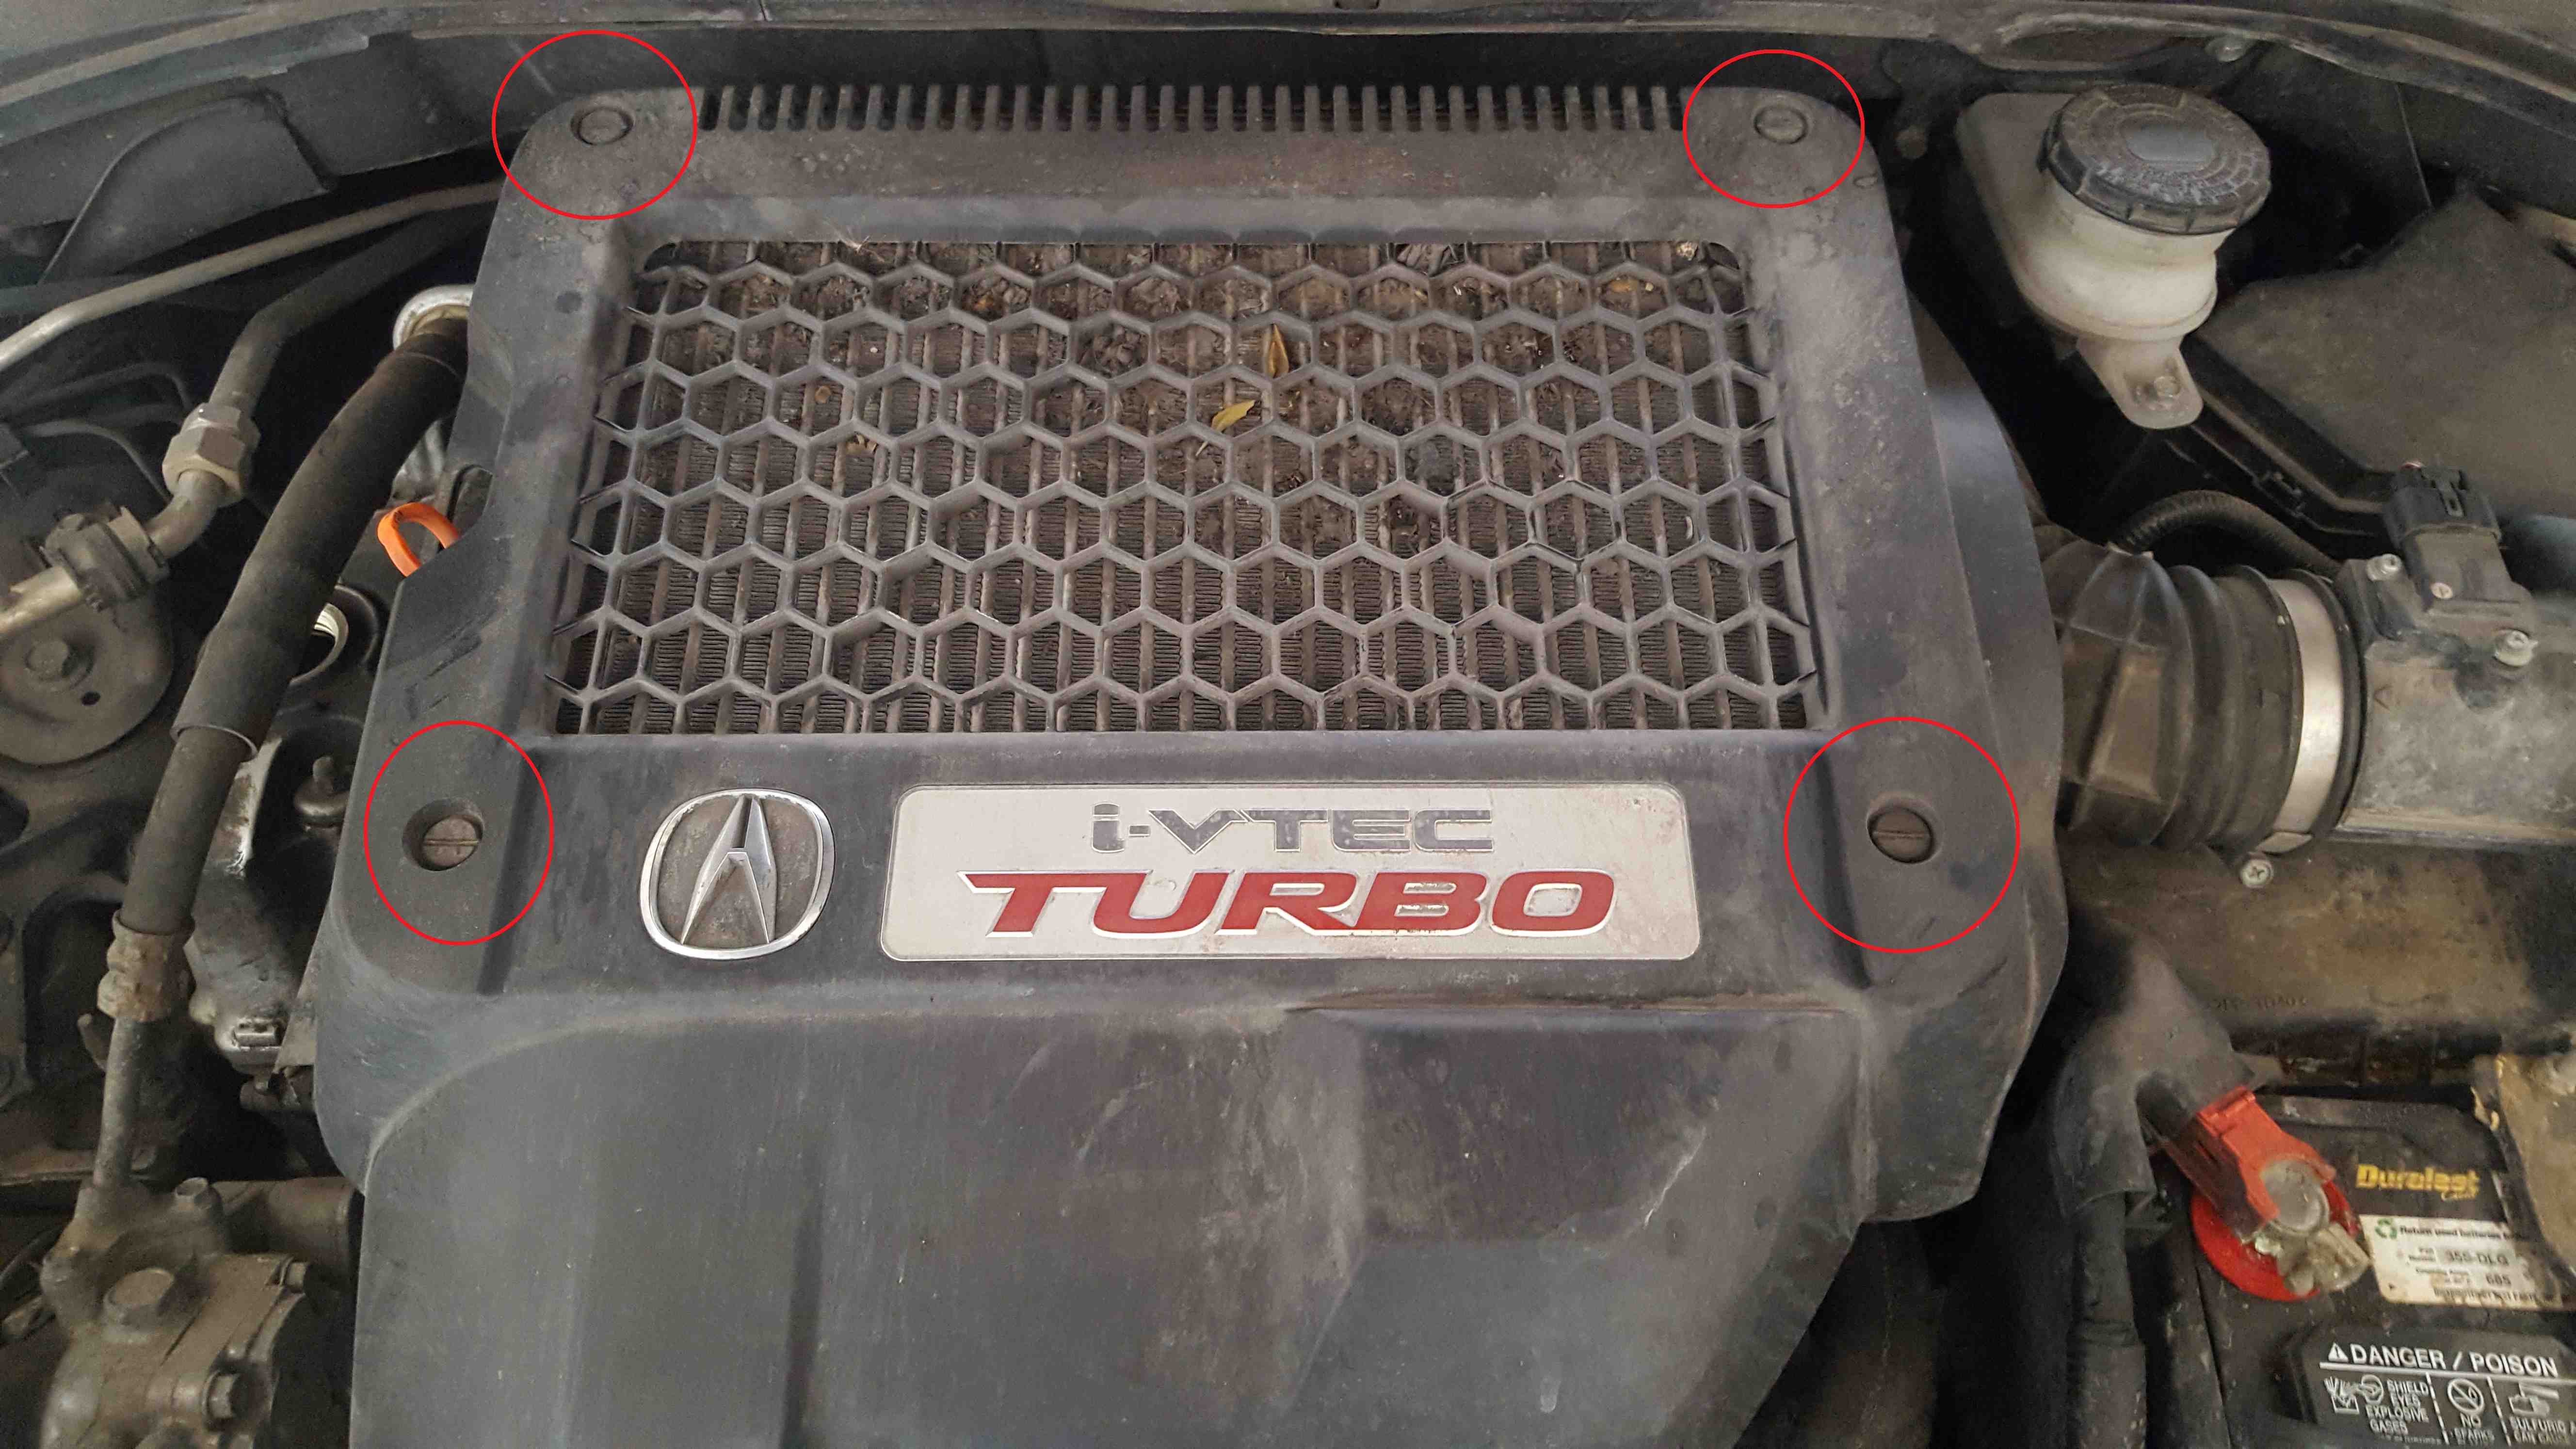
Remove the inter-cooler/engine cover. Each of these screws just need a quarter turn to release.
-
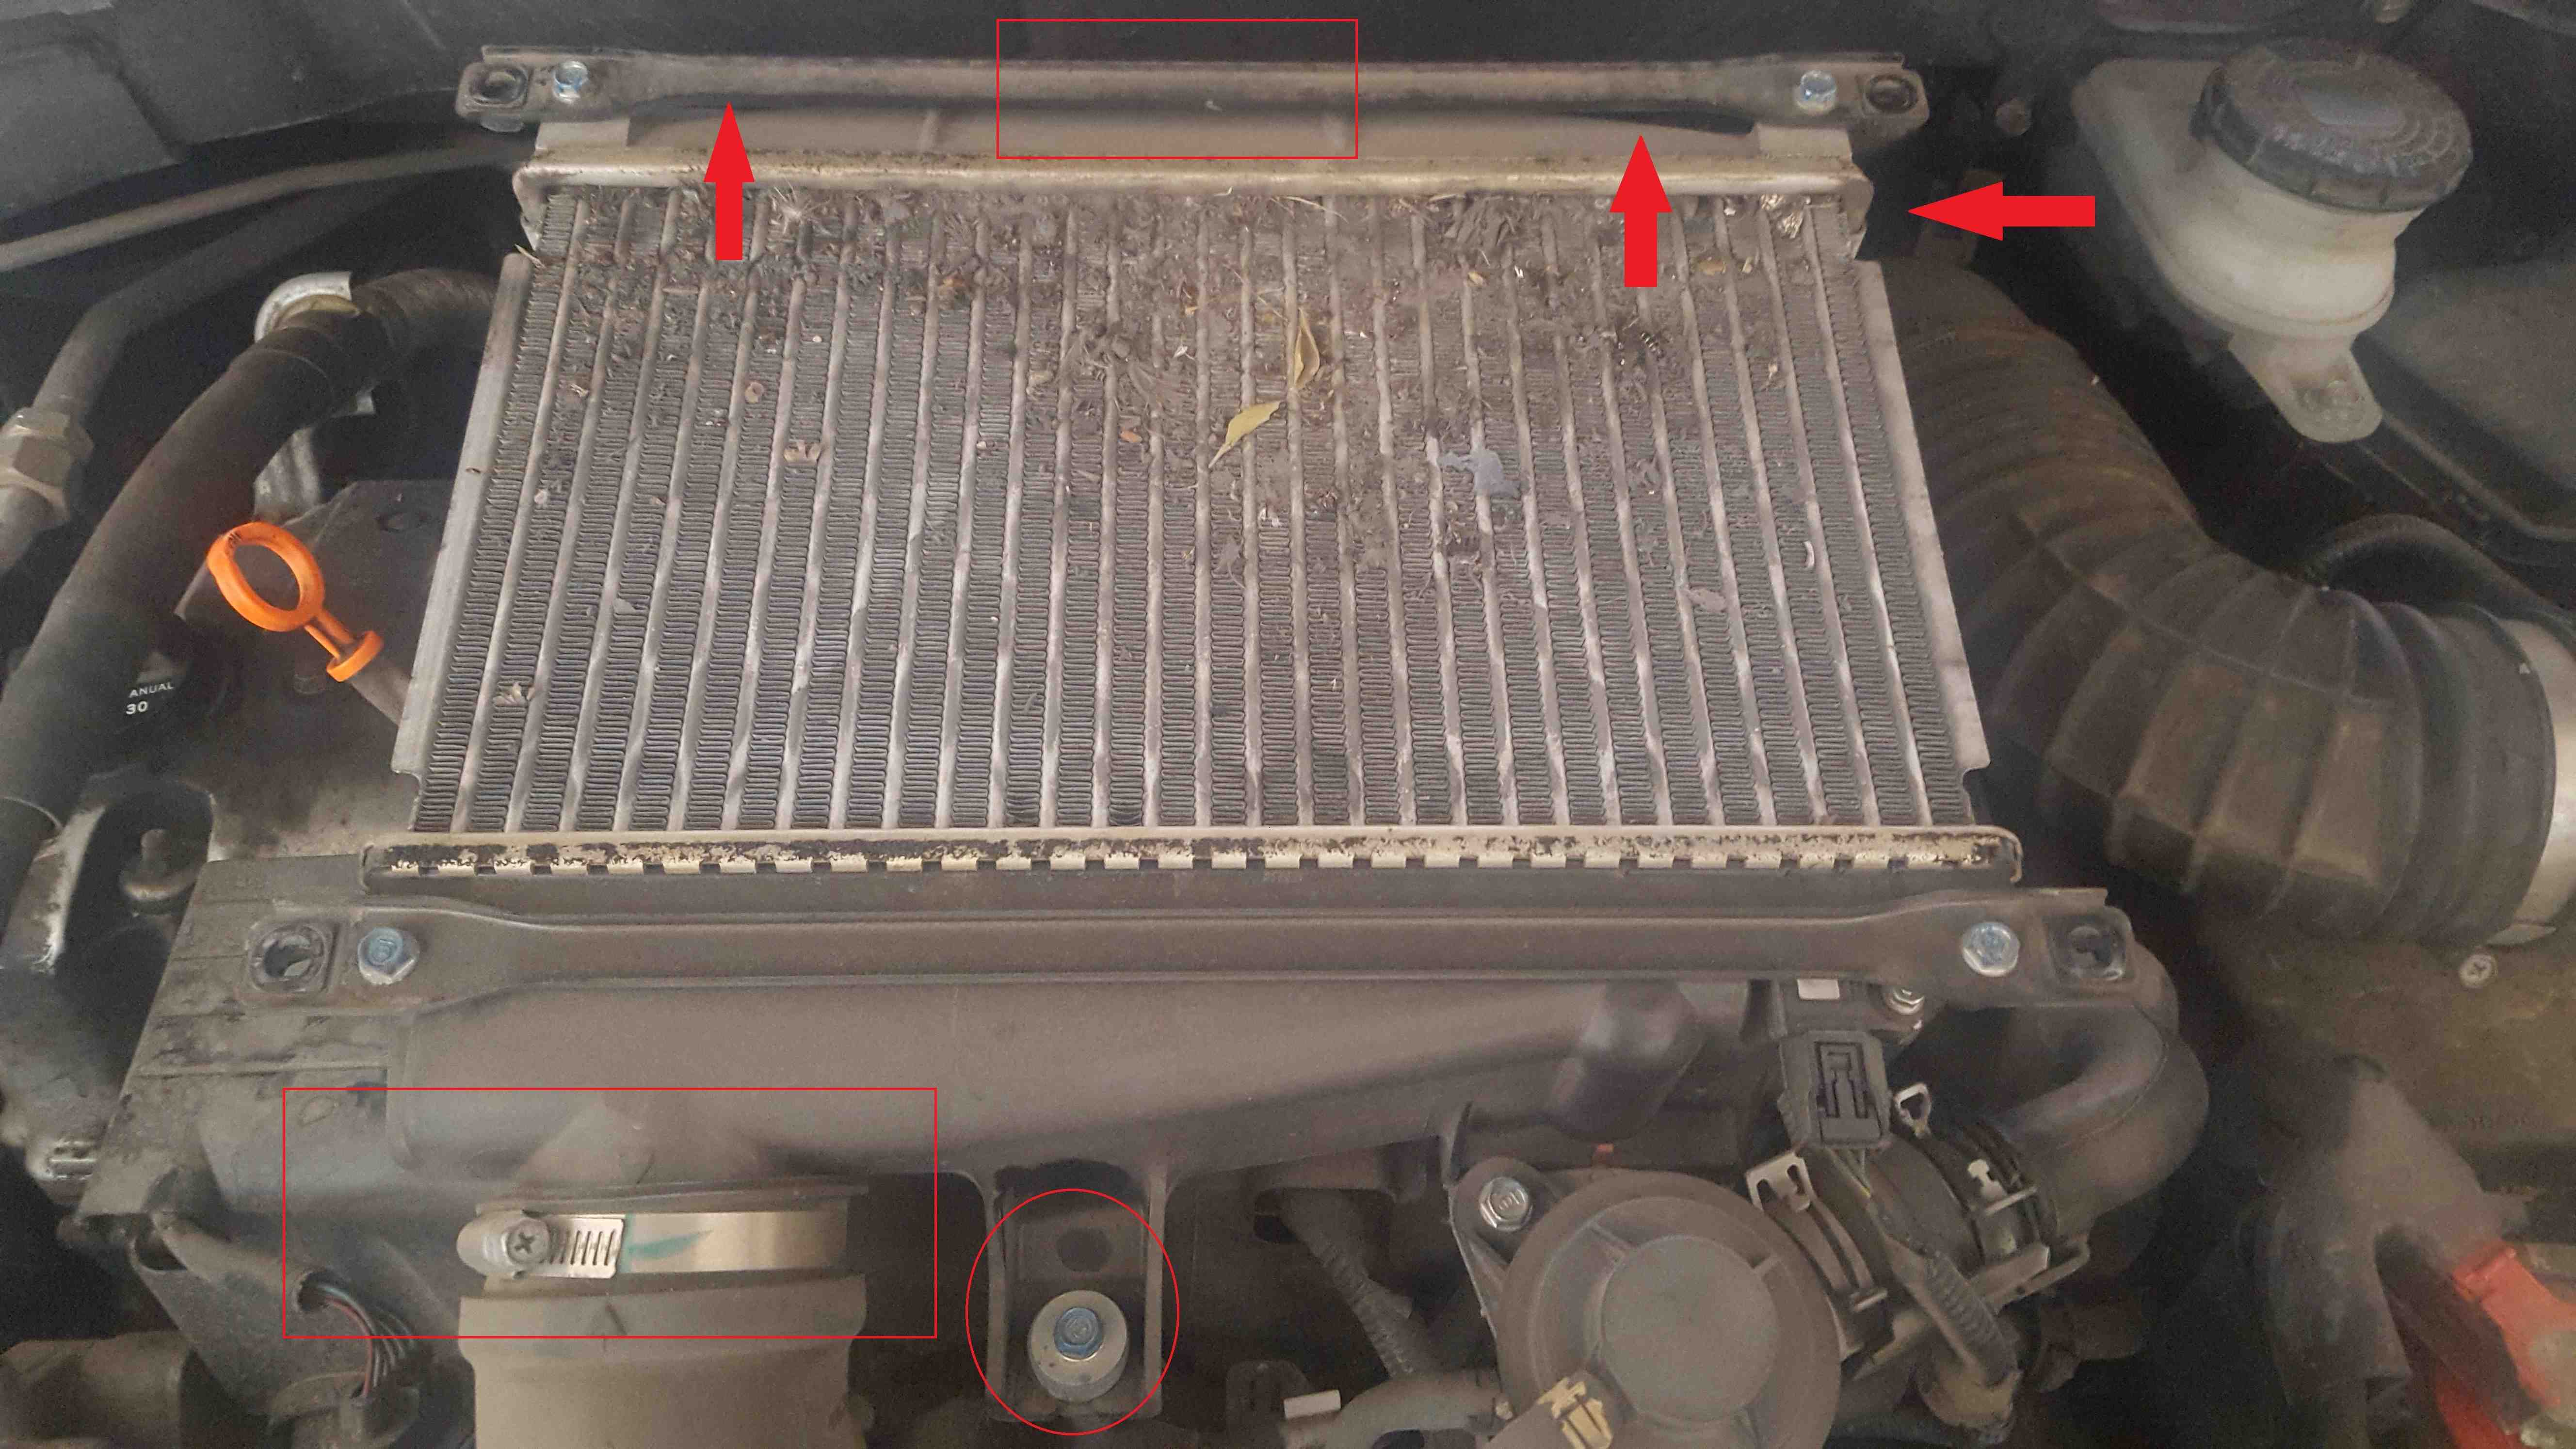
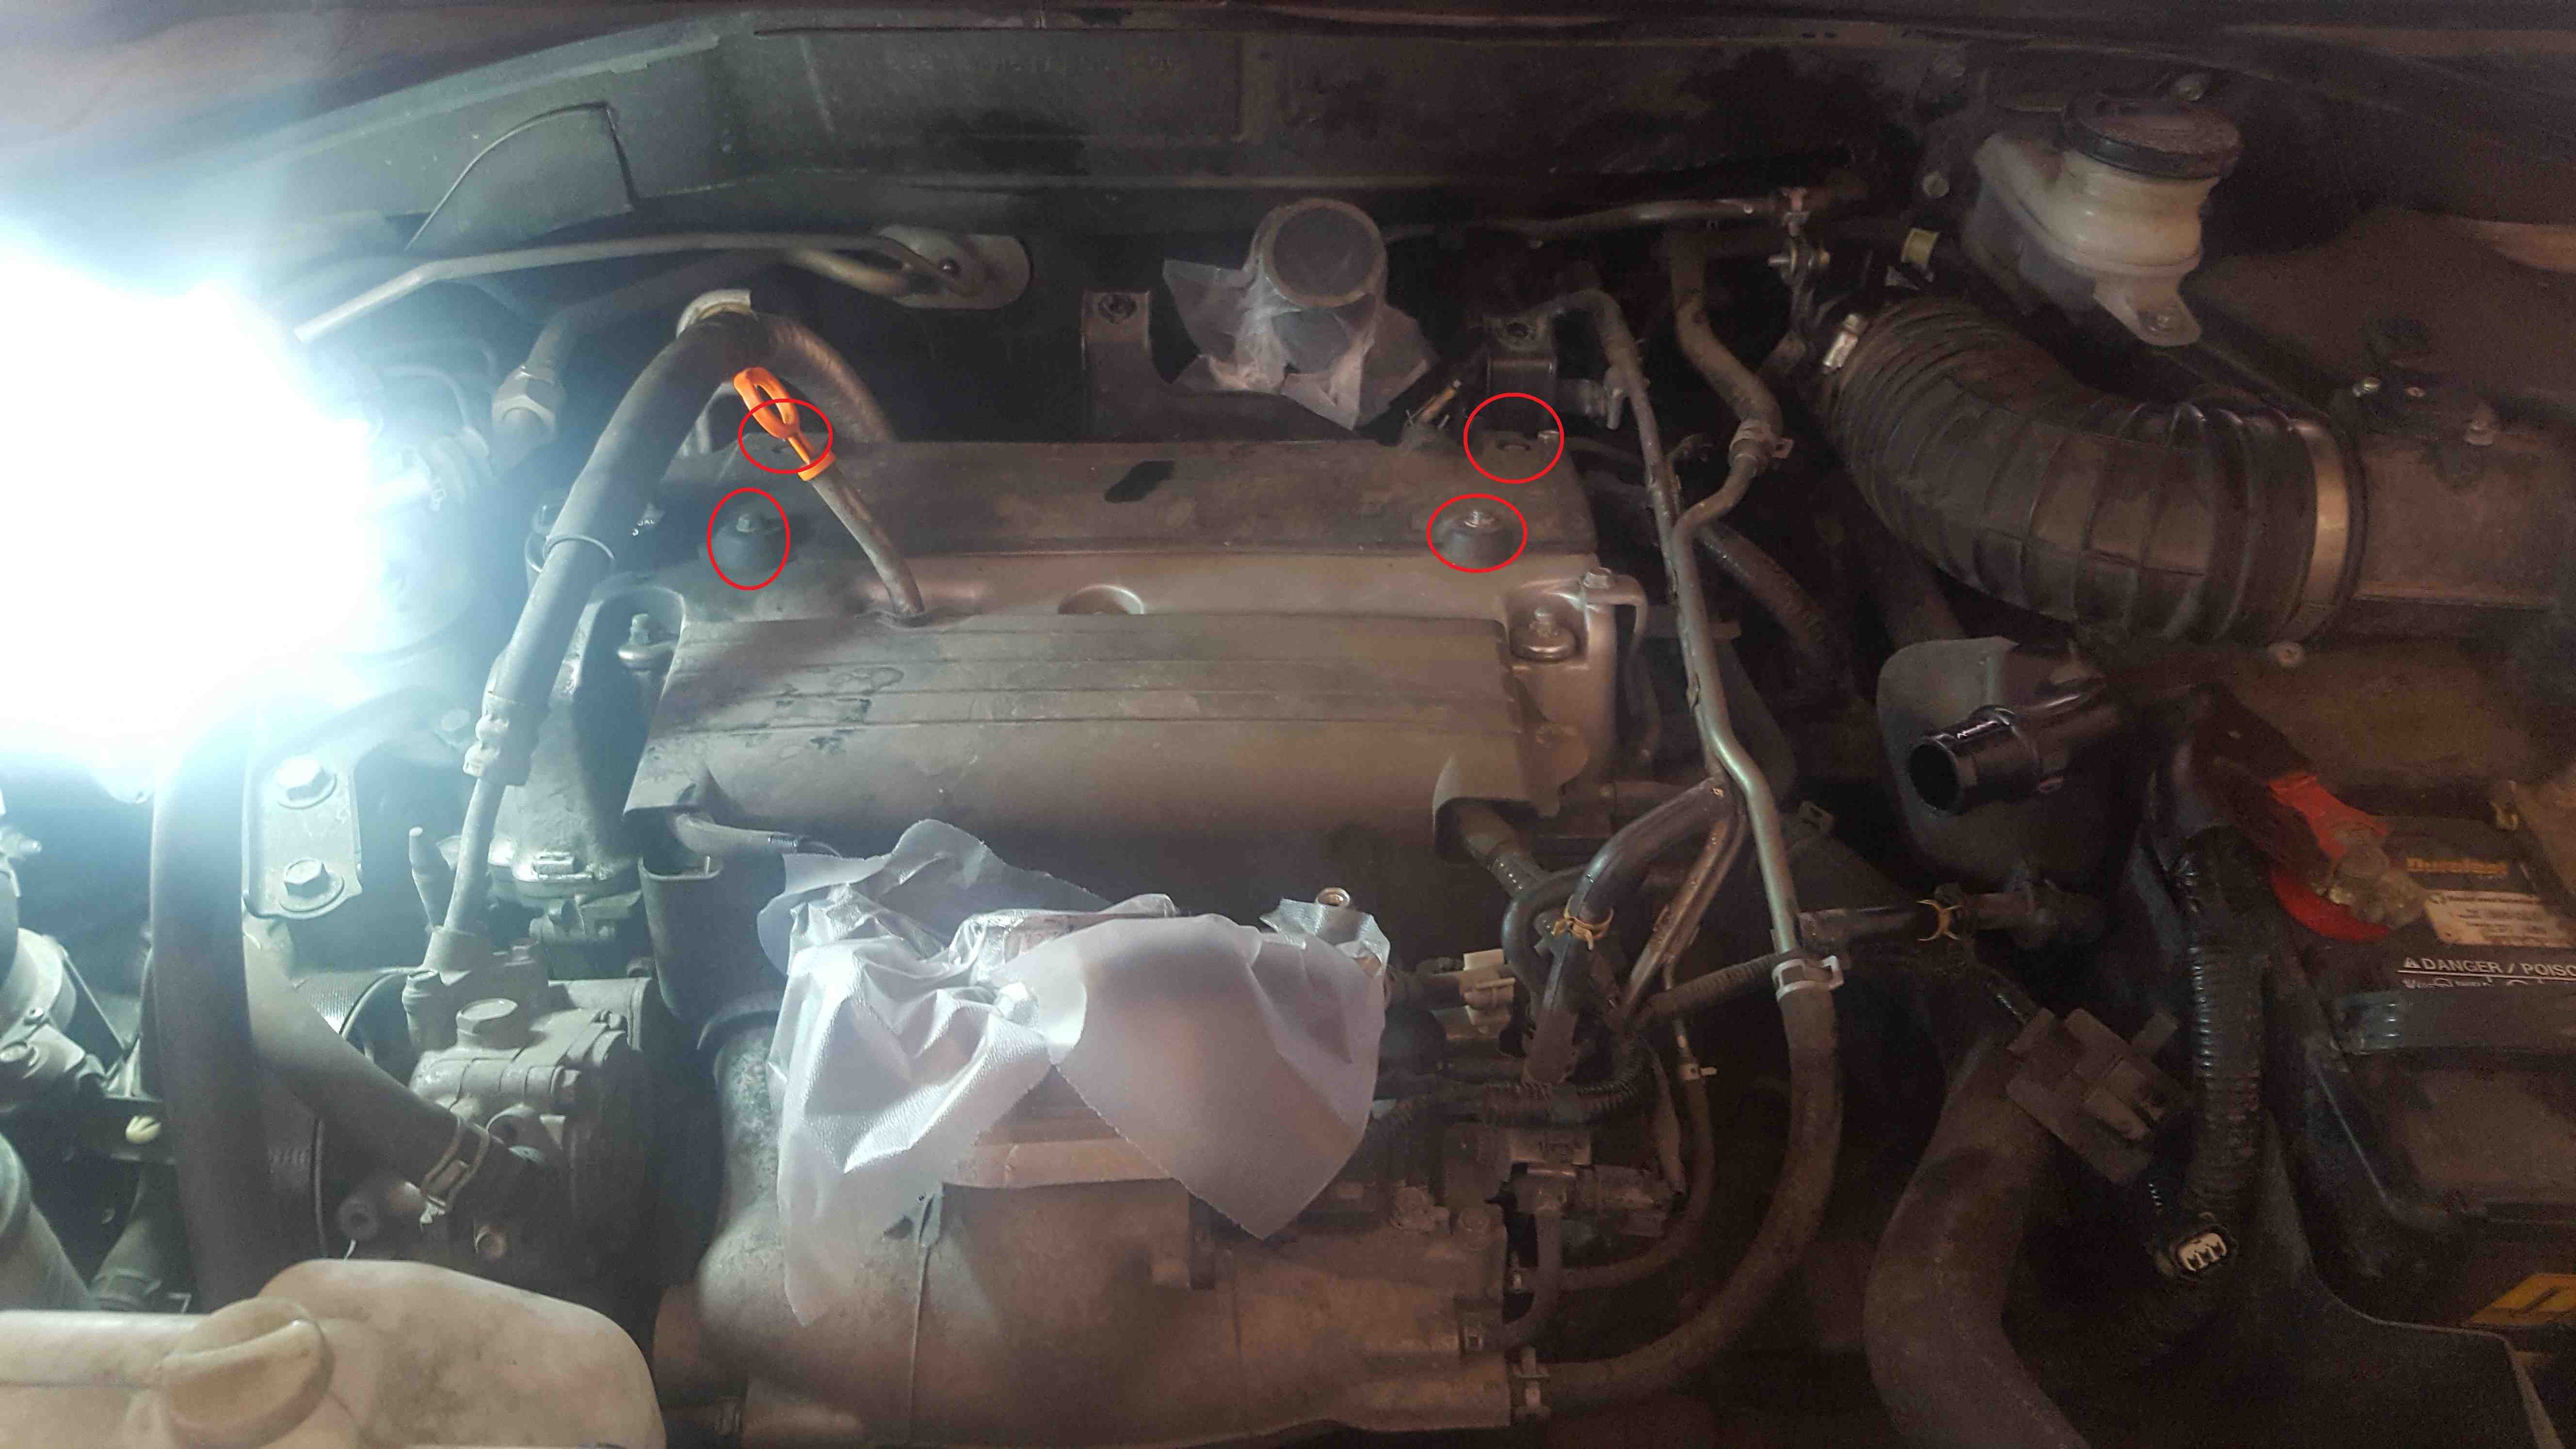
Remove the inter-cooler mounting screws. The front one is easy enough but you will need a ratchet extension to get to the two along the back side. There is also one hidden on the driver's side that secured the intake hose. You should have 4 bolt.
-
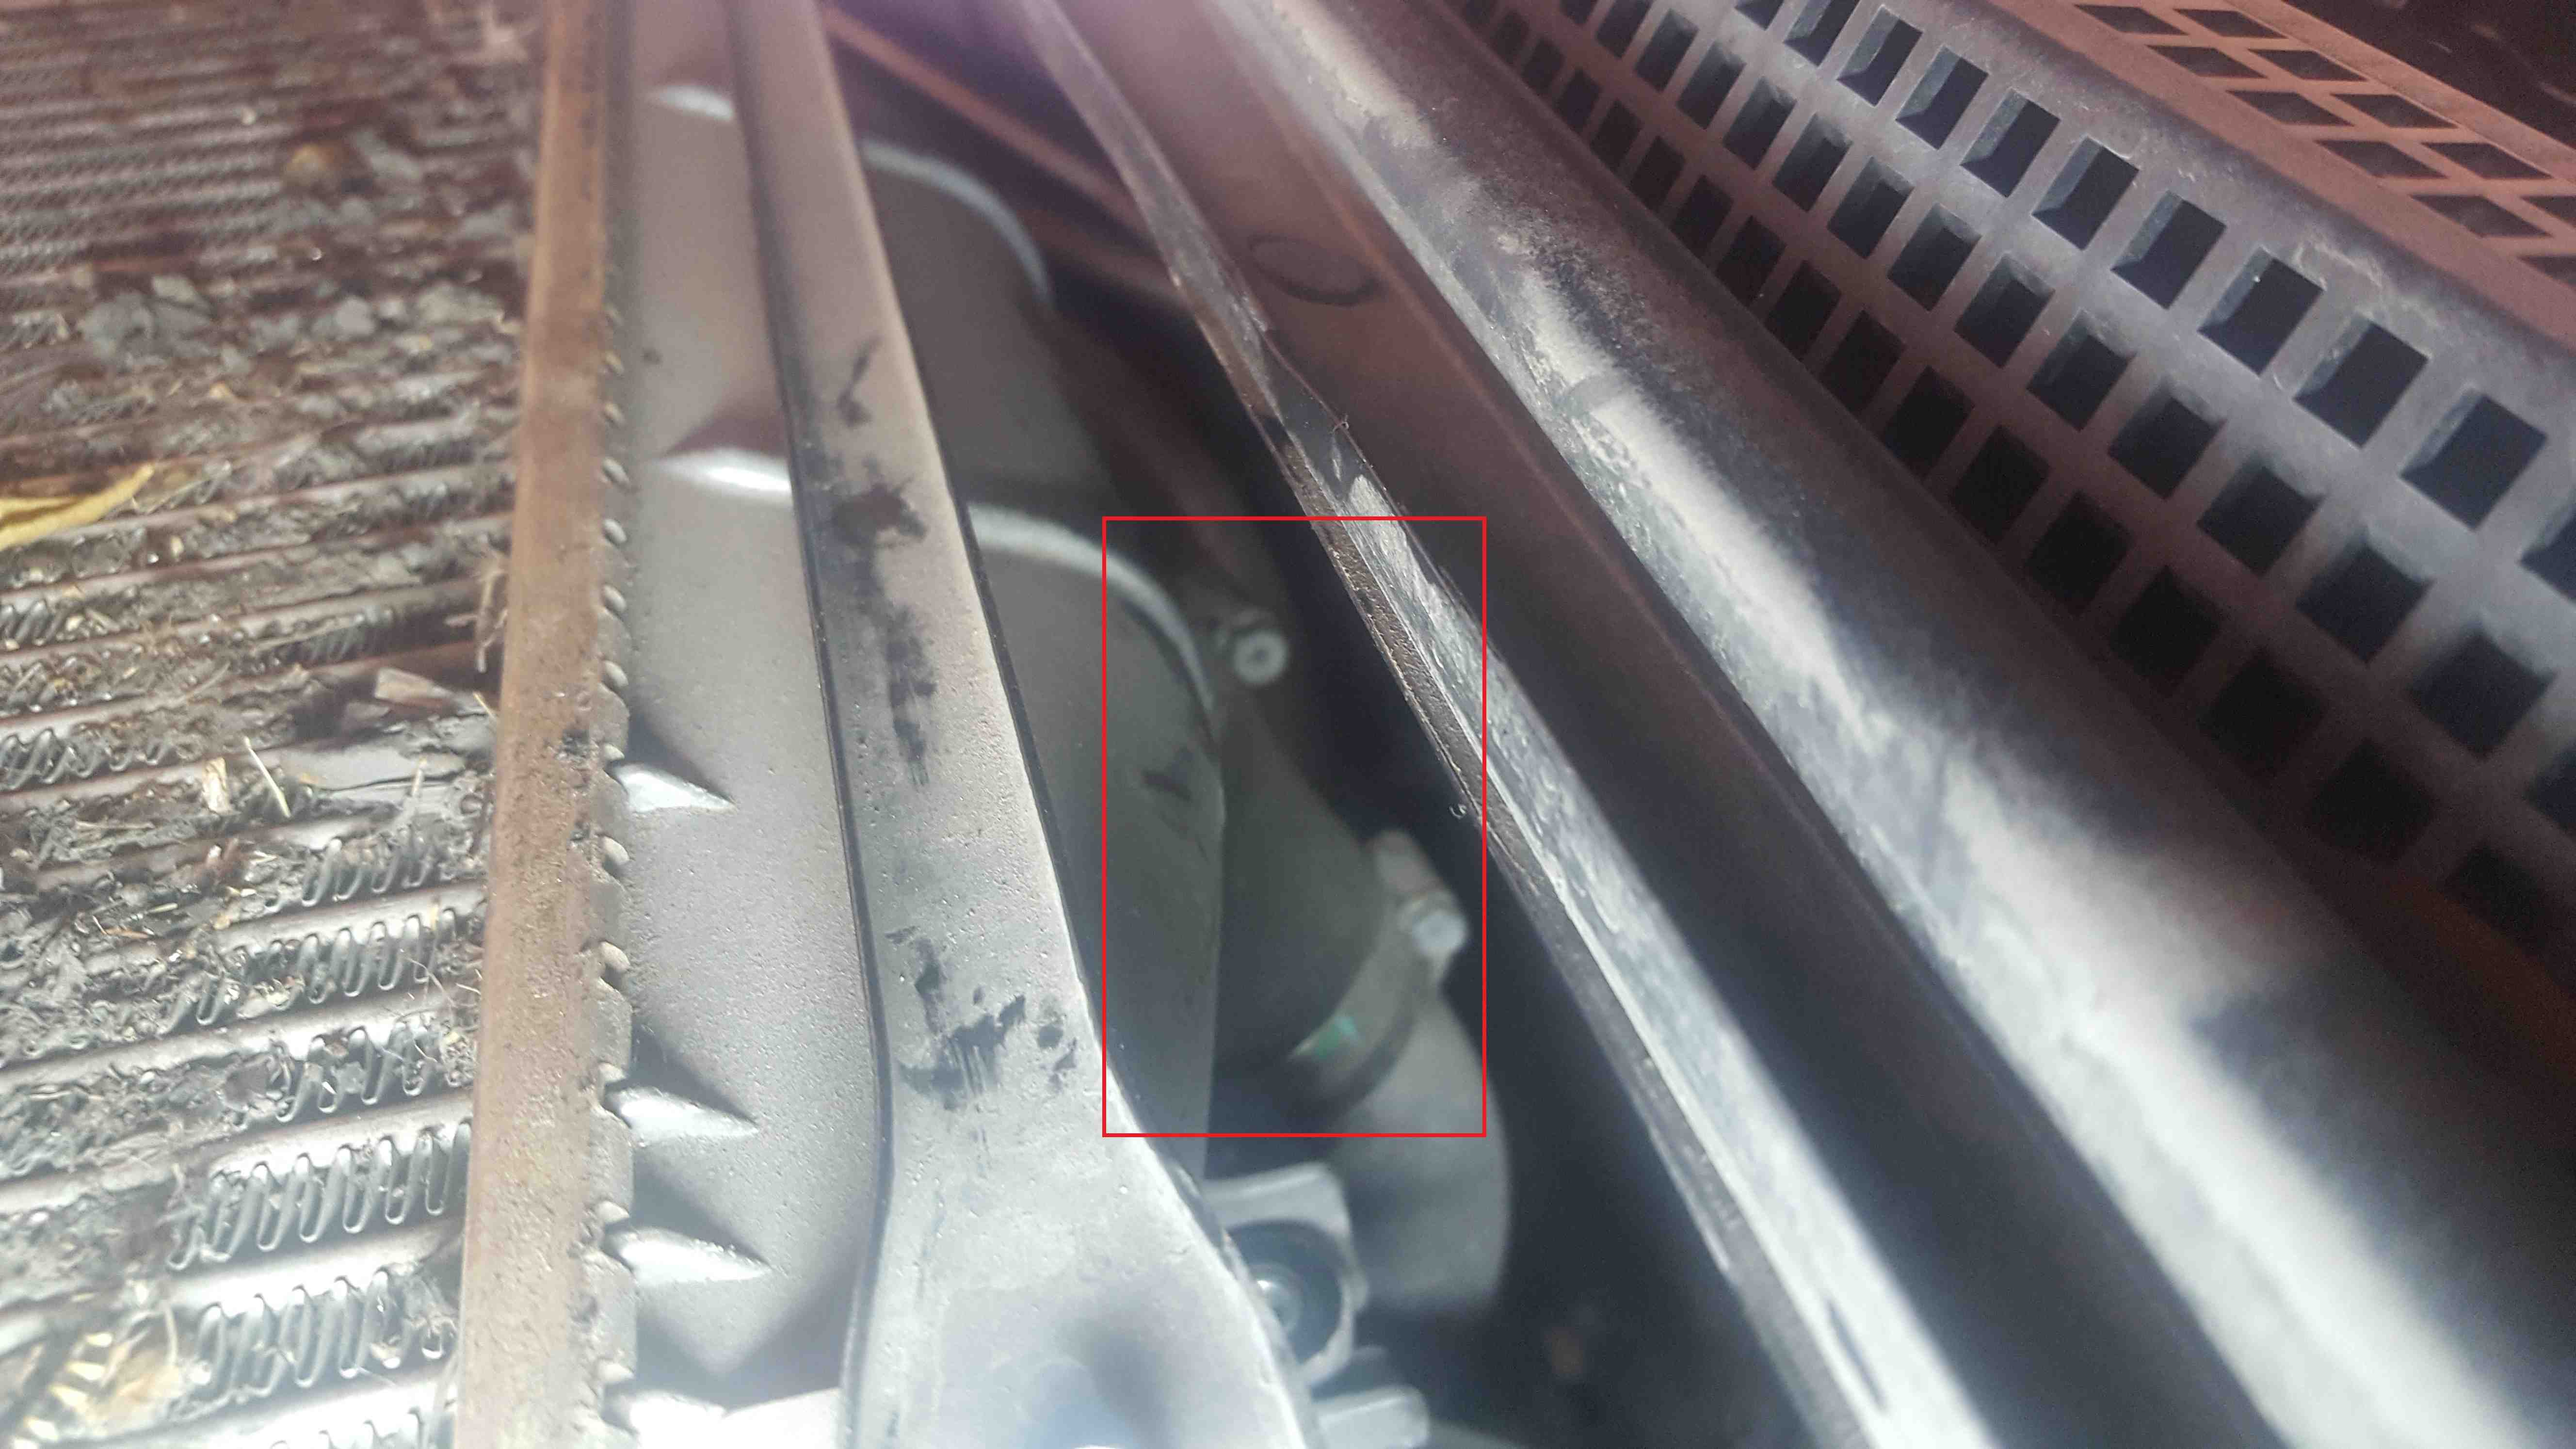
You will also need to loosen the metal bracket on the two hoses (front and back) attached to the inter-cooler (red squares, rear not shown). Loosen them just enough to get them to slide off, don't do what I did and unscrew them all the way. Here is the rear one.
-
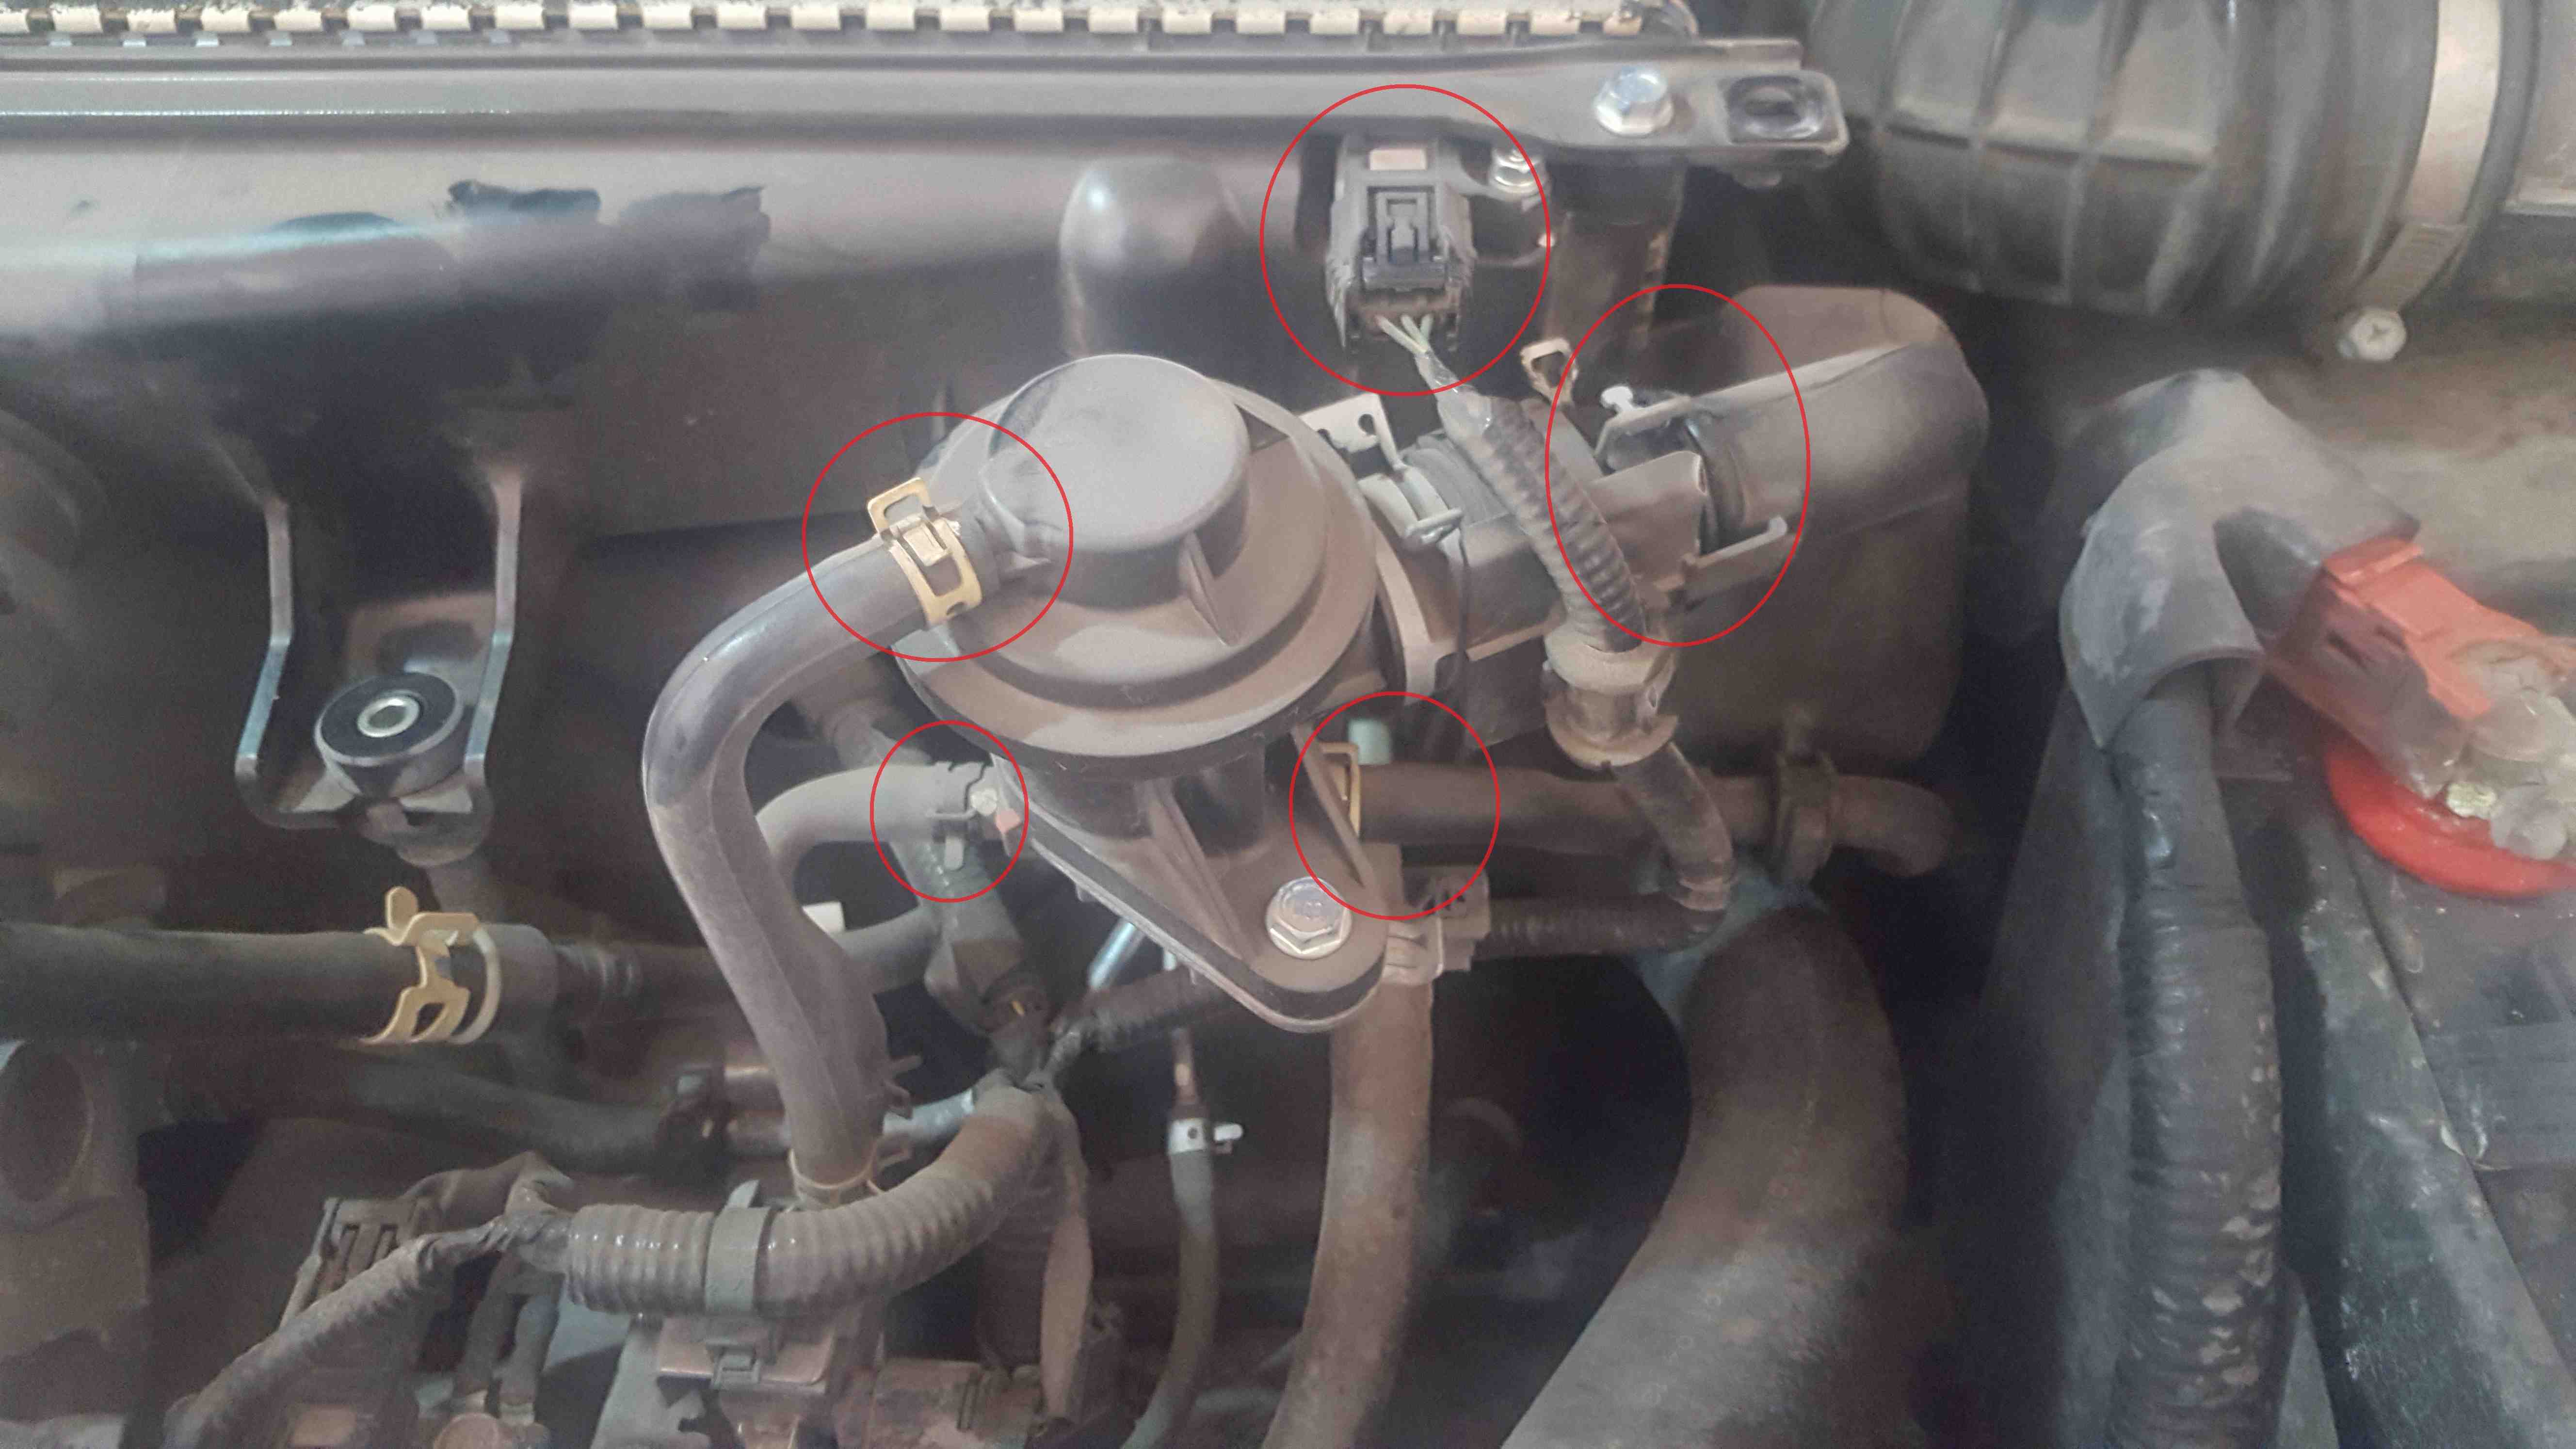
Next remove all the hose/electrical attachments to the bypass valve on the front of the inter-cooler. The hoses will probably be on there pretty tight. A hose separator would be ideal, I was able to use a flat head screw driver to pry them off. Keep in mind that you could damage the hoses this way to be careful if you do not have a separator.
-
Now the inter-cooler should lift free. ONLY lift it by the frame, the fins are very fragile. It might take a little nudging to get out as the are hoses are still seated and are pretty stiff.
-
Now we have access to the spark plug cover, remove this.
-
Finally to the actual job at hand. You will see the spark plug boots each with a single bolt. Starting at the drivers side, carefully disconnect the electrical connector, unscrew the bolt, and remove the boot with a twisting motion. Be sure to keep the boots in order. No pictures for this one, sorry.
-
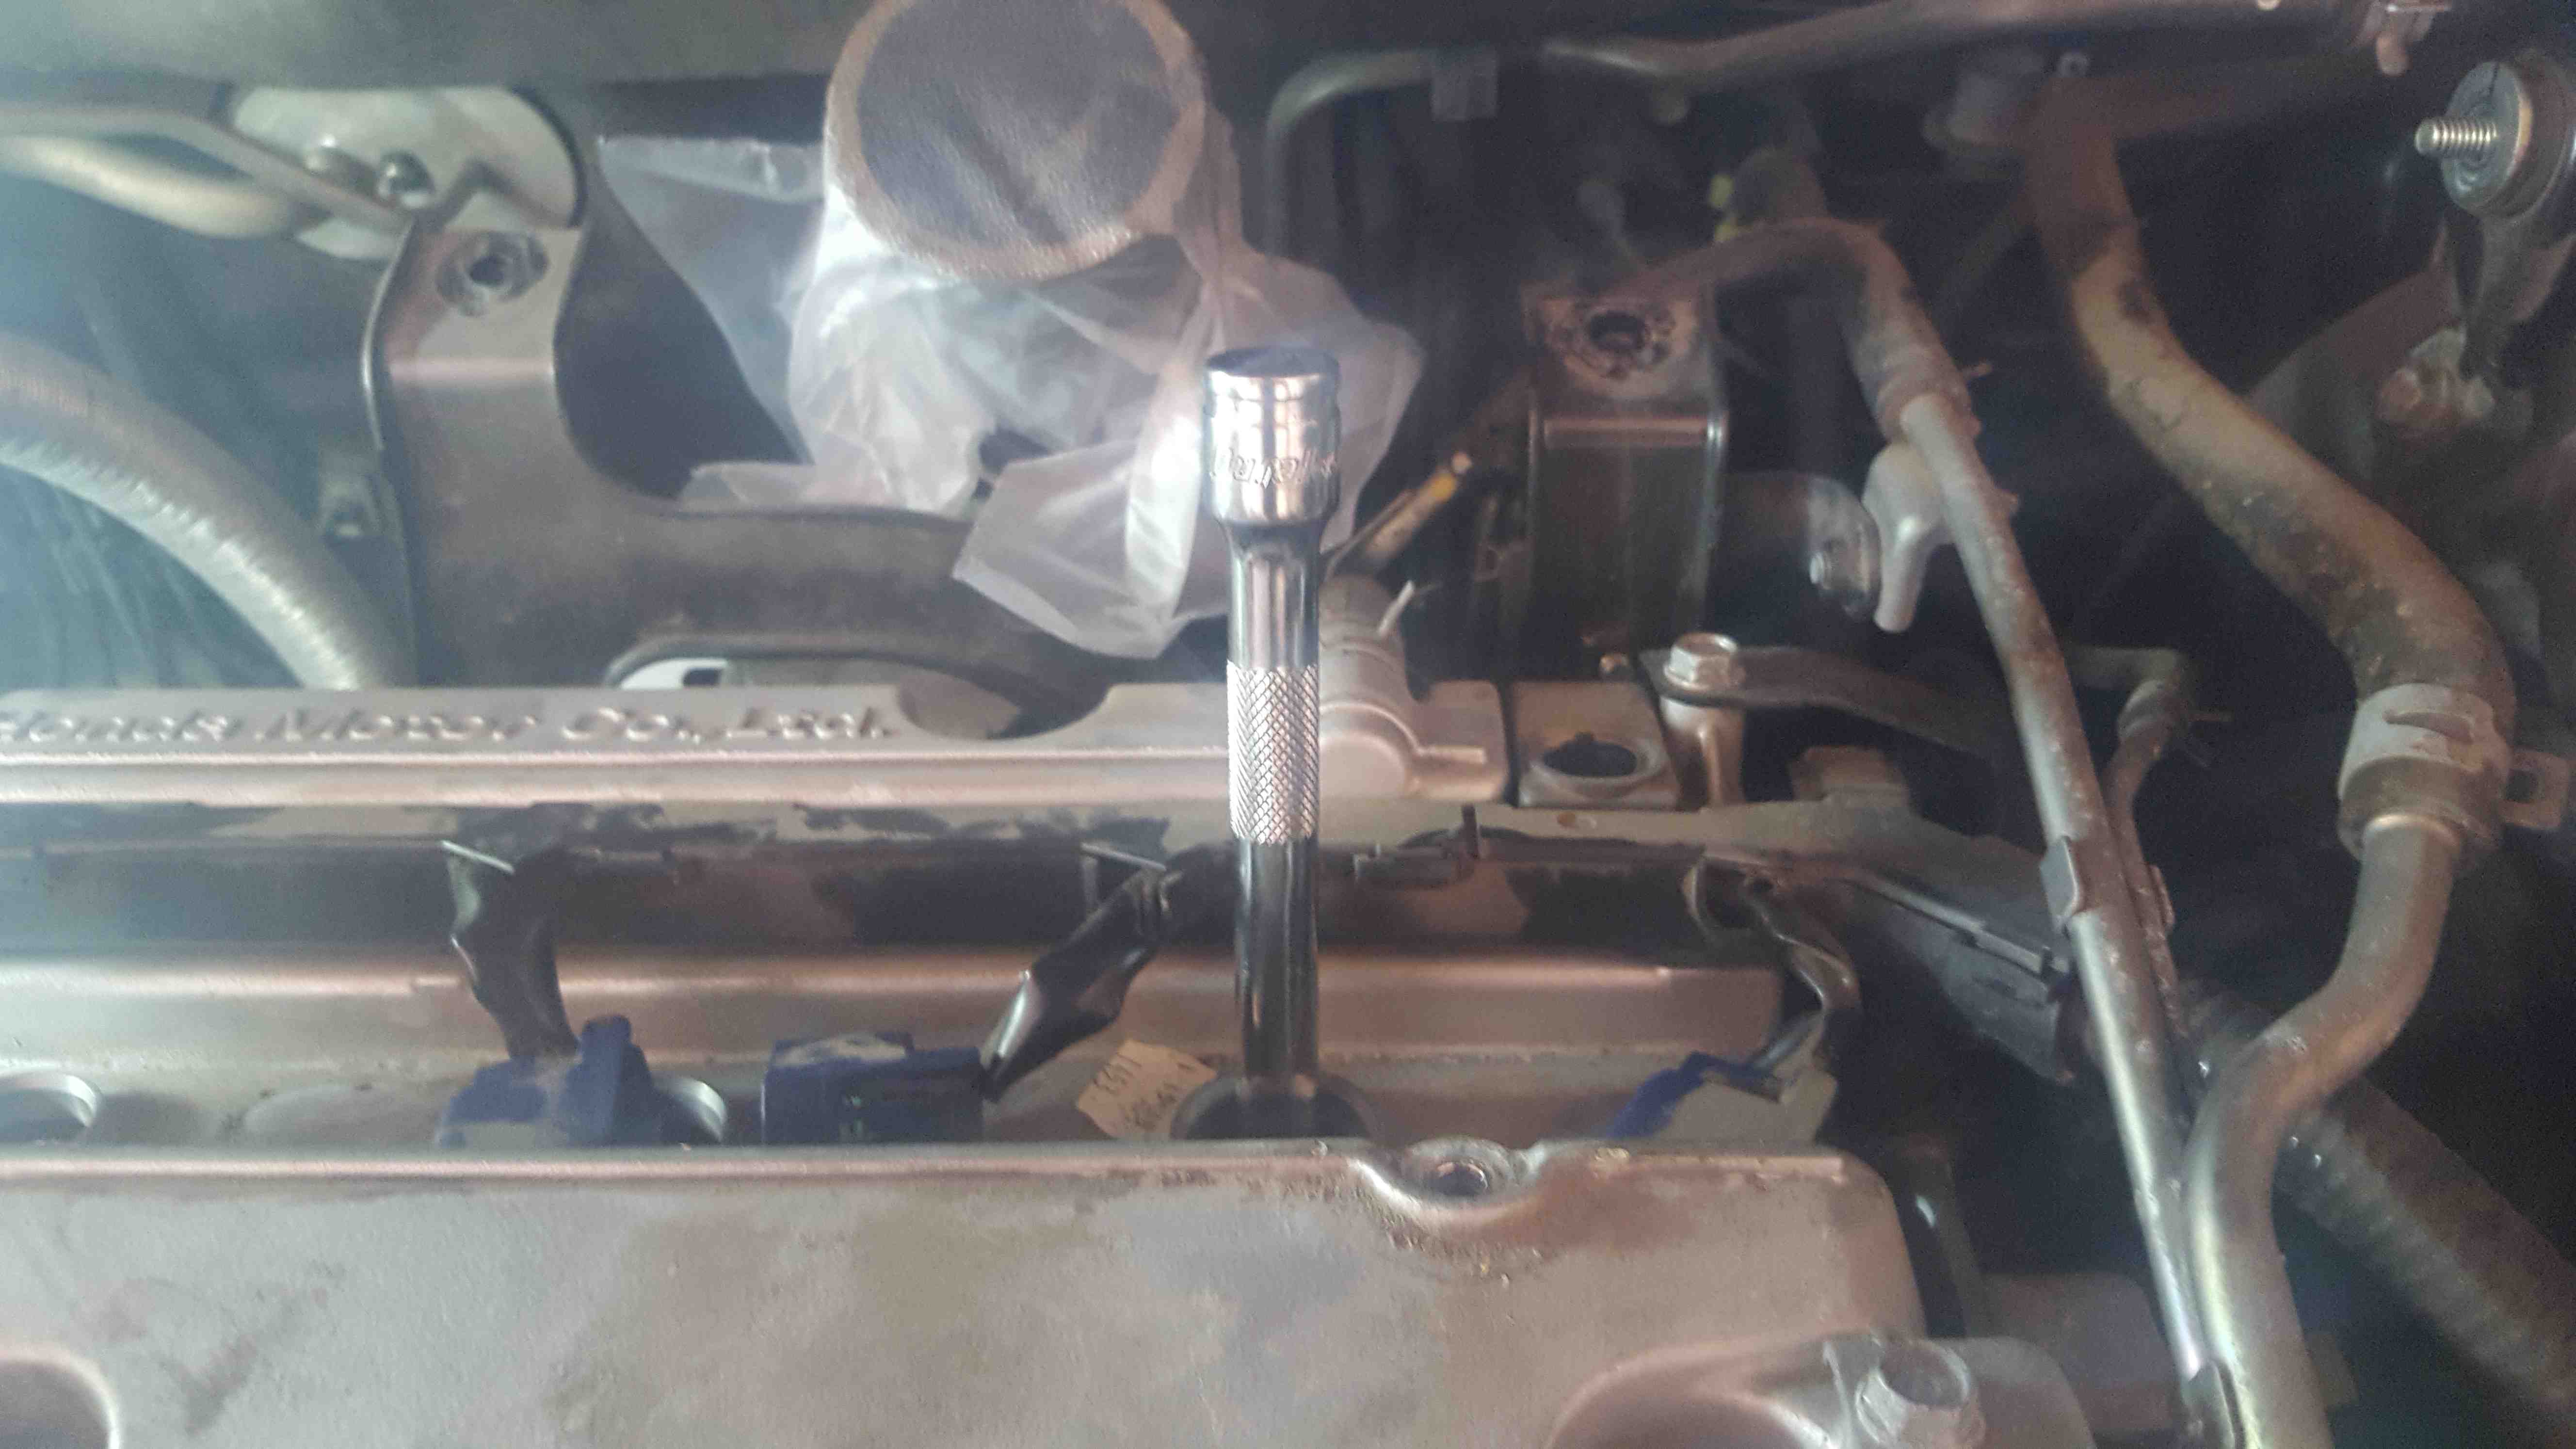
Once the boots are off, one-by-one, use a ratchet extender and spark plug socket to remove the old plug and install the new plugs (tighten by hand). If you got the NGK OEM replacement plugs, no gapping is necessary.
-
Use a torque wrench to torque the plugs down to 18 N-m (13 ft-lb or 156 in-lb).
-
Lastly, replace everything in reverse order and you are done with this job. It took me a little over an hour to complete this.
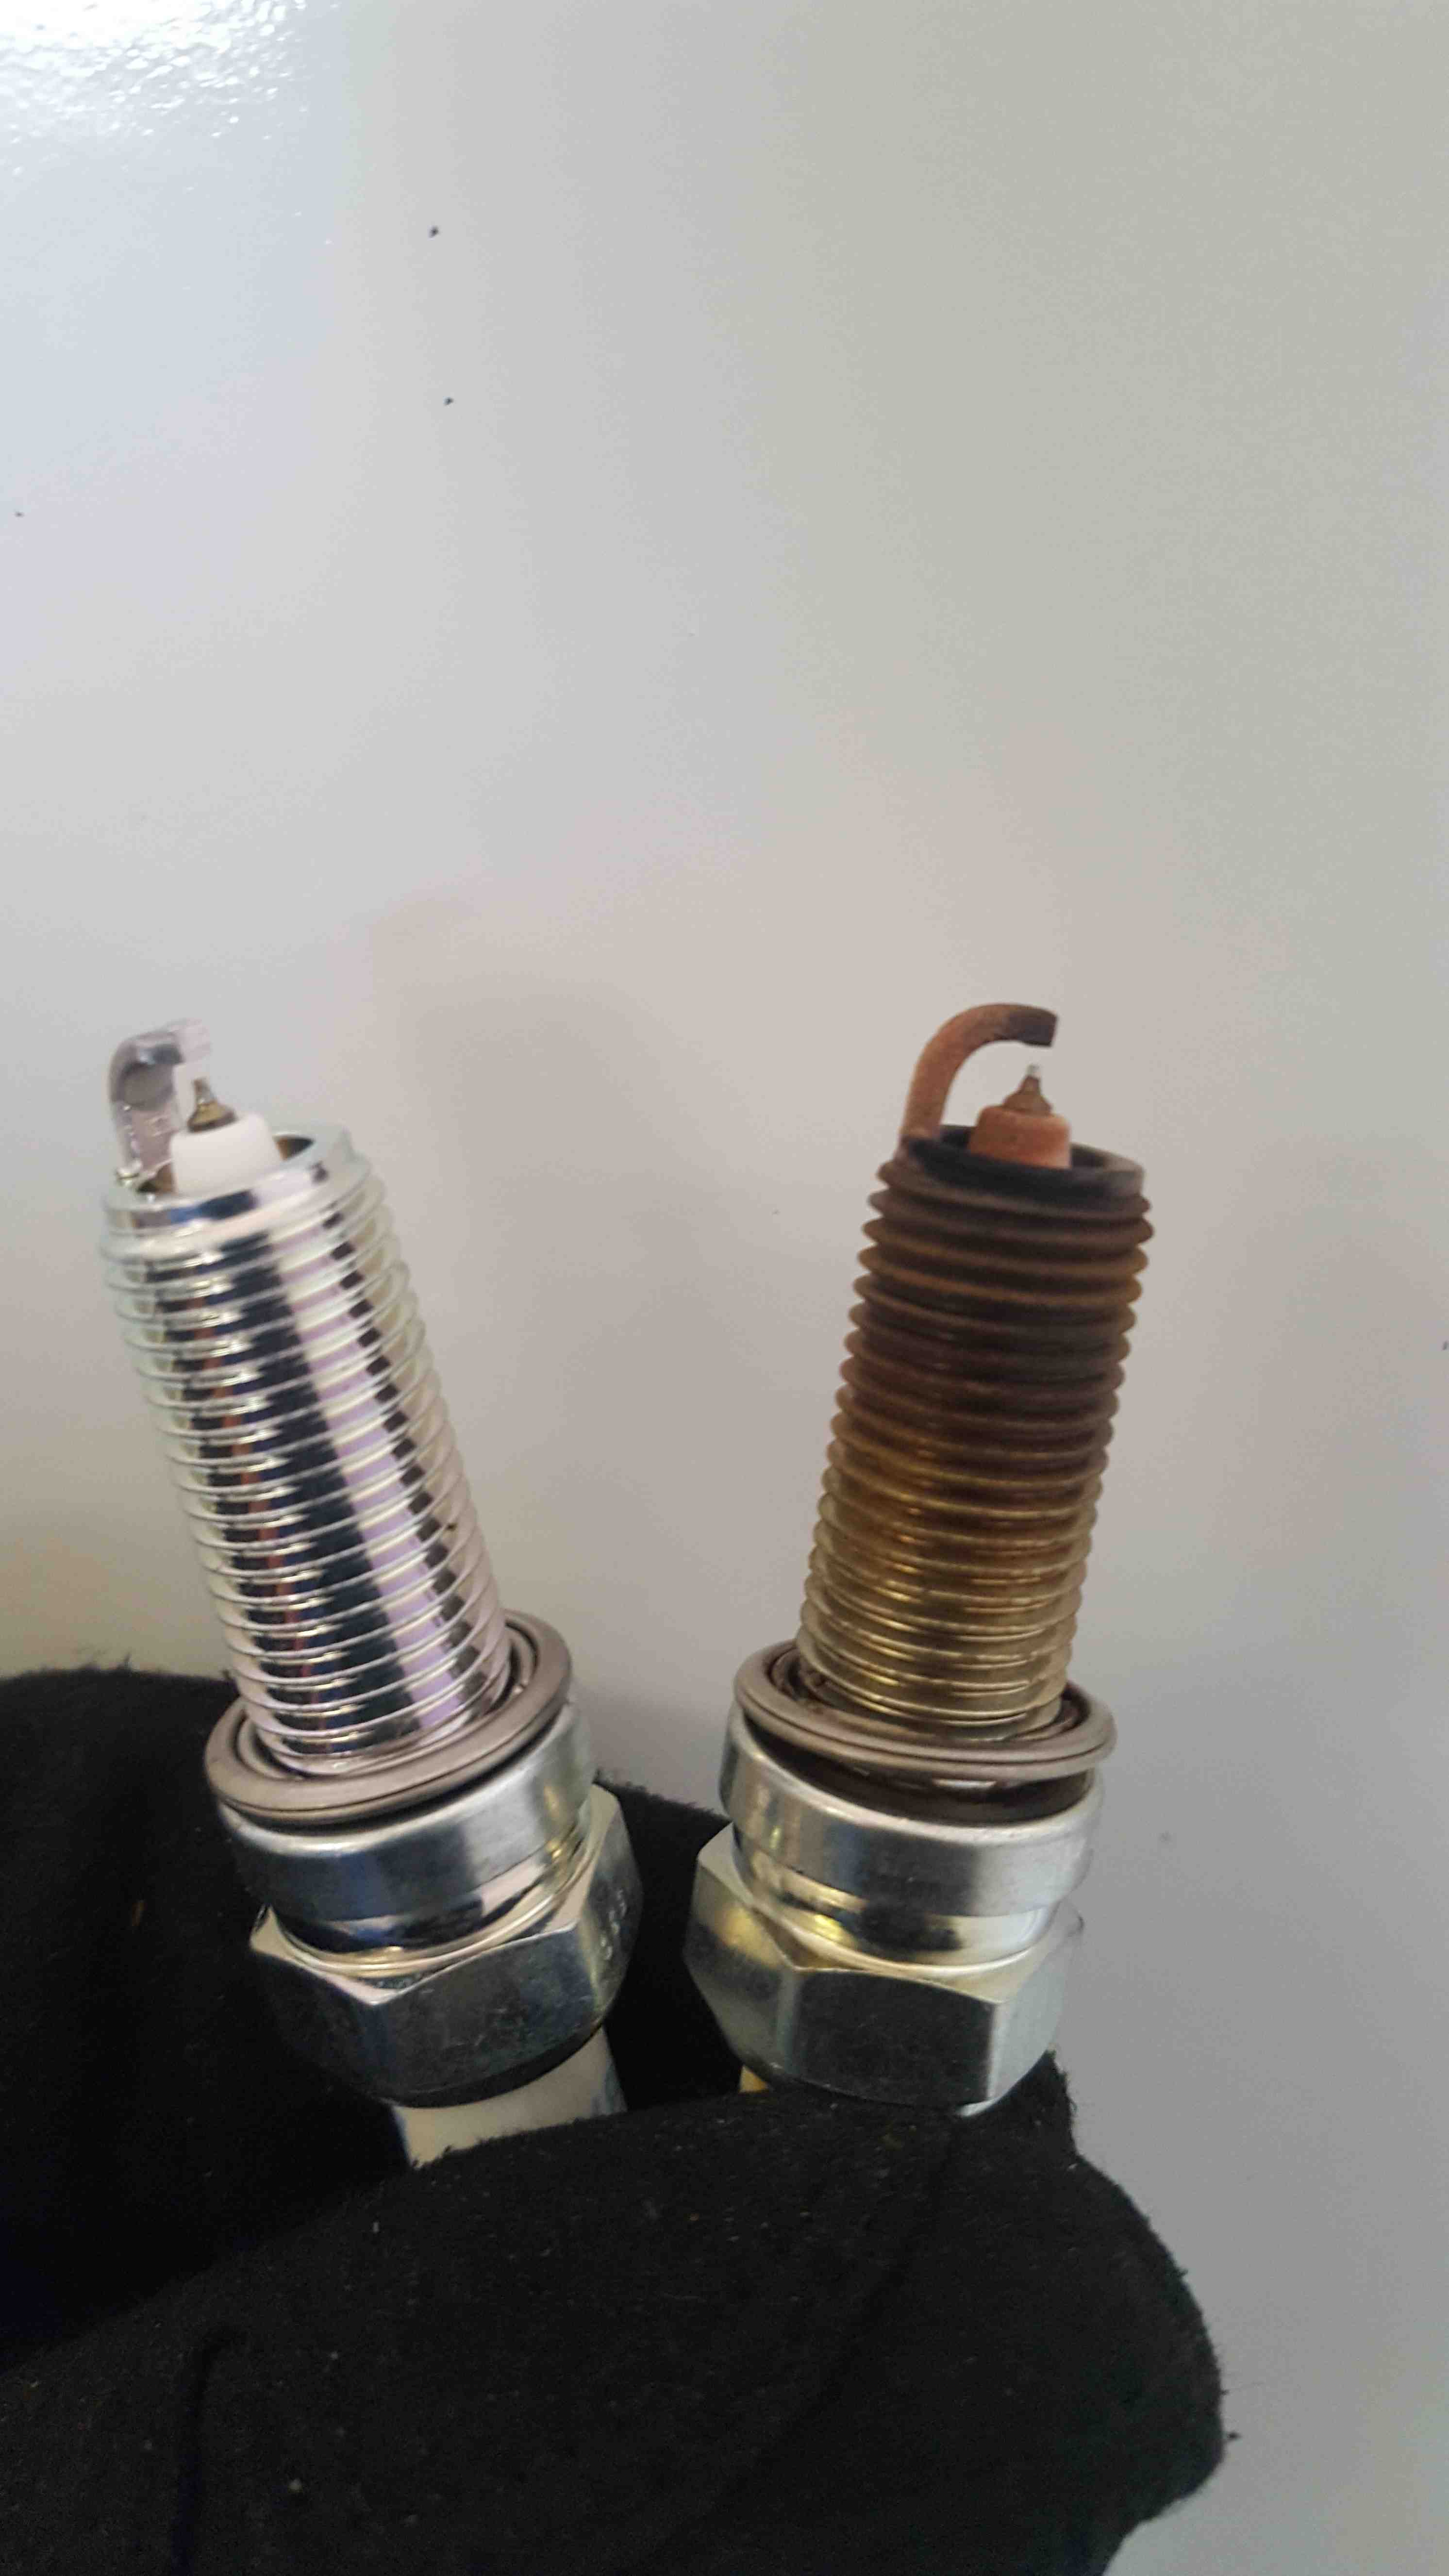
Here is the before/after shot of the plugs, certainly would like an expert opinion on if this looks OK, but my internet research indicates that the old plugs look good.
Brake Fluid Flush
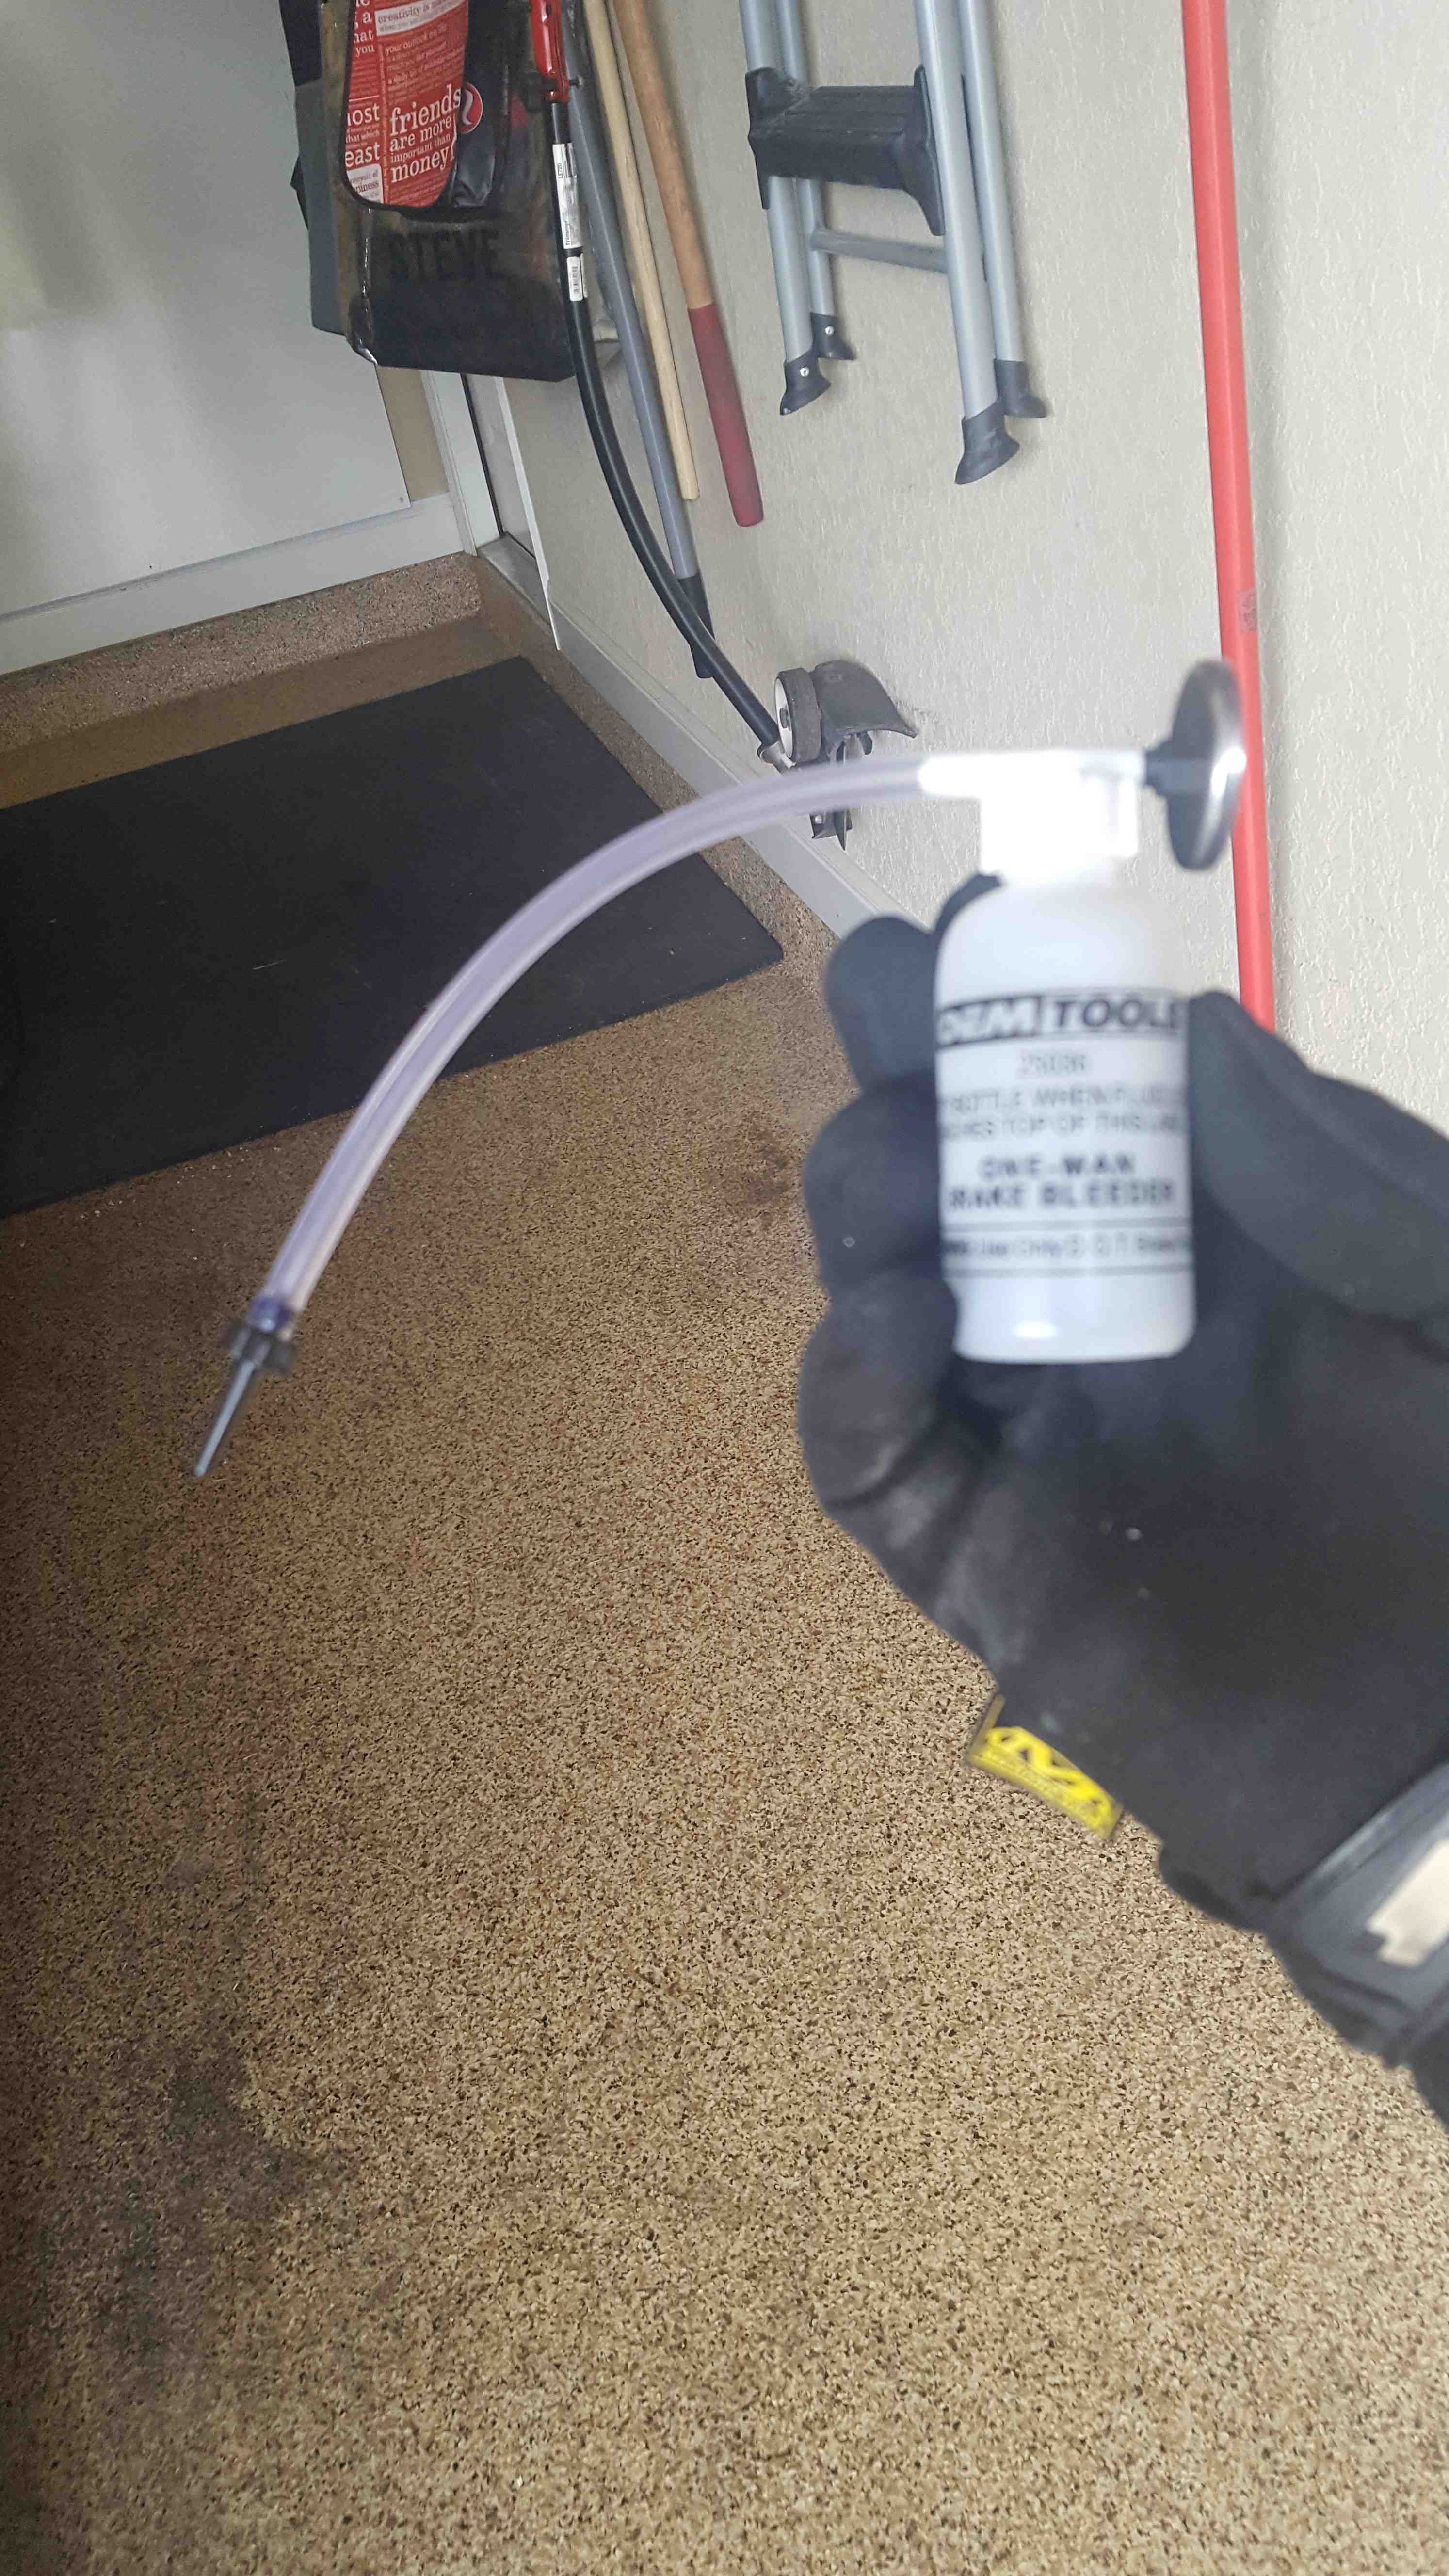
This job was pretty easy, but very time consuming. I following this guide for the general steps. I ordered 5 bottles of Honda DOT3 brake fluid. I ended up needing 3 and some of the 4th. I highly recommend the use of a "one-man" brake bleeder. This device has a one-way valve so that you do not have to have a partner to open/close the bleed valve or press the brakes (sorry for the focus).
-
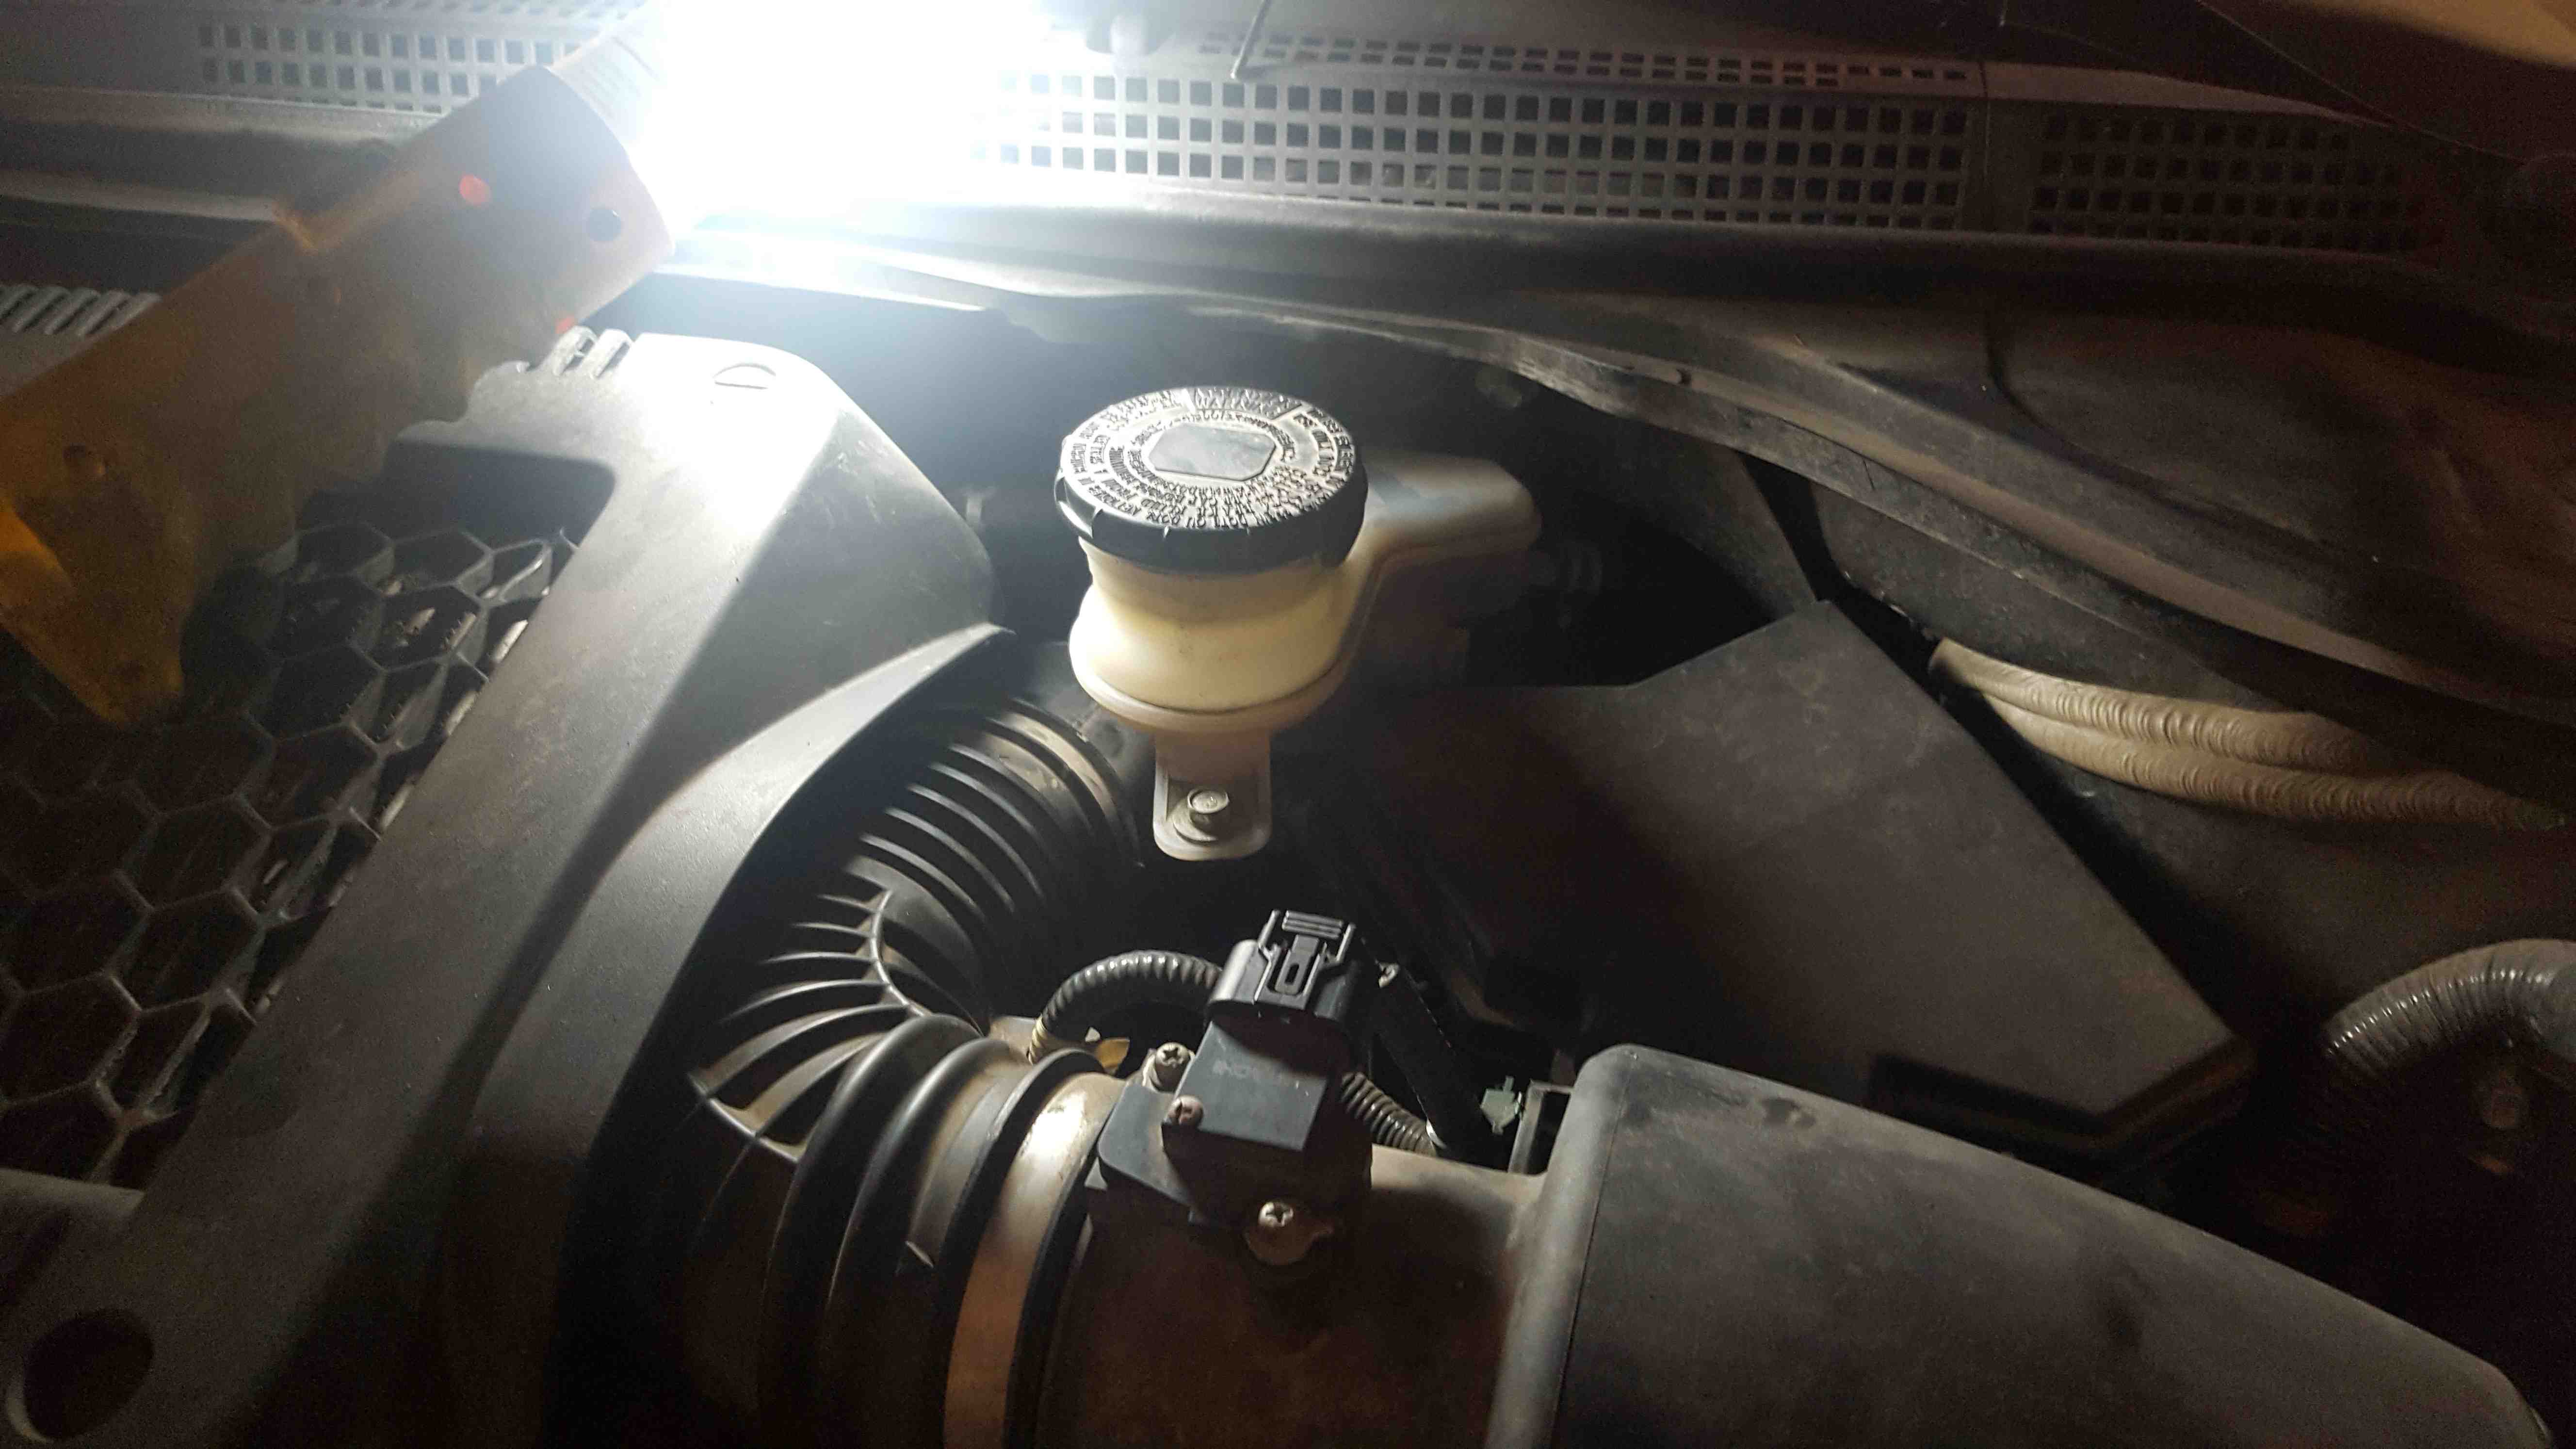
Use a turkey baster or some other suction method to take out as much fluid from the reservoir as you can. Make sure to still keep it above the MIN line (this applies throughout the job). This prevents any air from getting into the brake lines. Fill the reservoir to the MAX line with new brake fluid.
-
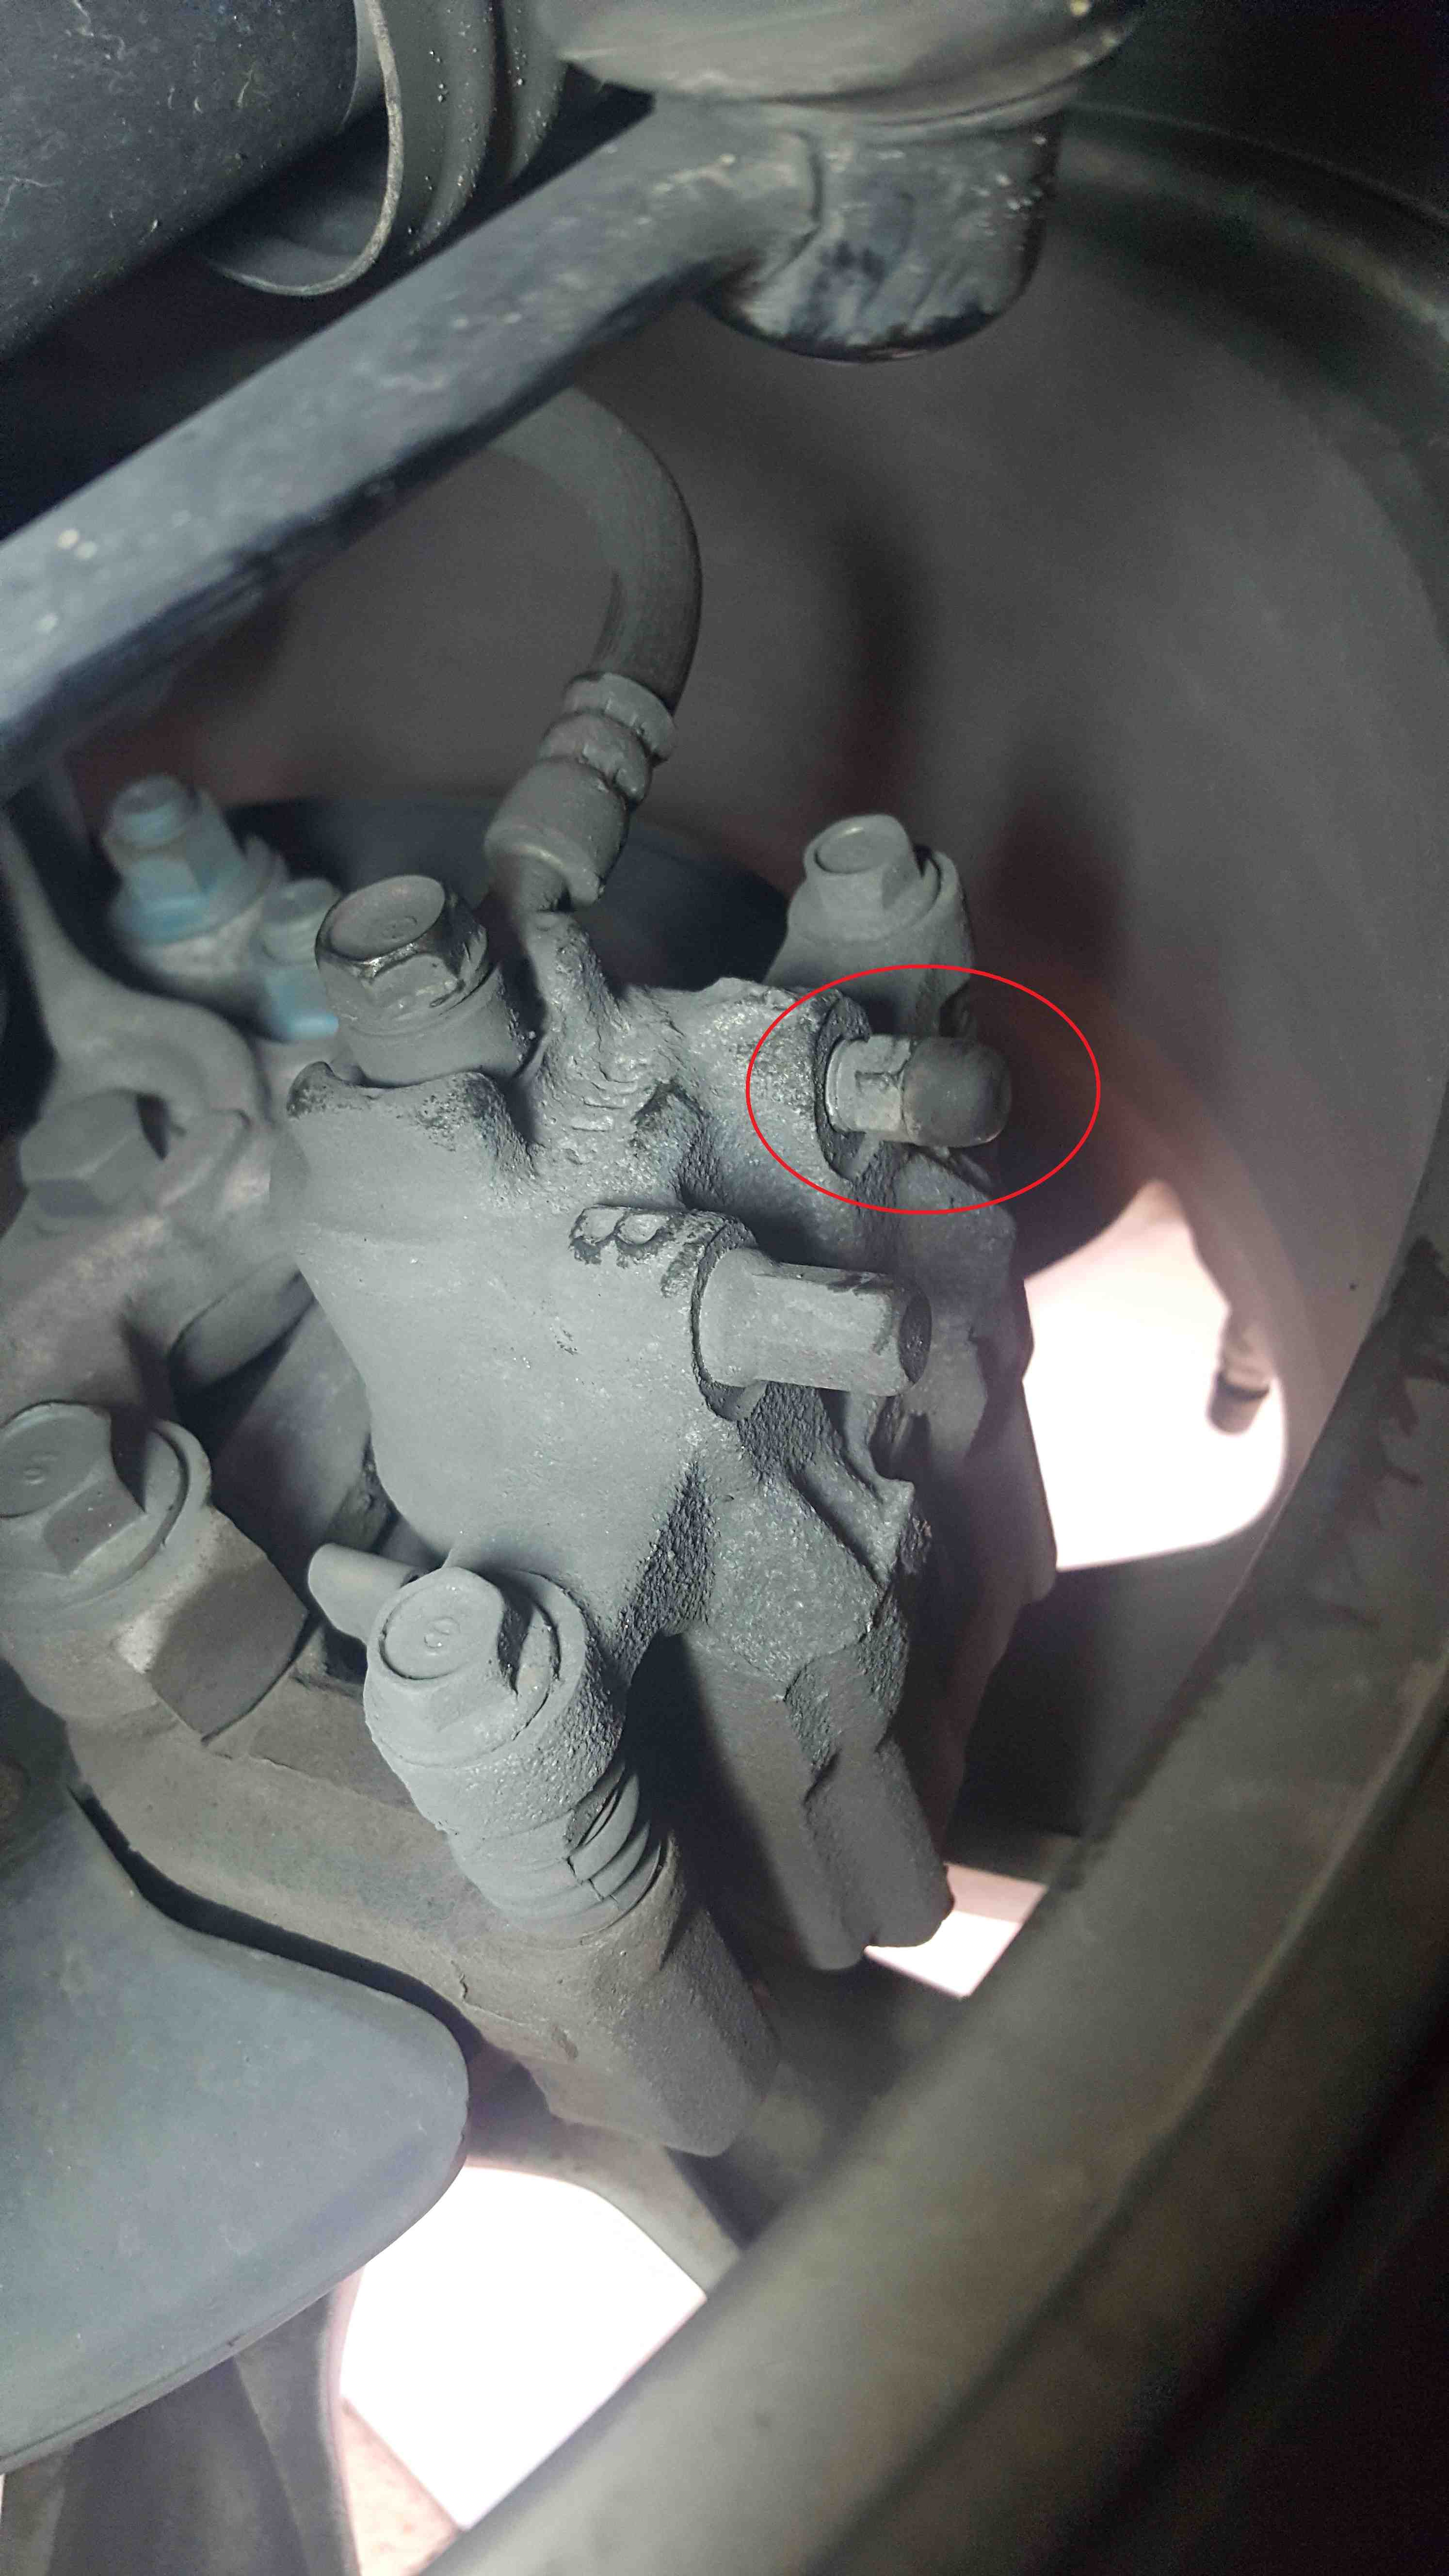
Bleed each brake line in sequence: rear passenger, rear driver, front passenger, front driver. To bleed the brakes, locate the bleed valve at the wheel you are working on and remove the rubber cover. The rear ones are on the rear side of the wheel and the front ones are on the front side of the wheel.
-
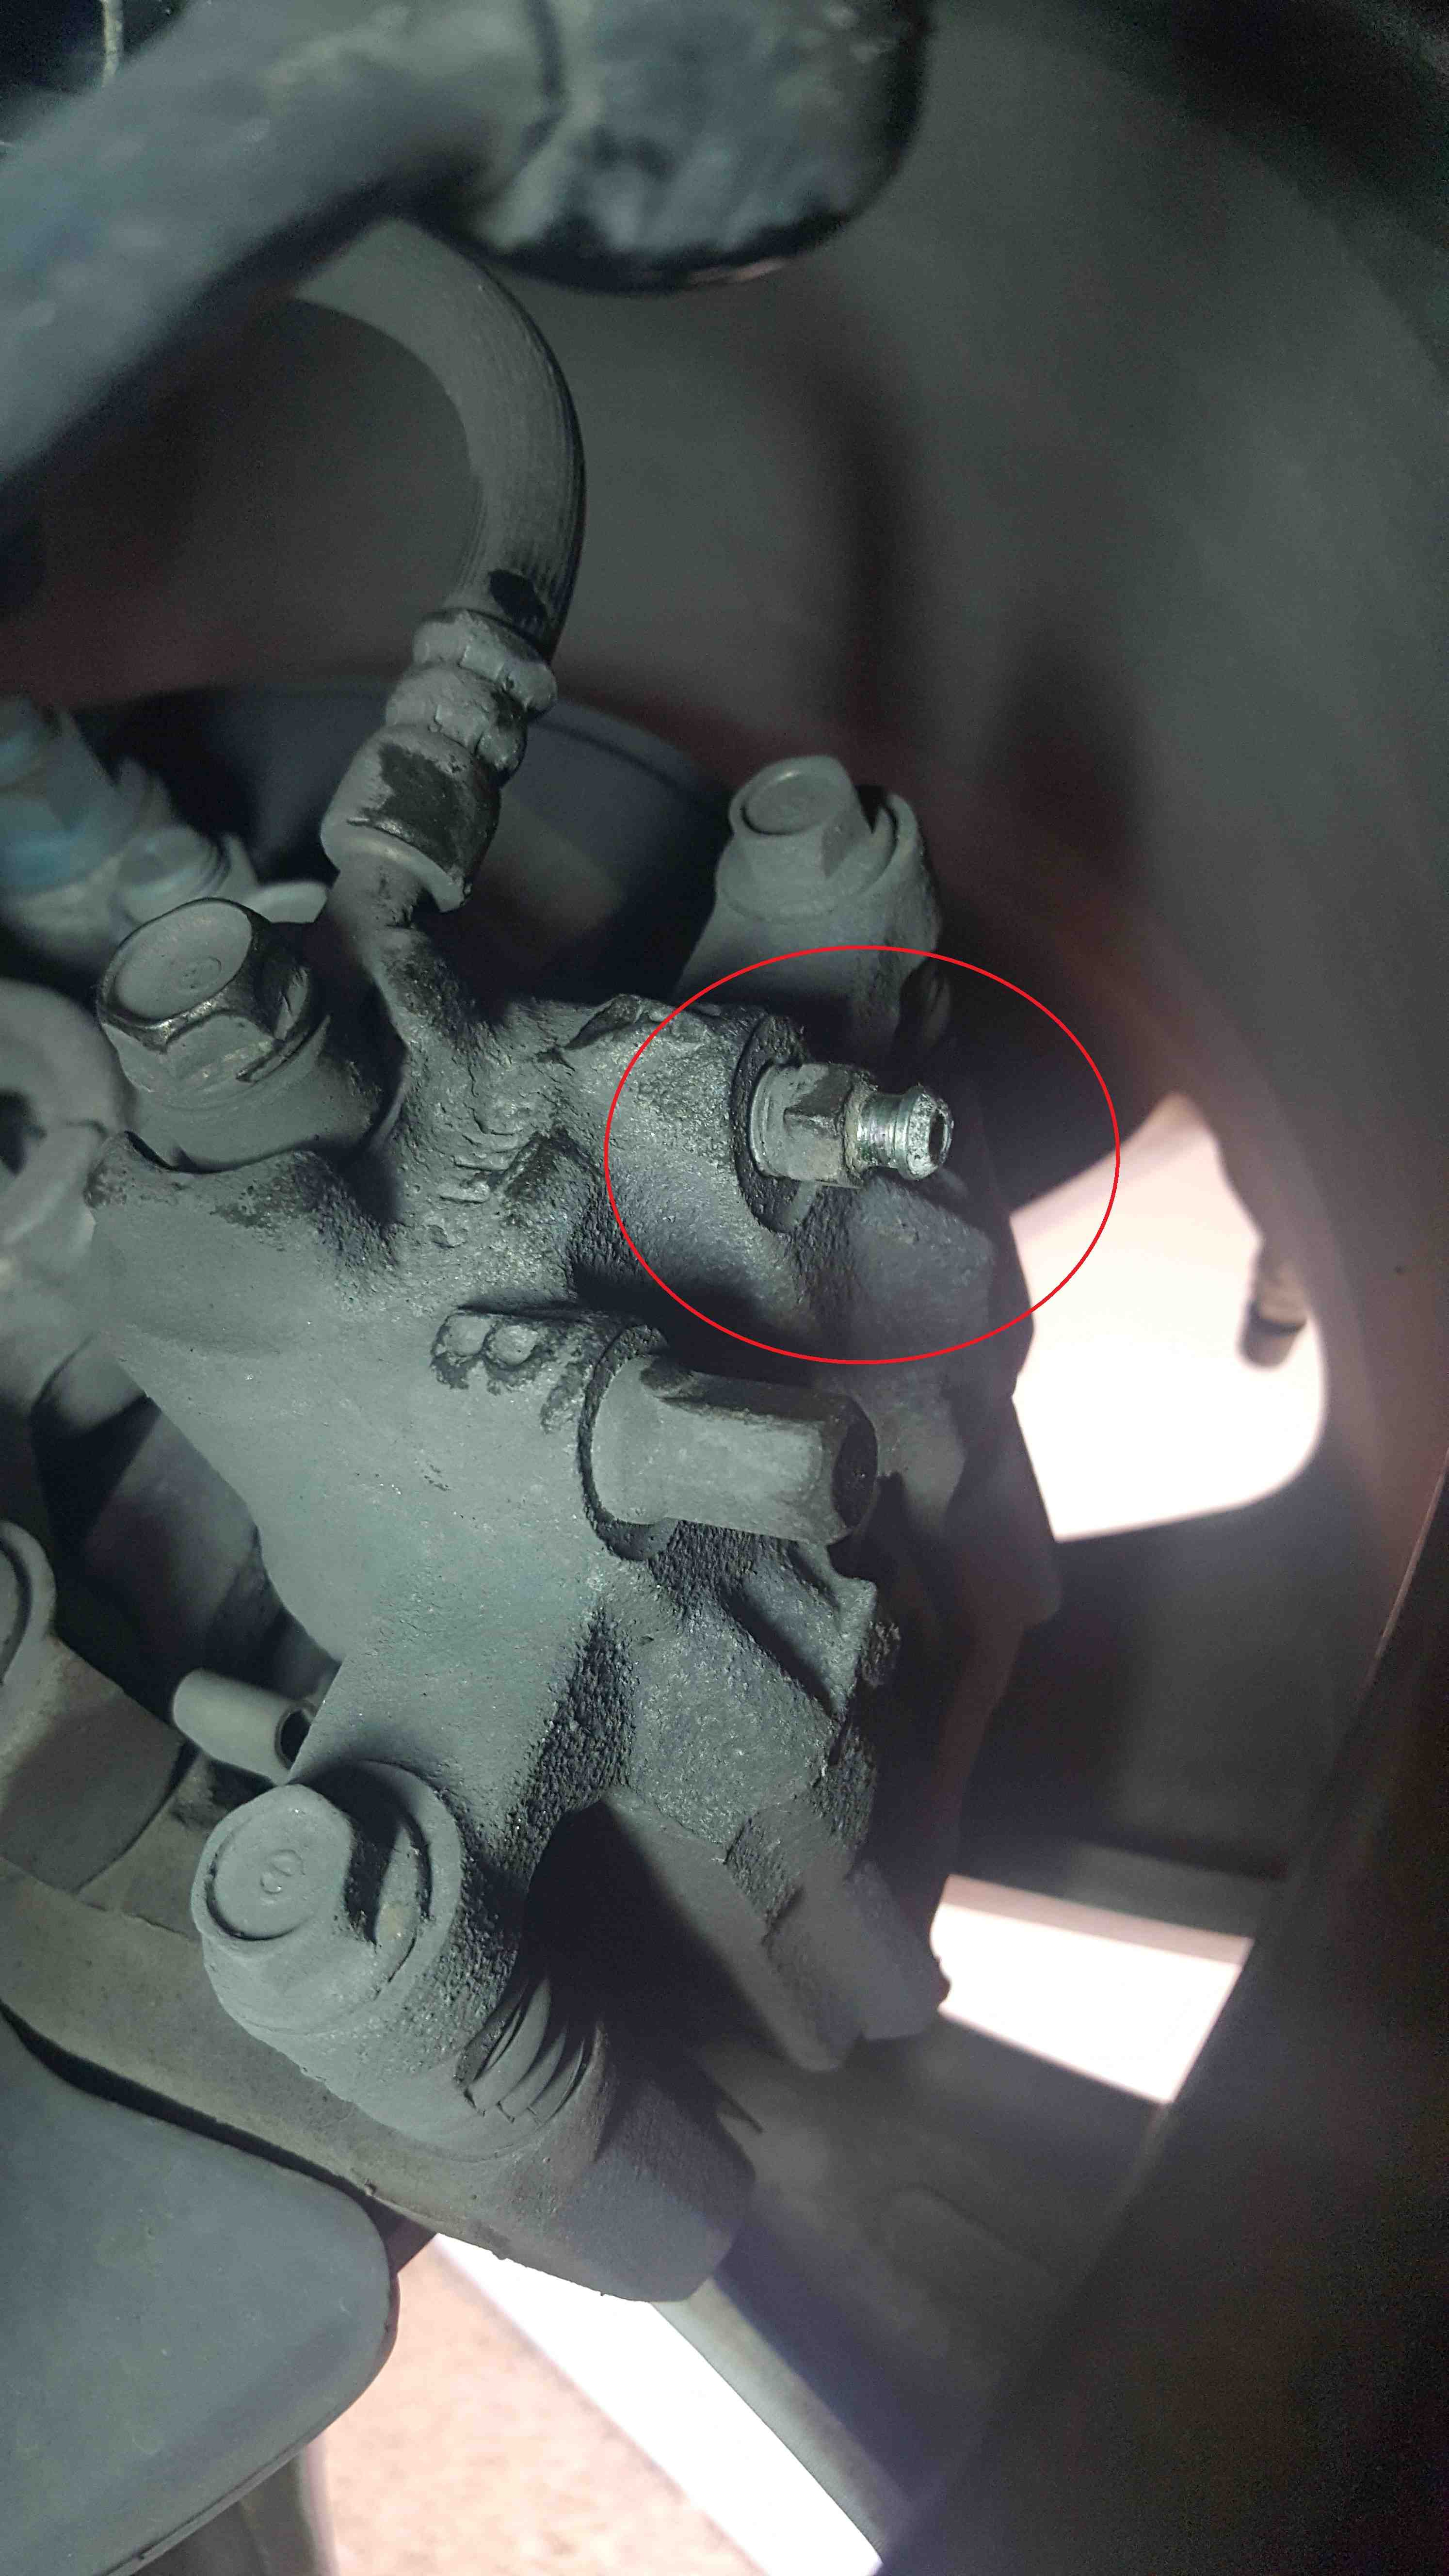
I had to take off my gloves and use a finger nail to get the cover off each one. This job would be easiest with the car on a lift, easy with it jacked up and the wheel removed, and hardest if you do nothing and do it all on the ground (but that is how I did it, so it is possible). If you do choose not to lift the car at all, just be aware you will be making a lot of trips from the groud, to the driver's seat, to the fluid reservoir.
-
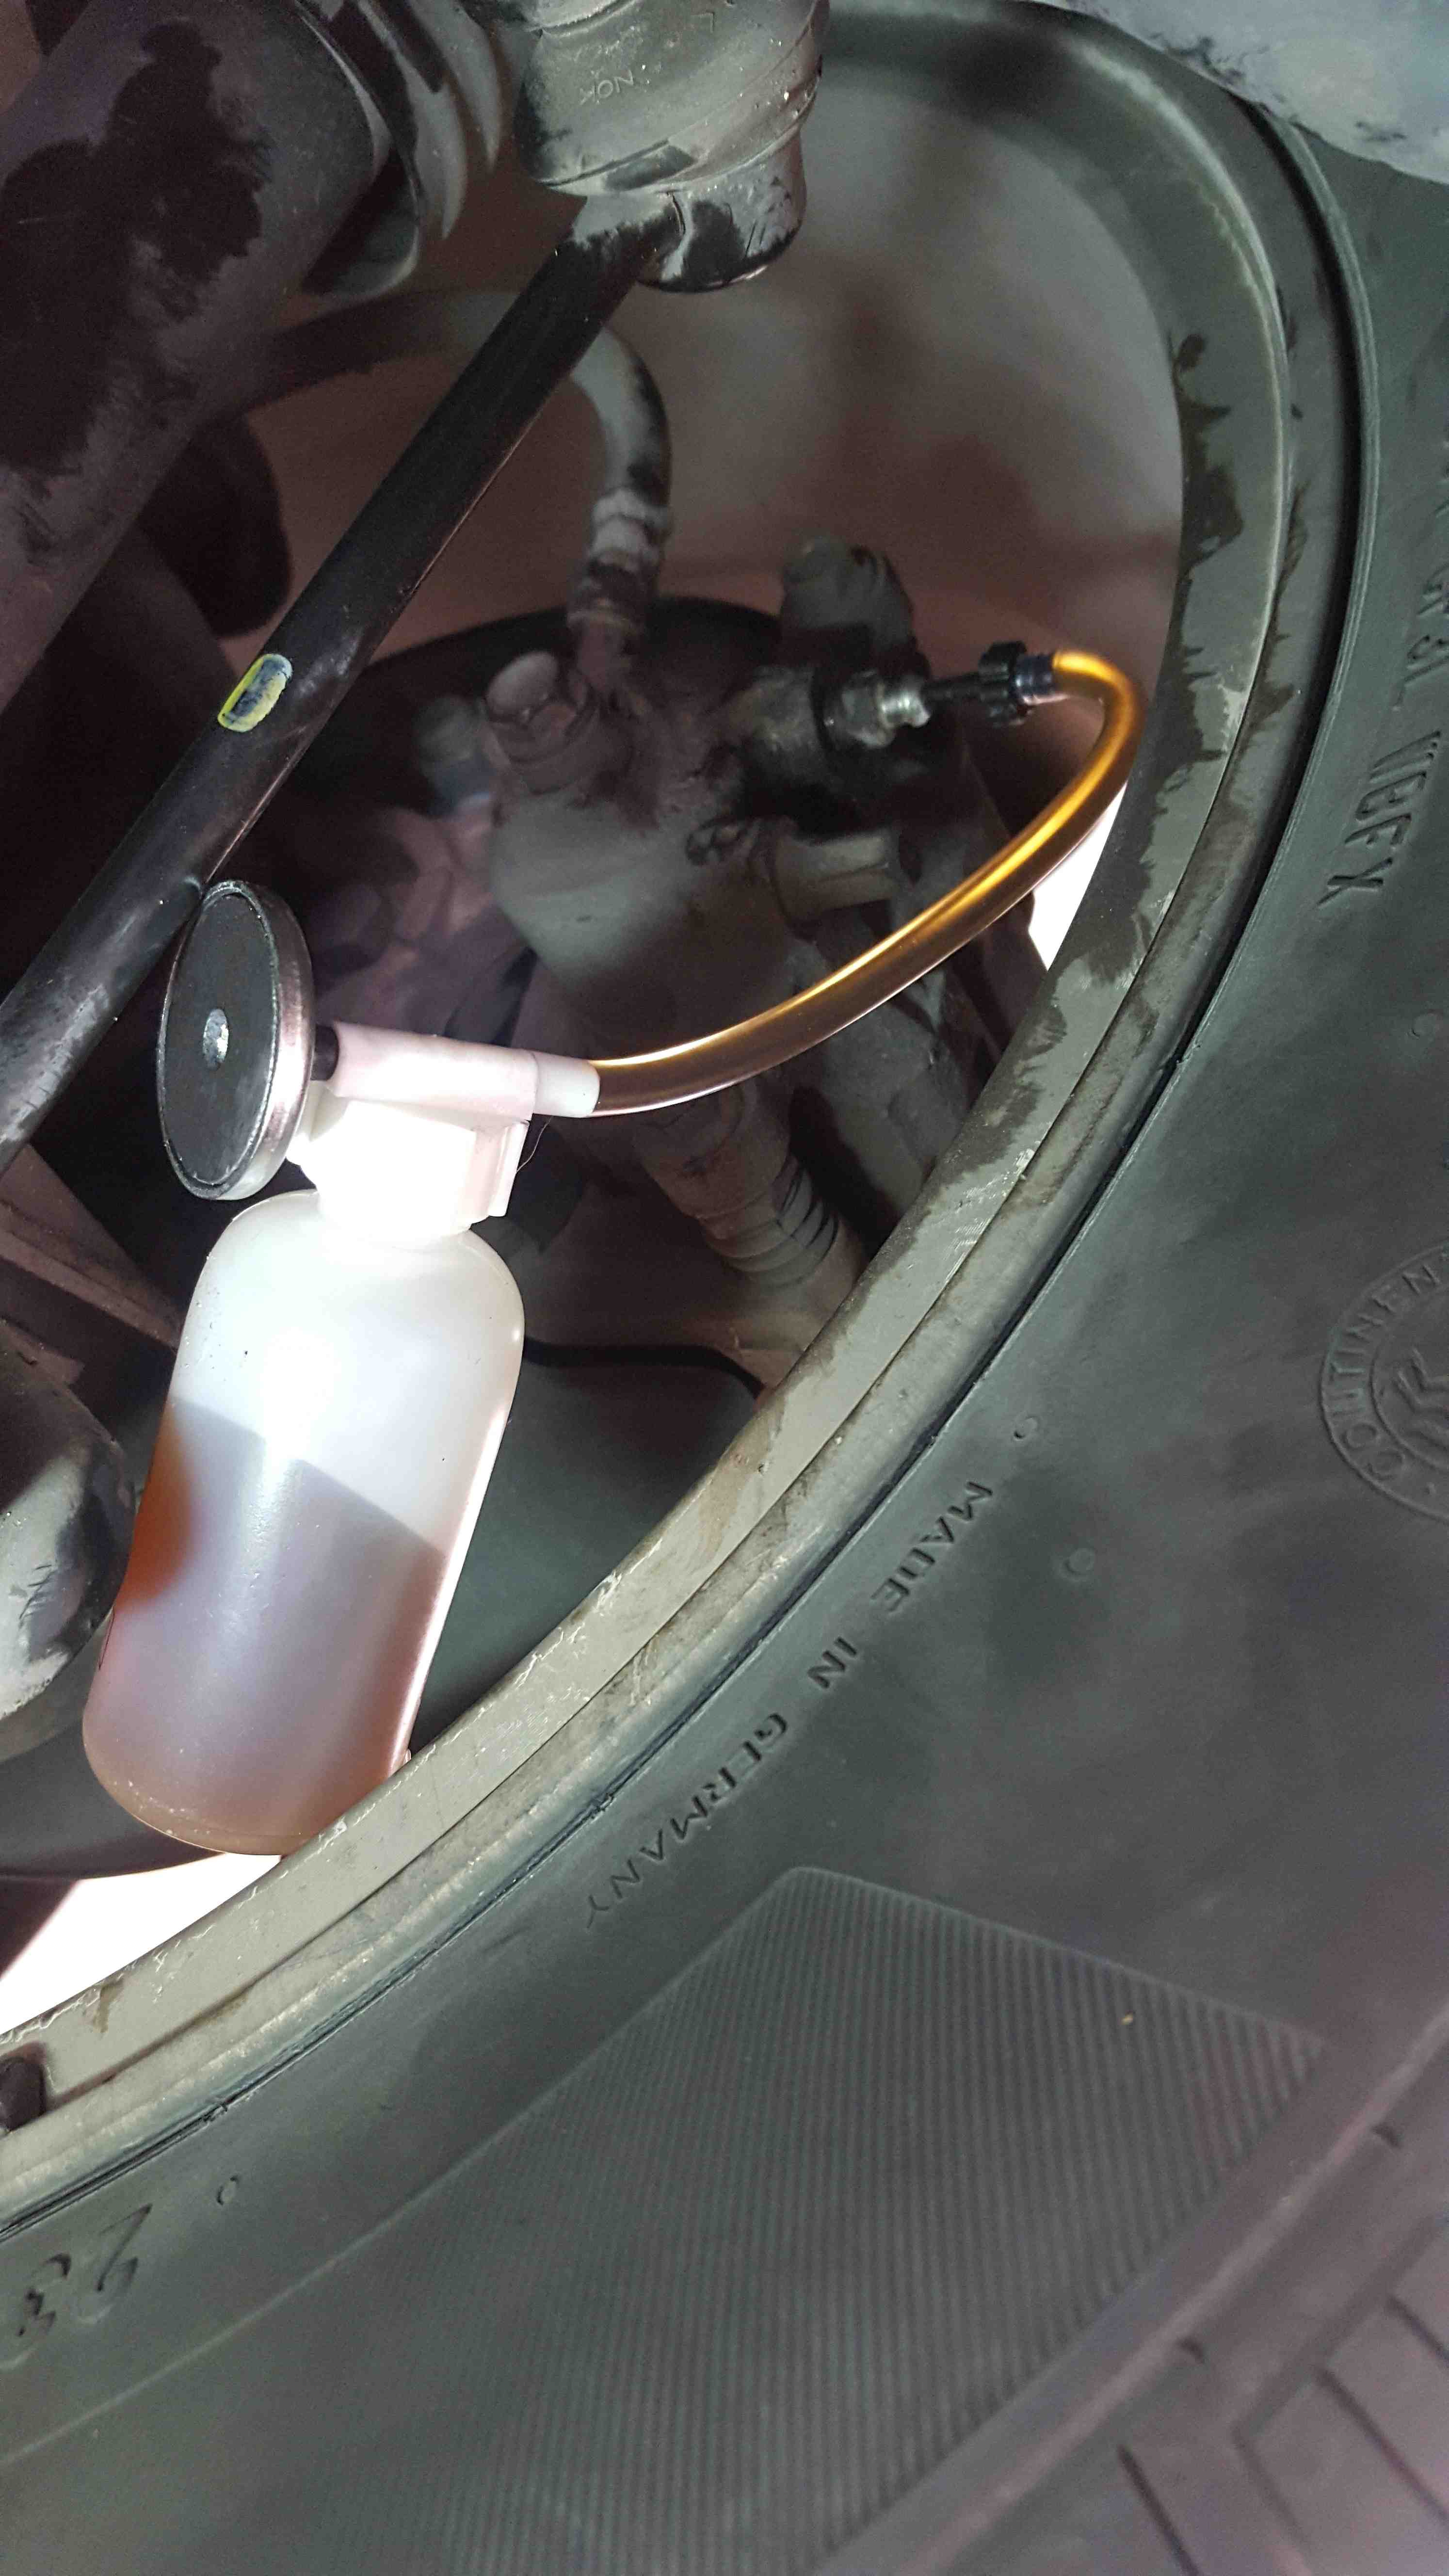
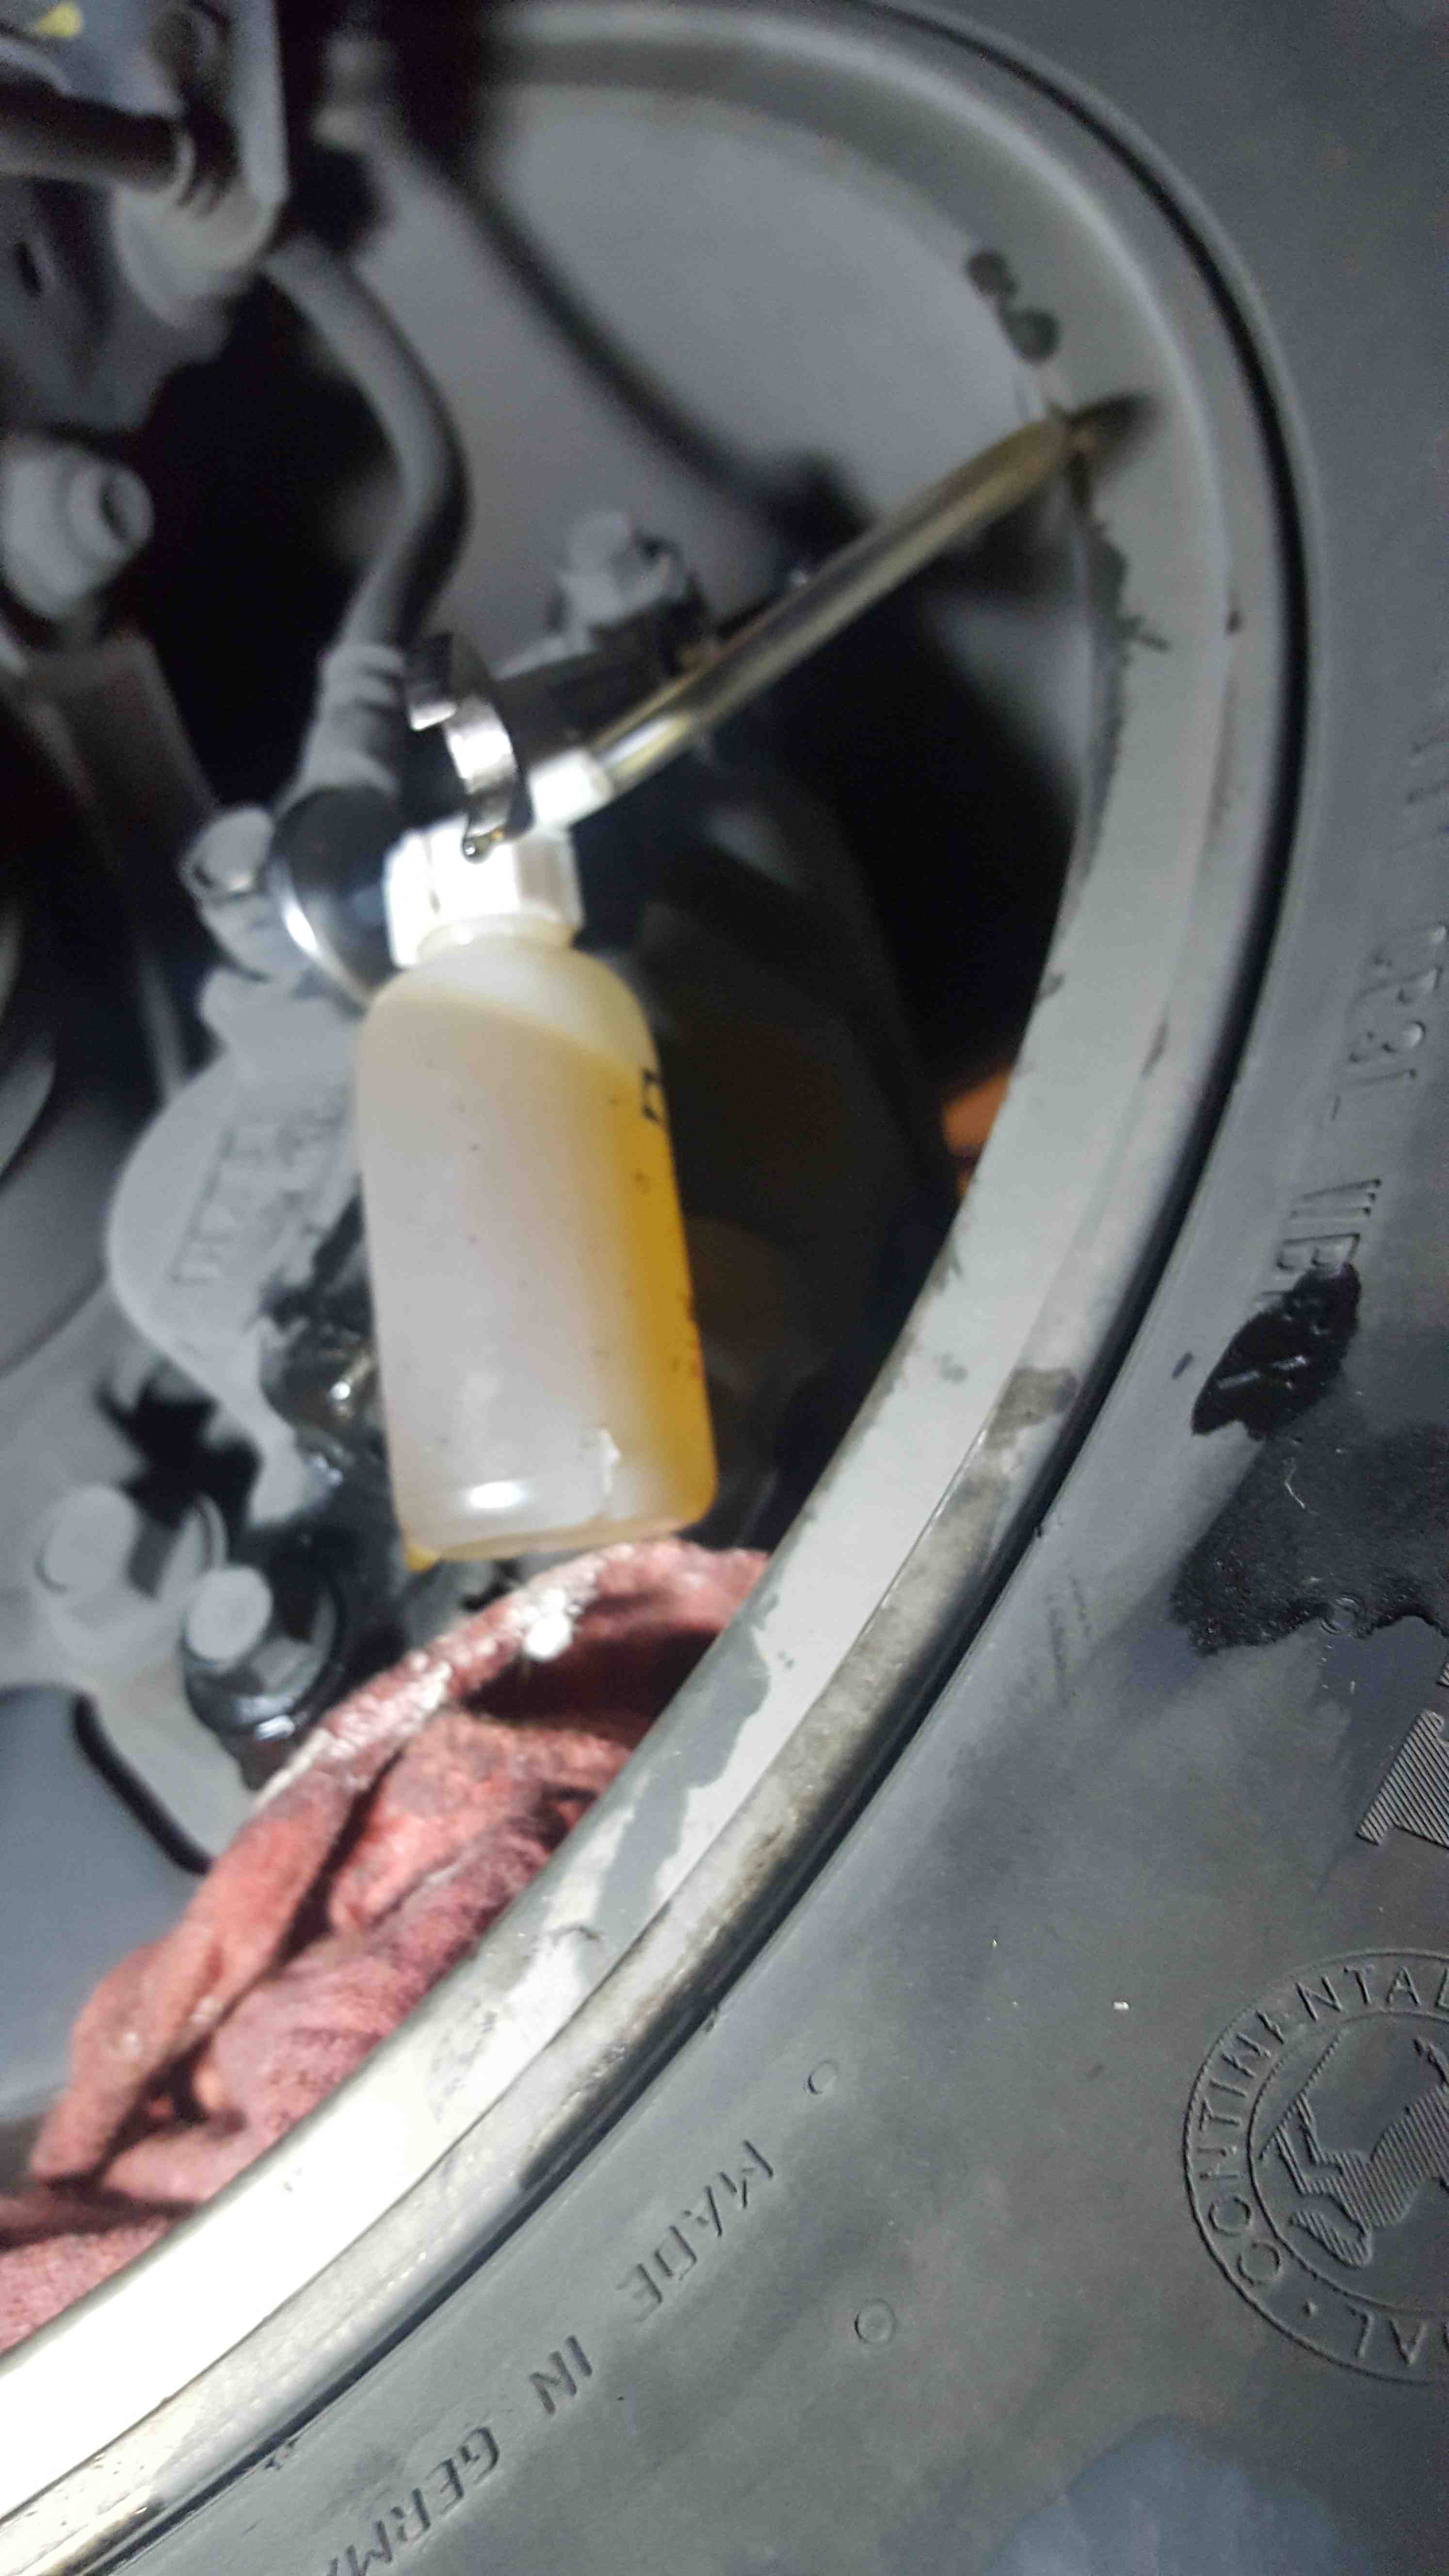
Next attach your one-man brake bleeder to the bleed valve nipple. As an optional step, I found it easiest to fix the closed end of my wrench over the bleed valve prior to putting the bleeder in place. This just made the job go a little bit quicker instead of having to get the wrench back on each time. Be SURE to fully seat the bleeder into the nipple, we want to make sure no air can get back into the lines. This picture shows the bleeder connected and the first fluid to come out (we have not done that part yet).
-
Now loosen the bleed valve about 1/4 turn (if you get to a half turn, it won't be the end of the world. Now press the brake pedal all the way to the floor keeping an eye on the bleeder. Once the bleeder gets full, empty it and repeat this process until the fluid gets noticeably clearer. Be sure to check the nipple/bleeder fit each time. This would also be a great place to have a partner to press the brake pedal for you. I got between 4-6 presses of the brake between needing to empty the bleeder. Keep on eye on the fluid reservoir and keep topping it off to keep it above the MIN line. Here is the clean fluid.
-
Repeat steps 4 and 5 for each wheel in the order specified in step 2. Once each brake bleeds clean, fill the reservoir to MAX, recap it, and you are good to go.
NOTE: If at any point you see bubbles flowing back into the brake line, immediately close the valve. You will need to re-bleed this line thoroughly to ensure you have gotten any air bubbles out of the line. If you suspect that a large amount of air got into the line, you may have to clear the whole system and start all over. That process is beyond the scope of this article.
NOTE 2: Brake fluid is a much more dangerous chemical that oil or other common car fluids. It eats paint so do not touch your car with handle dirtied with brake fluid and be sure to take care to clean up any spills.
The car should now be good to go for another few months or a few thousand miles. Usually we get 5-6 months and/or 5-6,000 miles between services. Going over the 100K mark certainly makes me feel like completing the routine maintenance is worth the time, effort, and money.